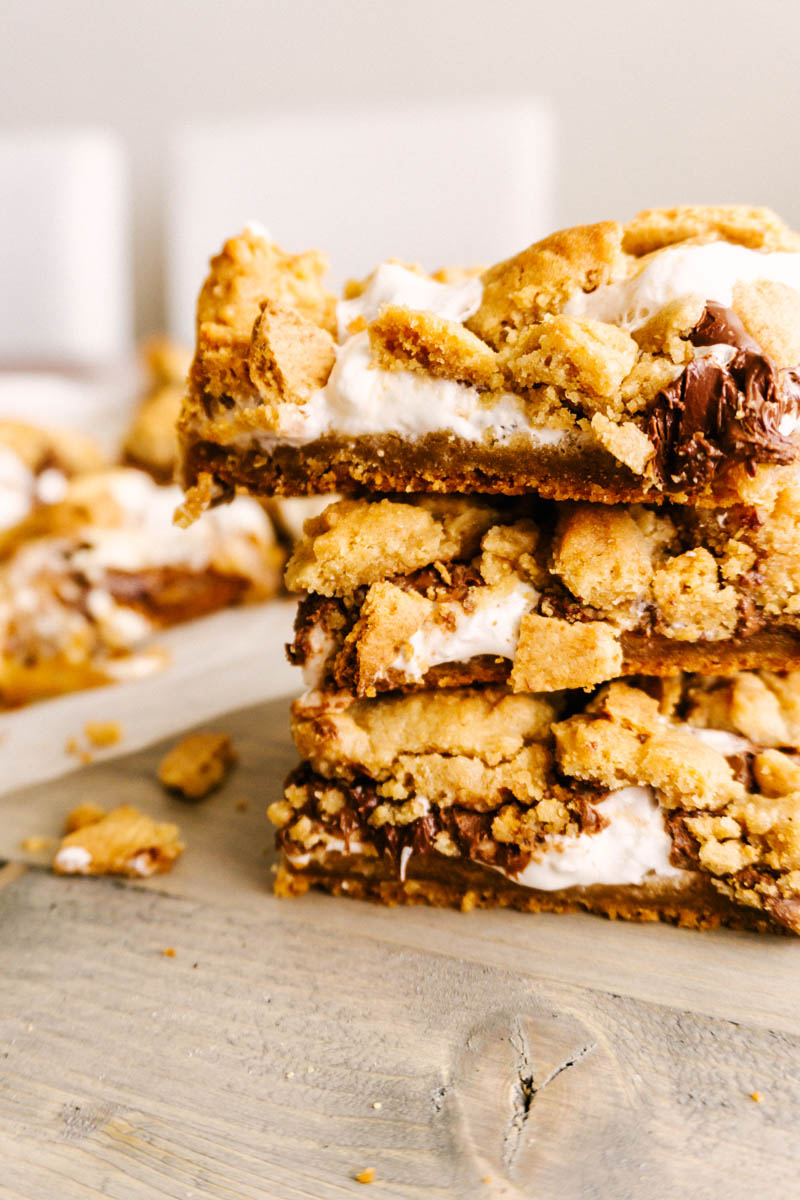
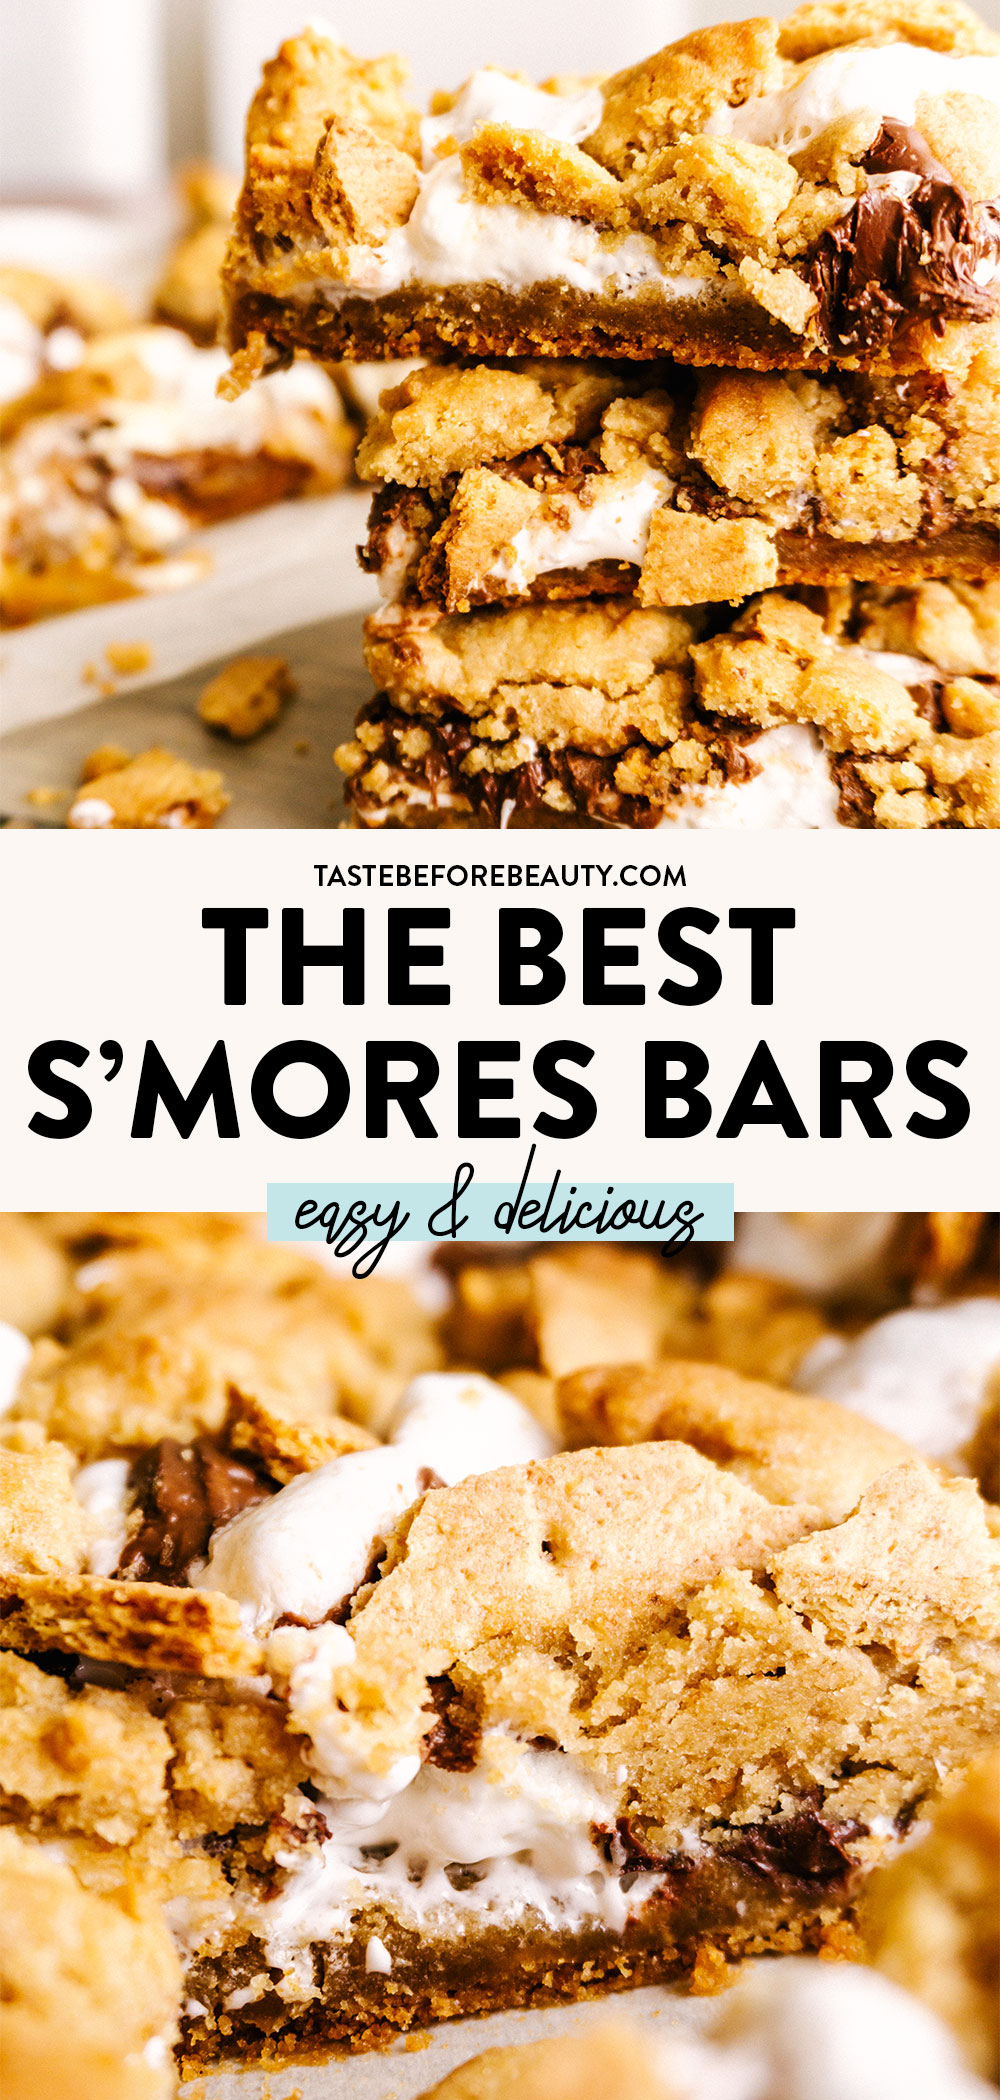
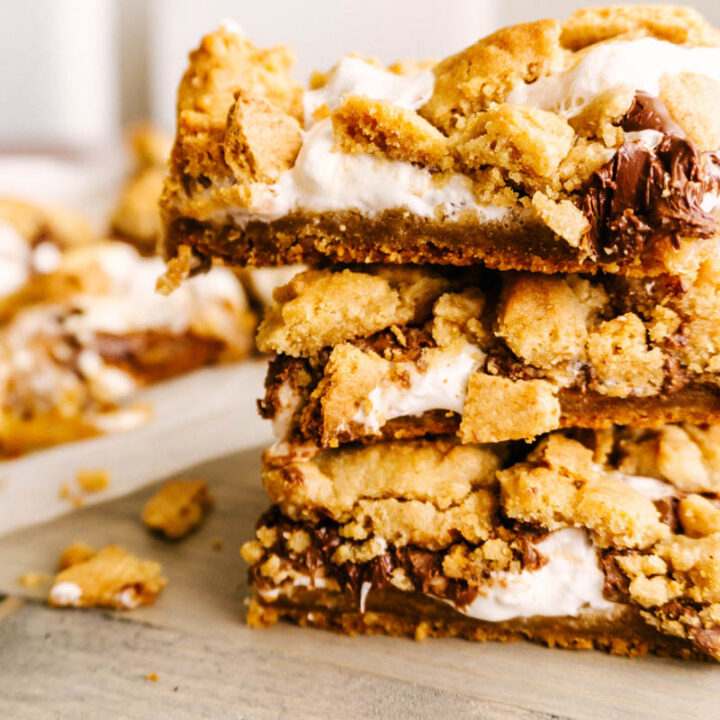
The only fire you need to make these S’mores Bars is your passion for dessert! With a Graham Slam Cookie Dough base and layers of silky chocolate and fluffy marshmallows in between, this is an irresistible treat for you to enjoy!
A Graham Slam
This recipe uses the Graham Slam Cookiedough! It is filled with graham crackers and is rich enough to balance out the billowy marshmallow and creamy chocolate layers.
Getting the Mallow Right
When creating this S’mores Bars recipe I had a hard time trying to get the marshmallow layer right. If anyone knows me they know I love marshmallows, and a little bit of fluff peaking through the cookie dough just wasn’t enough for me. I wanted to taste it and see it bursting through each slice.
At first, I tried using only marshmallow fluff. The bars were good, but the marshmallow flavor wasn’t coming through like I wanted. Next, I tried using only mini-marshmallows. Well, those all melted in the oven and there was no marshmallow layer in sight. It looked more like a cookie bar than a s’mores bar. Perplexed by my mallow problem, I vented to my husband about how I couldn’t get my favorite part of a s’more right in these S’mores Bars!
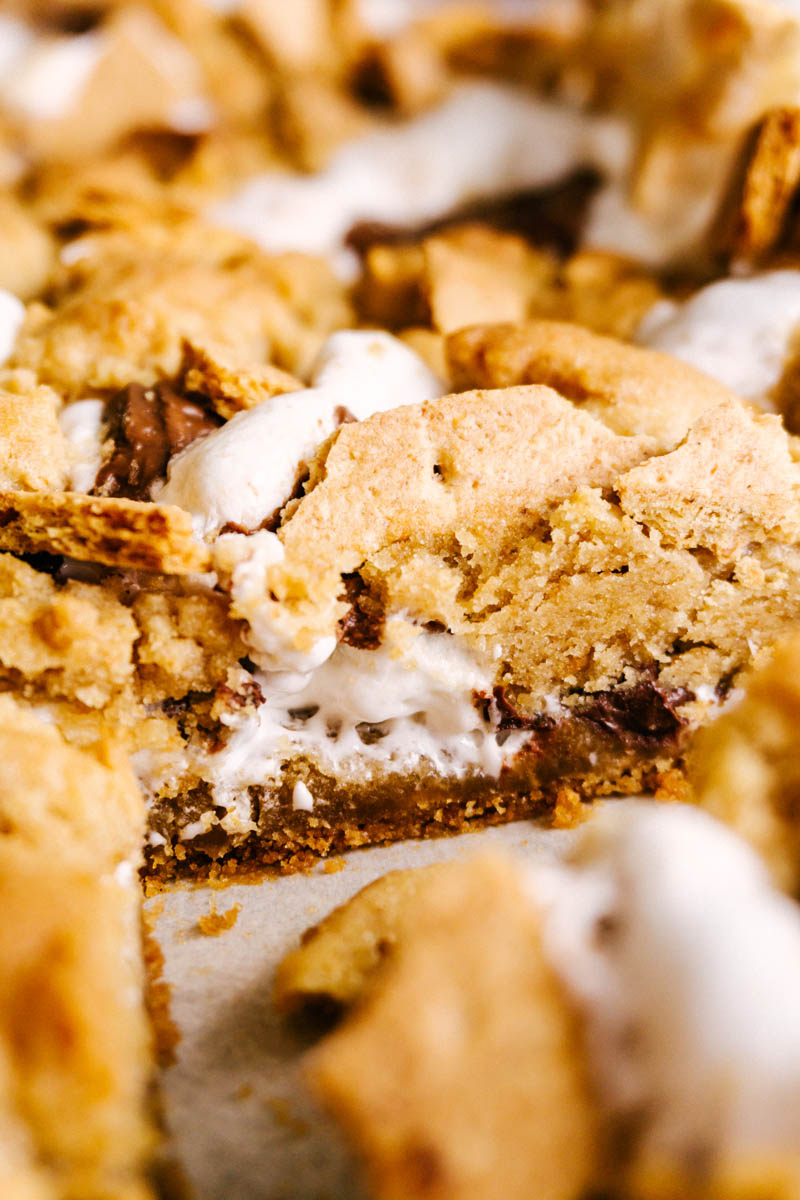
His solution: “Why don’t you just add both the fluff and the marshmallows?” Aha! It worked like magic. He was right. The marshmallows on top of the fluff produced mallow magic and it created a billowy, messy, beautiful marshmallow layer I could not only taste but see!
Recipe Ingredients
Marshmallow Fluff- You only need one 7 ounce tub of fluff for this recipe. I am a penny pincher so I used the generic brand at my local grocer and it tasted great!
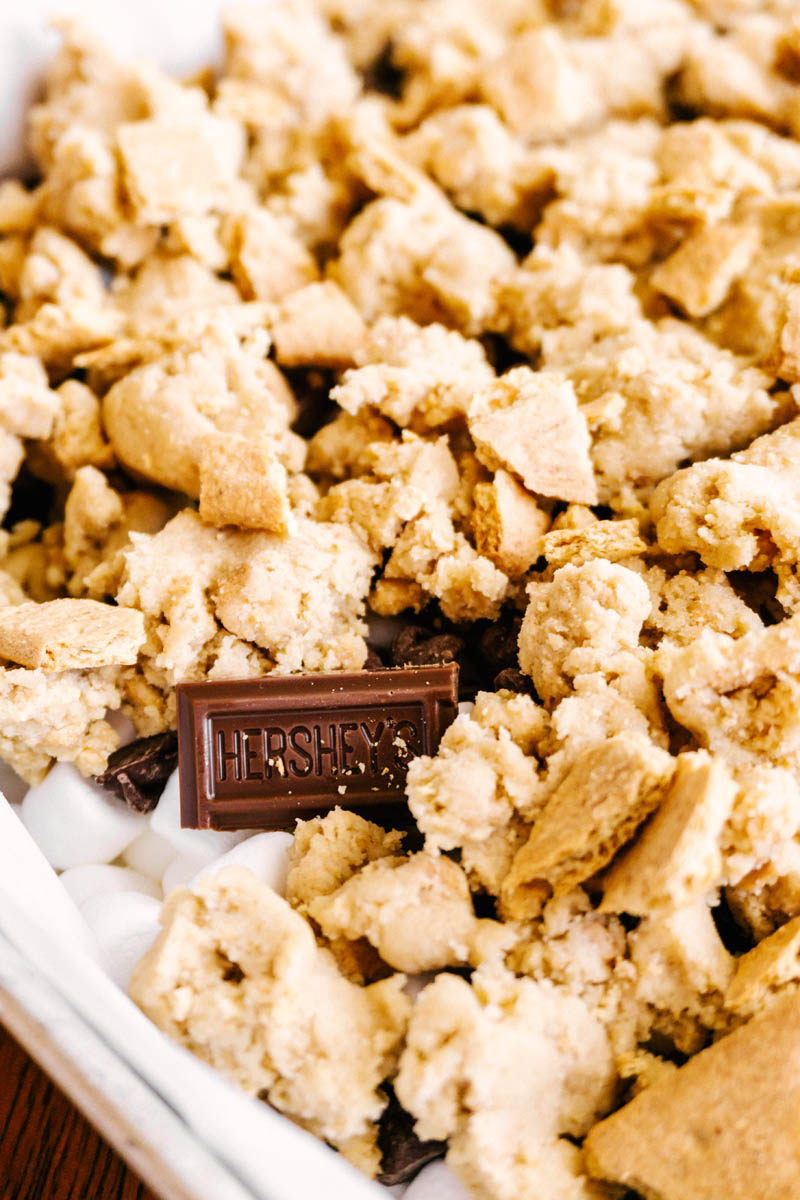
Hershey Bars- As a born and raised Hershey, PA girl myself, these are a must-have in a s’mores bar for me.
Graham Crackers- I prefer to use HoneyMaid for this recipe.
S’more Assembly Instructions
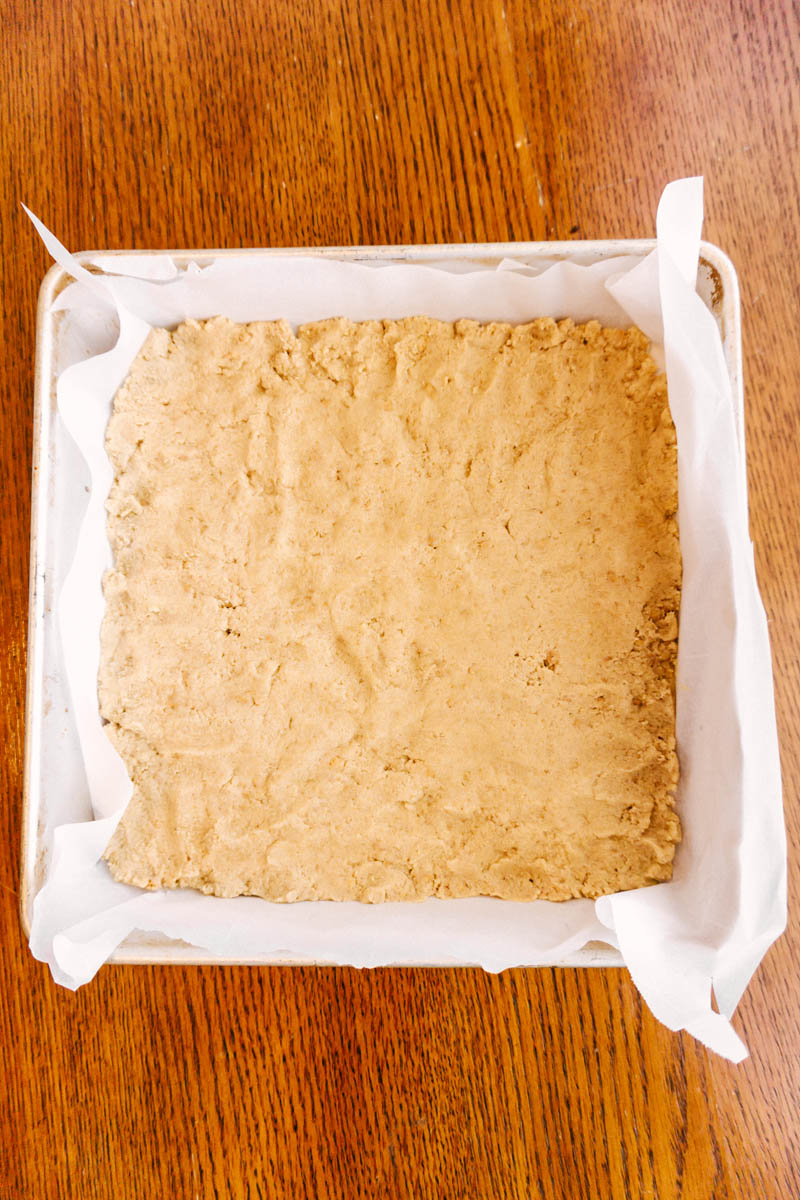
The first layer is made up of ½ of the Graham Slam Cookie dough, which is 17.5 ounces of dough. Use the palms of your hands and fingers to push that dough into the bottom of the pan. It doesn’t have to be perfect, but it has to cover the majority of the bottom of the pan.
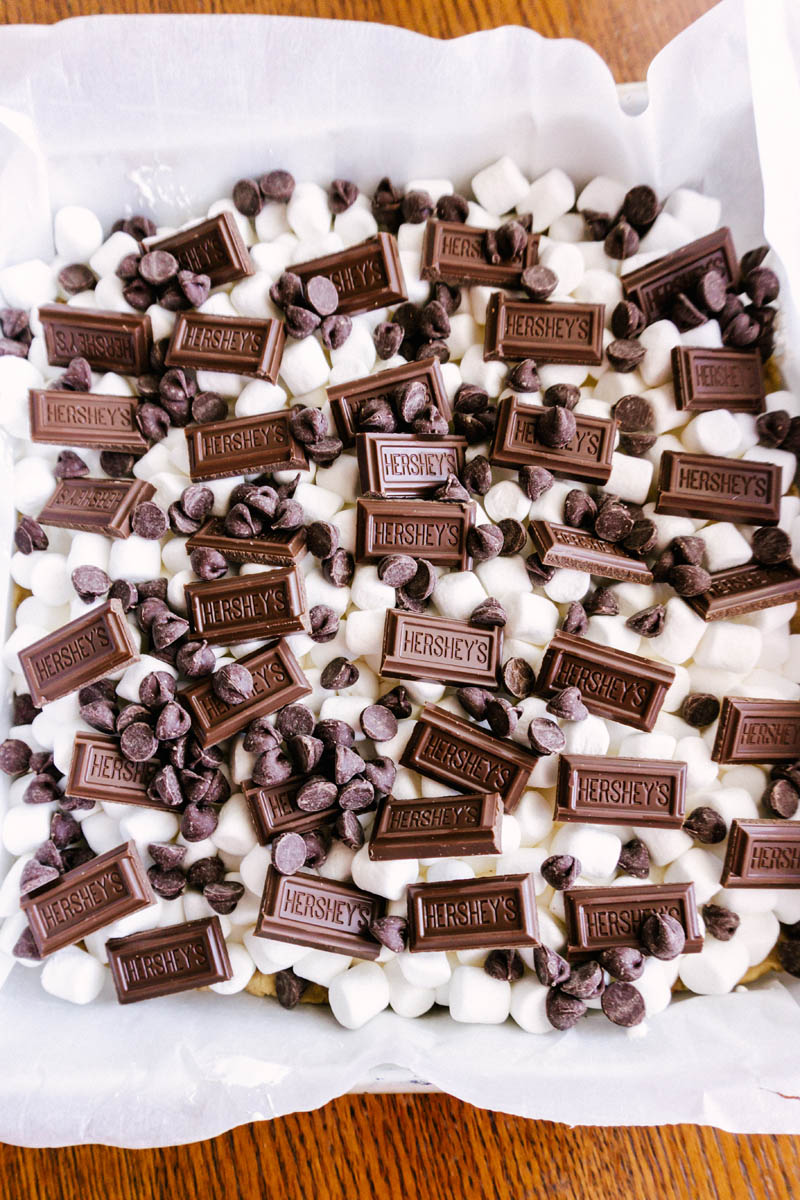
The second layer is all about marshmallows. First, spread the marshmallow fluff on top of the cookie dough layer with an oiled spatula or fork. Then pour 4 ½ C (8 oz) of mini-marshmallows on top of the fluff.
The third layer is all about chocolate. Break apart three Hershey Chocolate Bars plus ½ C semi-sweet chocolate chips and scatter them on top of the marshmallows.
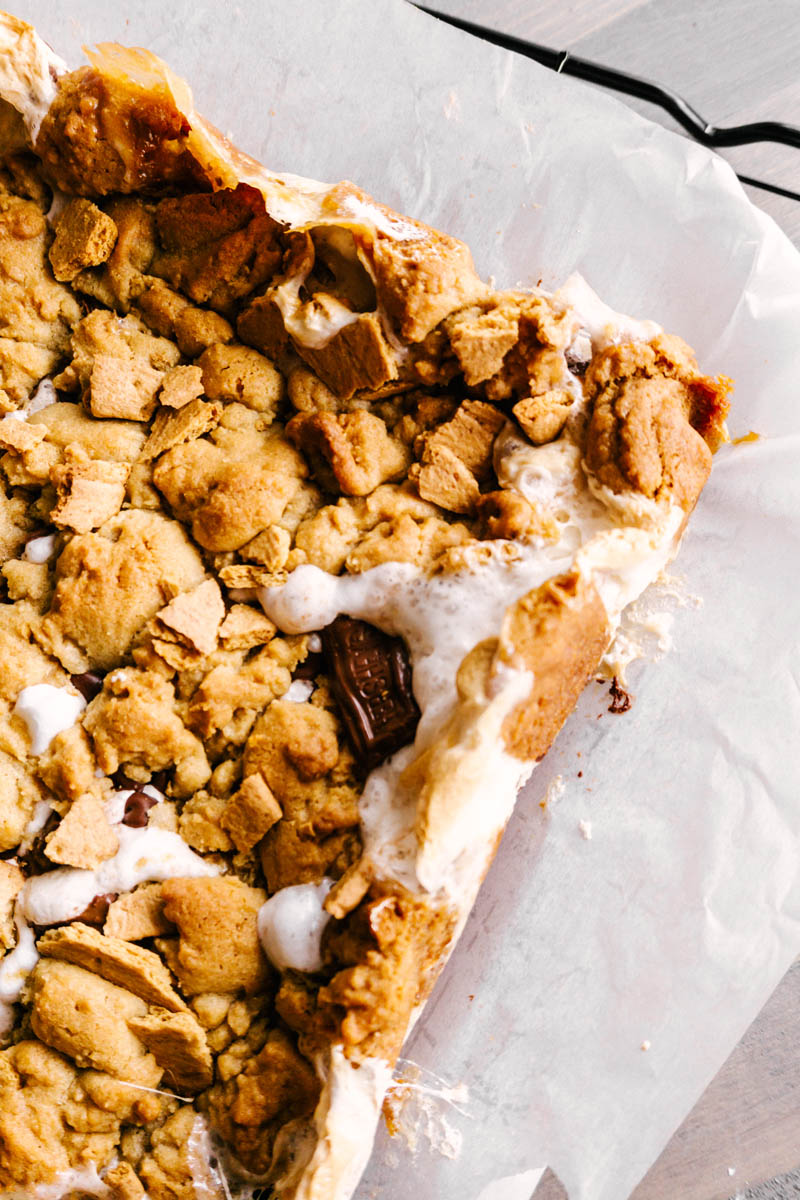
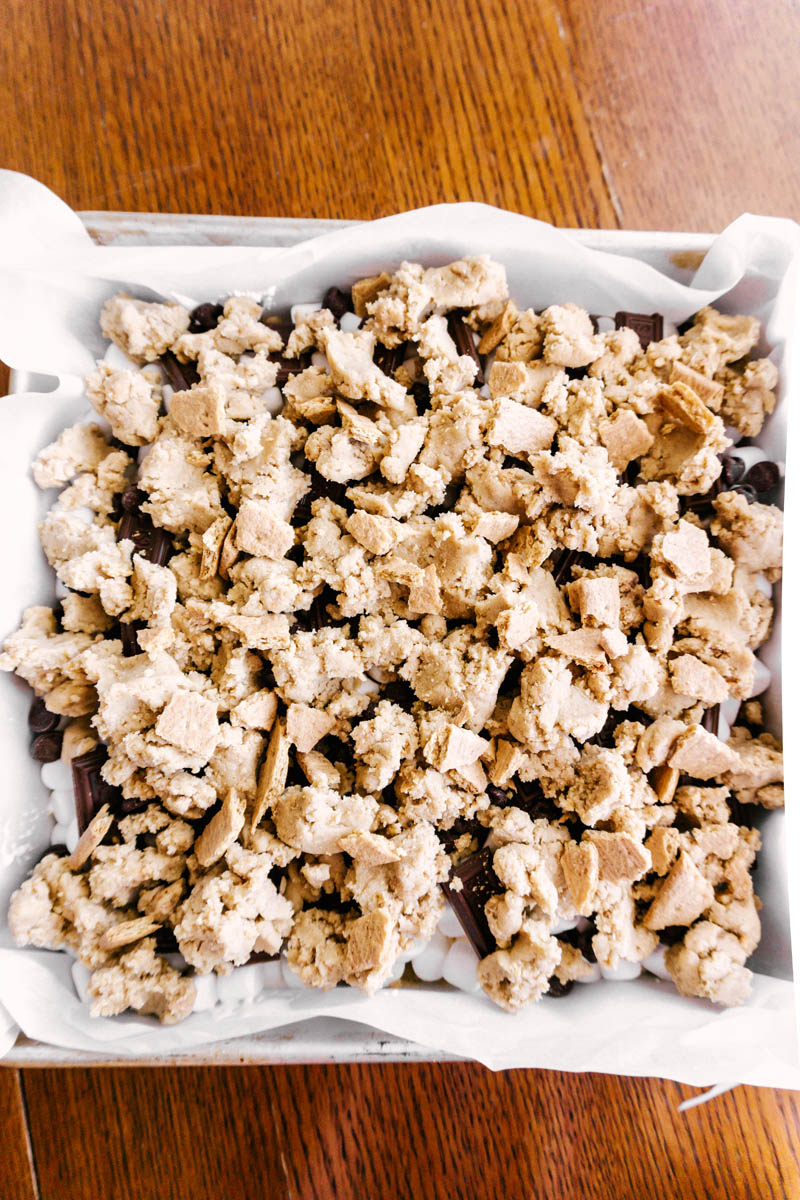
The top layer uses the other half of the cookie dough from earlier. Using your hands, crumble that cookie dough all over the top of the chocolate and marshmallows. My crumble pieces vary from large to small, so don’t worry about crumbling it perfectly.
Finally, crumble up one sheet of graham cracker on top of that crumbled cookie dough for a great topping and look to your s’mores bar. That way people will really know what kind of bar this is!
If you are looking to spice this s’mores bar up even more, consider adding our Salted Caramel (check out the recipe in our Fried Ice Cream post) or a drizzling of peanut butter on top of your marshmallow layer before you add the chocolate!
The only fire you need to make these S’mores Bars is your passion for dessert! With a Graham Slam Cookie Dough base and layers of silky chocolate and fluffy marshmallows in between, this is an irresistible treat for you to enjoy!
Ingredients
Graham Slam Cookie Dough
1 C (8 oz) salted butter
1 C (8 oz) light brown sugar
⅓ C (2.5 oz) white sugar
1 large egg
1 tsp vanilla
1 T corn syrup
¼ tsp salt
1 ½ tsp baking soda
10 whole (6.6 oz) graham crackers, broken, divided
2 C + 3 T (10 oz) all-purpose flour
Marshmallow Layer
7 oz marshmallow fluff
4 ½ C (8 oz) mini marshmallows
Chocolate Layer
3 Hershey chocolate bars, broken up
½ C (4 oz) semi-sweet chocolate chips
1 graham cracker sheet
Instructions
Make Graham Slam Cookie Dough
Mix butter and sugars. Add egg, vanilla, and corn syrup. Mix well.
Add remaining dry ingredients. No need to pre-crush graham crackers. They will break as you mix them into the dough. Mix well till all combined.
Assemble.
Preheat oven to 350*F.
Line a 10x10 pan with parchment paper.
With your hands, press half of the cookie dough (17.5 oz) into the bottom of parchment-lined pan.
Spread marshmallow fluff on top of cookie dough base. This is easiest to do with a lightly oiled spatula or fork. If not, you will find yourself in a sticky situation.
Top marshmallow fluff layer with mini marshmallows.
Top mini marshmallow layer with broken-up Hershey bars and semi-sweet chocolate chips.
Crumble the other half of your cookie dough on top of the chocolate layer. Then take one graham cracker sheet and crumble it over the cookie dough pieces.
Bake for 25 minutes. Let cool completely for about an hour or preferably more. If you can’t wait an hour, be prepared for a delicious but super gooey s’mores bar.
Notes
Make sure you lightly oil whatever you are trying to spread the marshmallow fluff with. It sticks to EVERYTHING, but the oil helps. It doesn’t have to be pretty, just spread enough to cover most of the cookie dough.
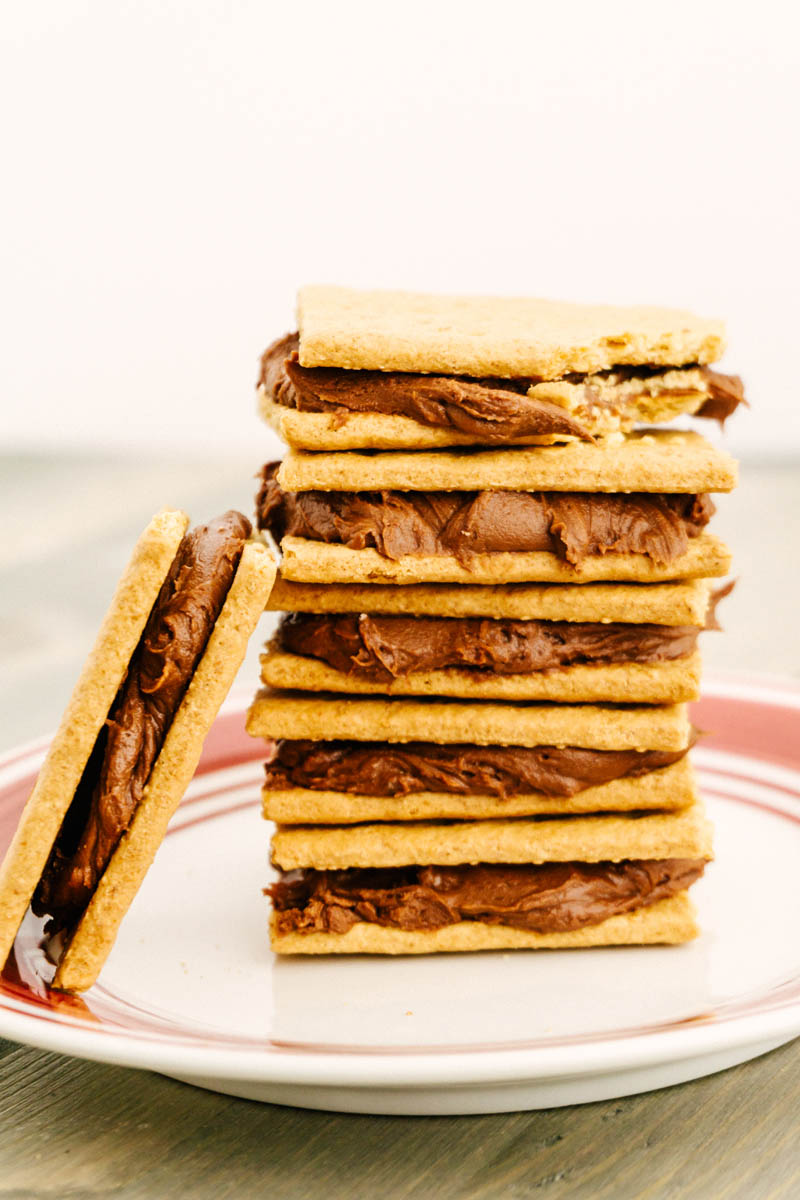
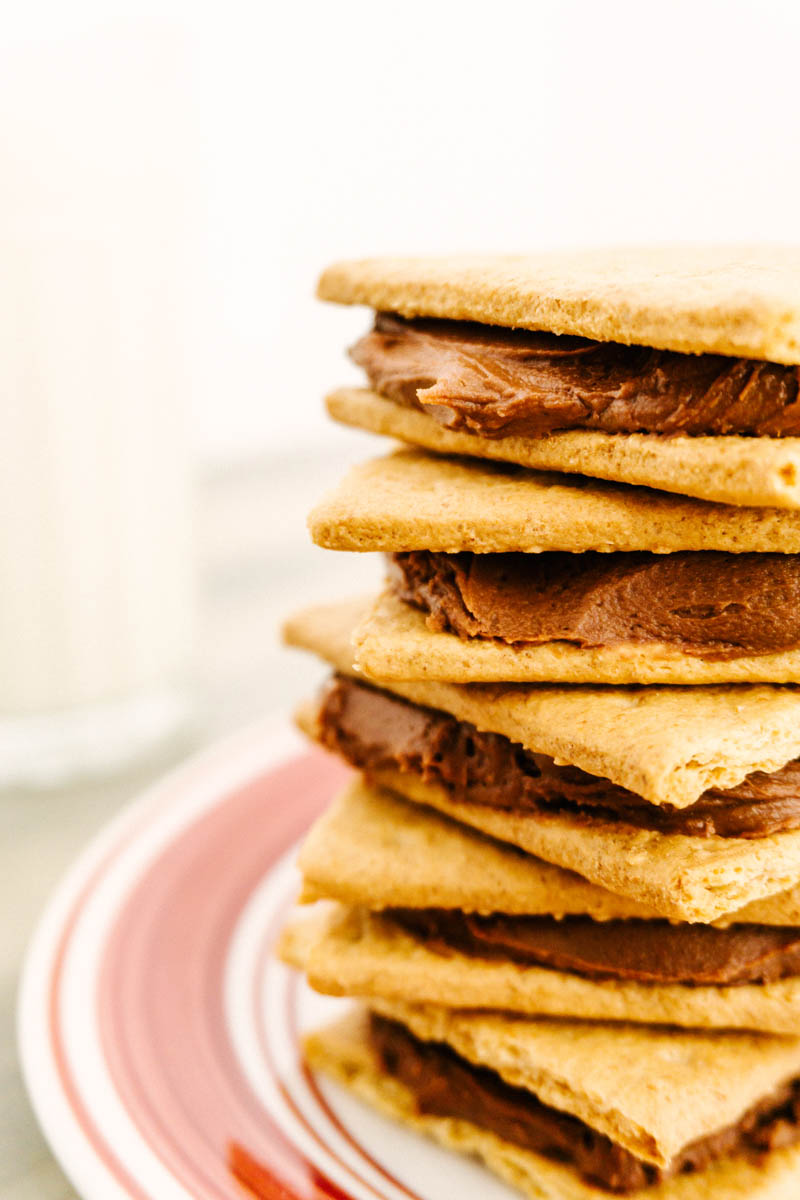
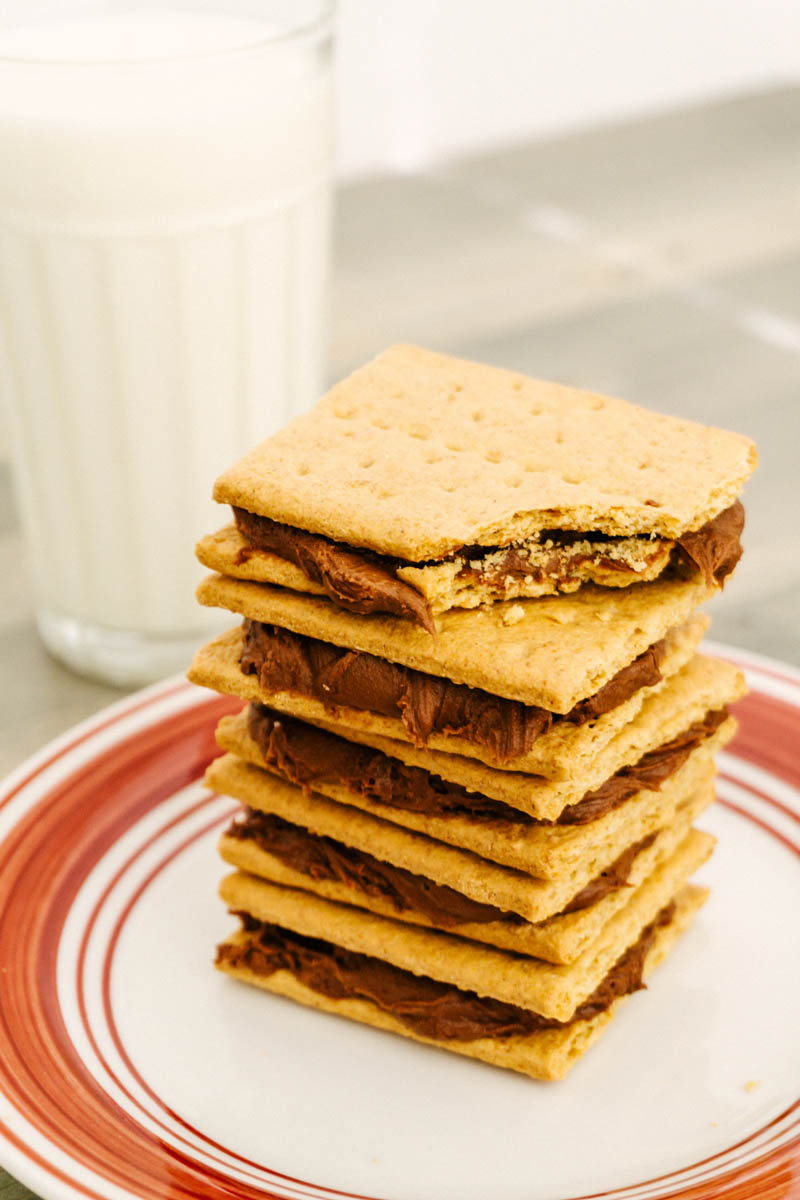
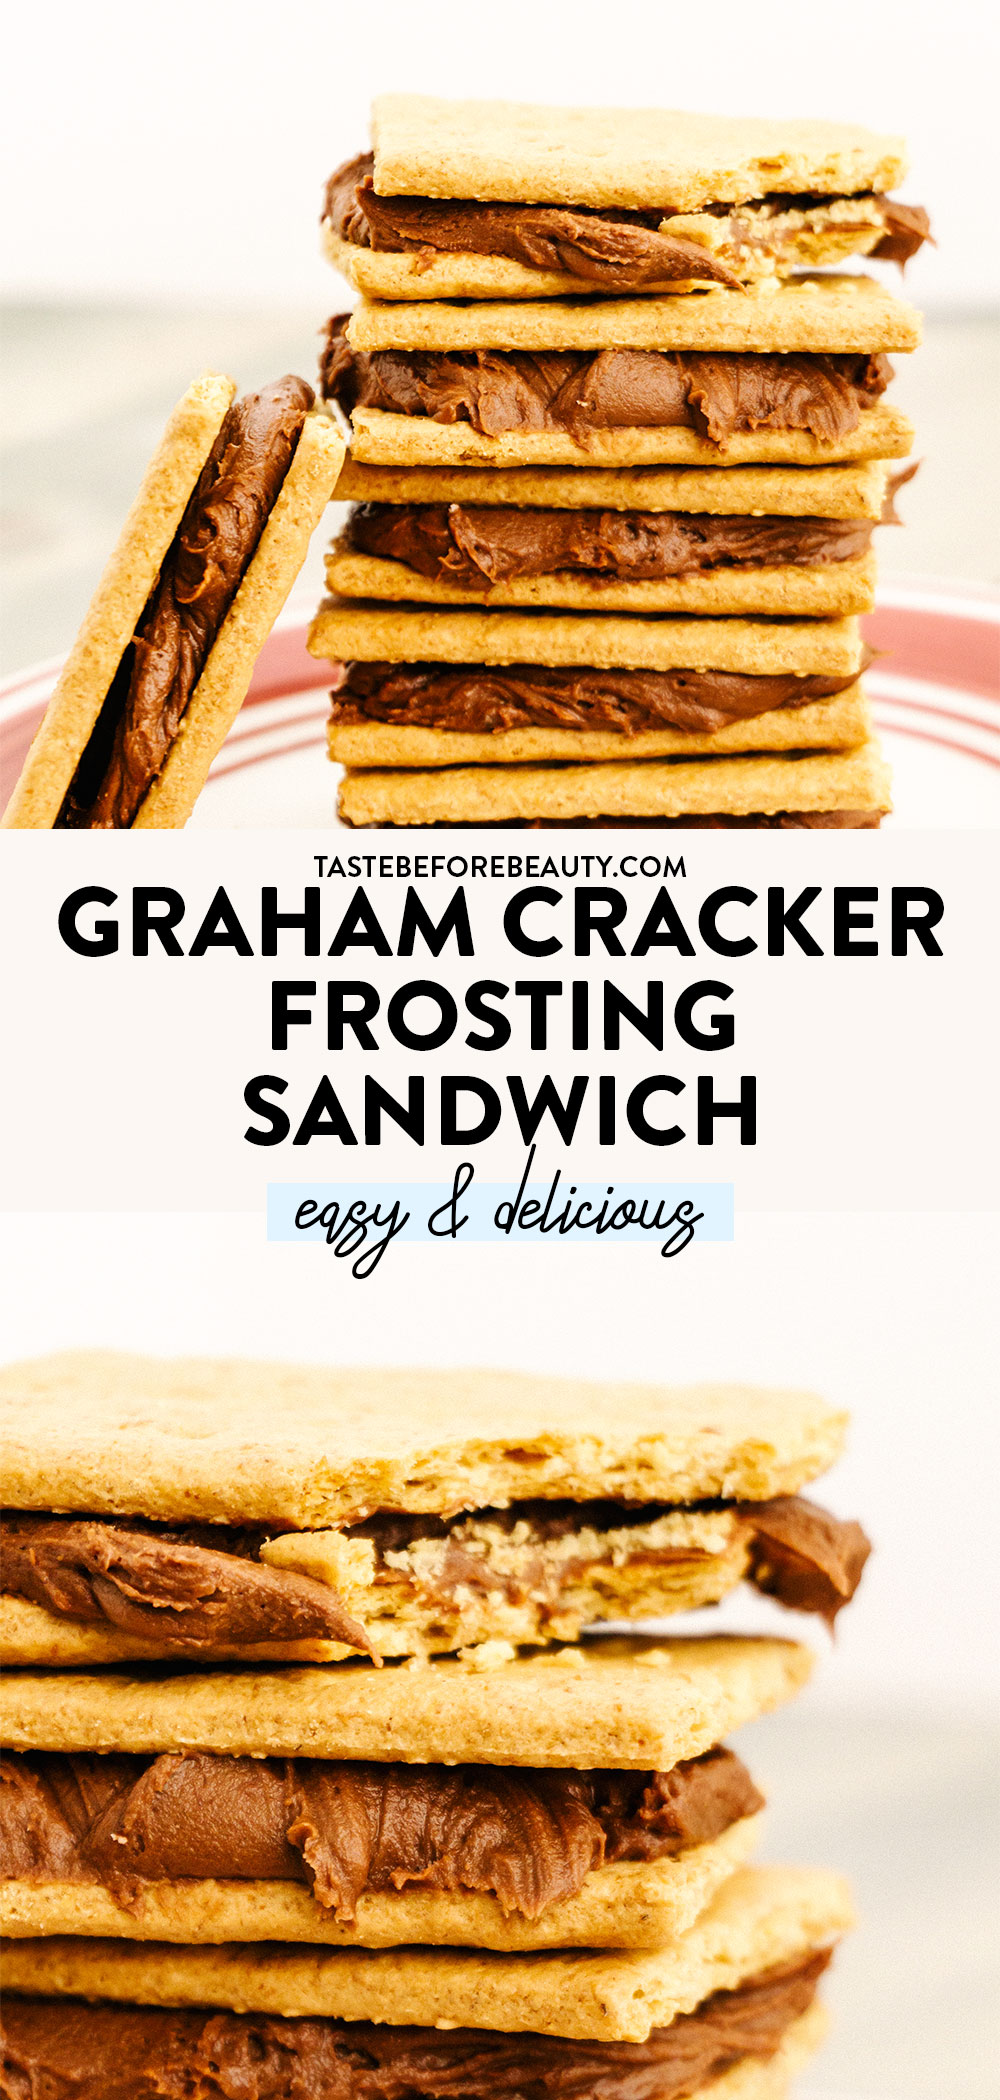
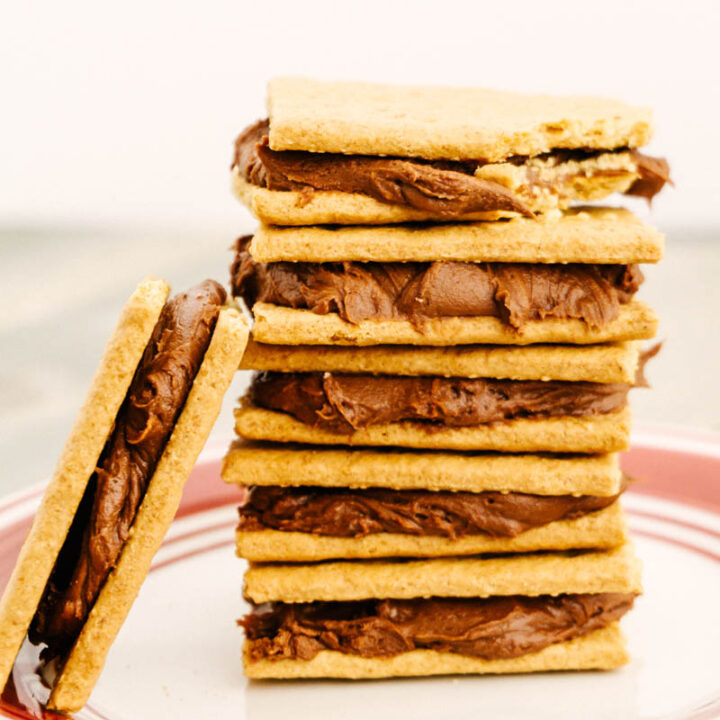
Talk about classics! This Graham Cracker Frosting Sandwich brings me back to my elementary school days when I’d open up my lunch box to find one of these and I’d look up to see my friends would be drooling. With delicious graham crackers and creamy Buttercream Frosting, these are a timeless classic enjoyed by all!
The Best Solution for Leftover Frosting
Don’t toss that leftover frosting! Grab some graham crackers and sandwich that good stuff in between them. That’s my kind of lazy day treat! These are so easy you really have no reason not to make them!
We have so many desserts that call for Buttercream Frosting from Frosted Marshmallow Brownies to Black Forest Cake. Somehow I always end up with extra frosting. I don’t have enough freezer space for all of the leftover frosting to be stored so I make a batch of these Graham Cracker Frosting Sandwiches and they’re gone within a few days!
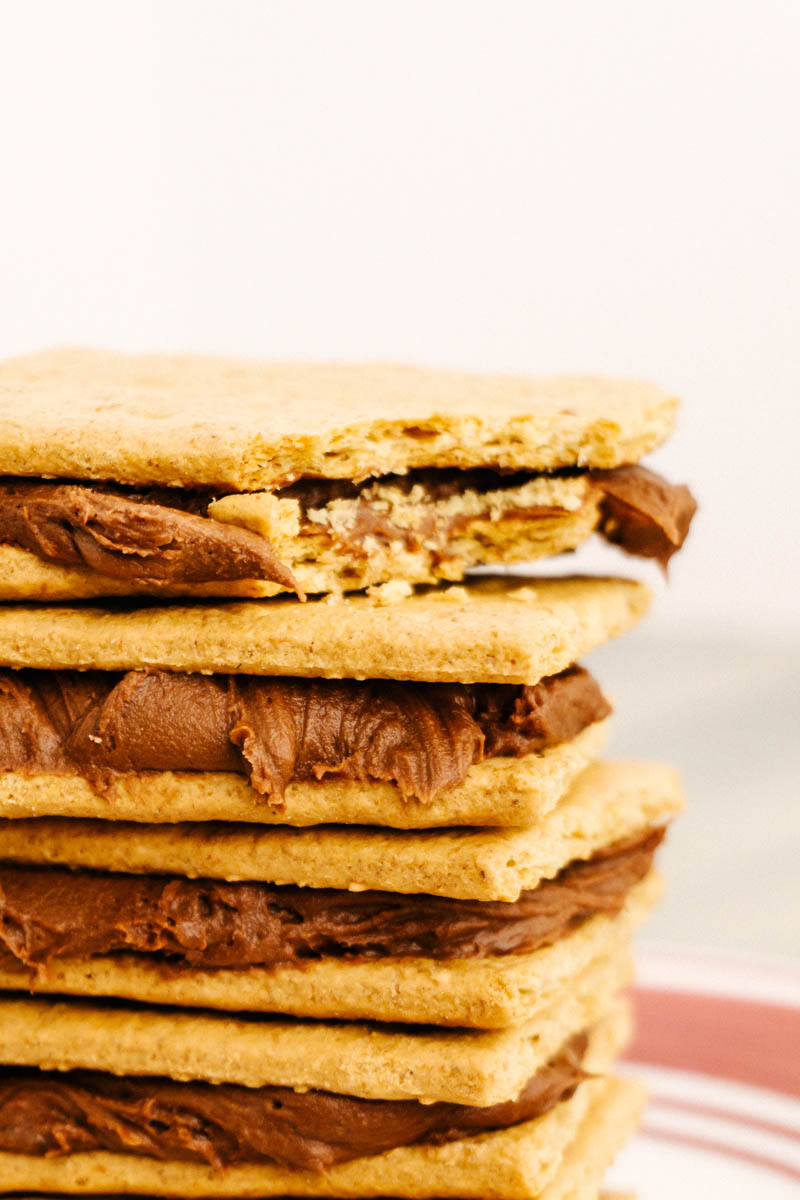
This Graham Cracker Frosting Sandwich is one of my favorites and a lunchtime favorite! I always loved opening up my lunchbox to one of these. They really are best three to five days later. The softer the graham cracker gets the better. I leave mine in a ziplock bag on the counter and they only last a few days.
Recipe Ingredients
Graham Crackers: Use generic or name brand for this recipe!
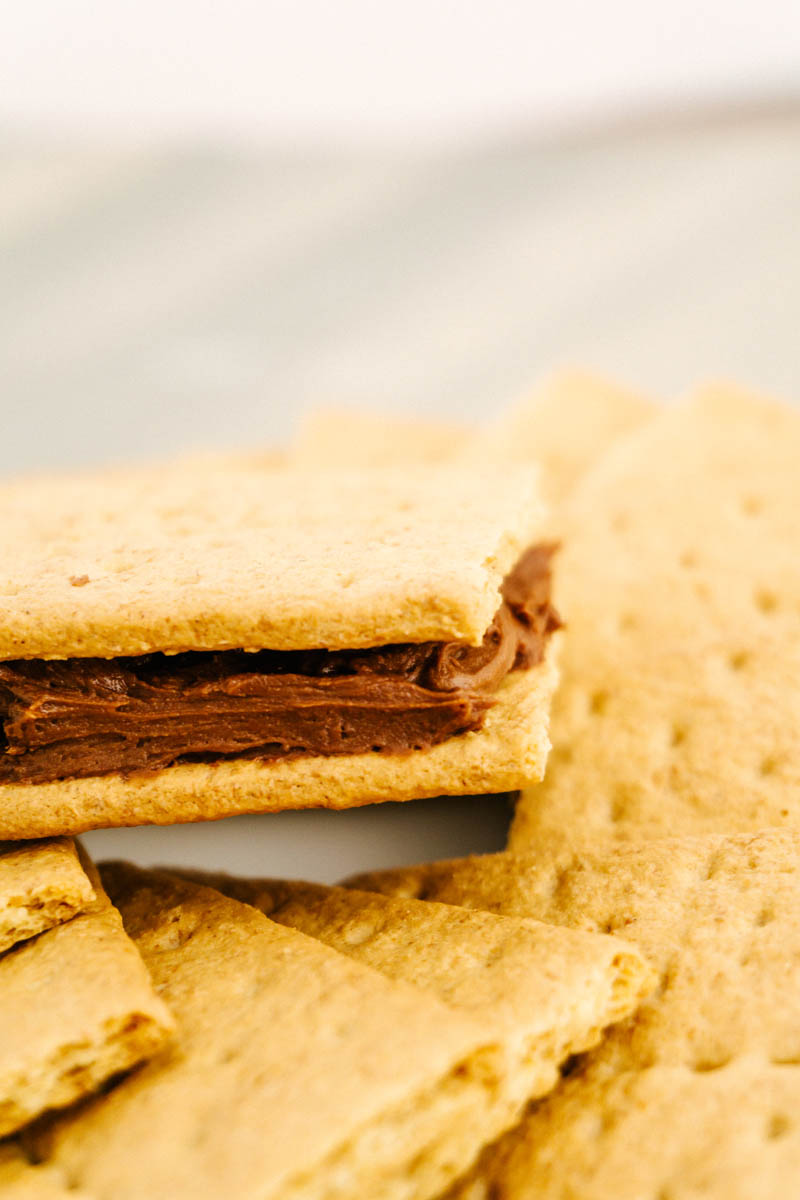
Break your graham crackers in half. Do this carefully or the frosting will squish out of the smaller half of the sandwich.
Add frosting. Use as much or as little as you like!
Now comes the hardest part: waiting 3-5 days for the graham crackers to soften up and the flavors to meld. Of course, you can eat these Graham Cracker Frosting Sandwiches right away, but I promise they taste best after they’ve had a few days to sit.
This is probably one of the easiest and tastiest desserts to make. Let us know how long they last on your counter!
Looking for more delicious easy recipes? Try these:
Yield: 24ish - depending on how much frosting you like in between your graham crackers
Prep Time: 10 minutes
Additional Time: 5 minutes
Total Time: 15 minutes
Talk about classics! This Graham Cracker Frosting Sandwich brings me back to my elementary school days when I’d open up my lunch box to find one of these and I’d look up to see my friends would be drooling. With delicious graham crackers and creamy Buttercream Frosting, these are a timeless classic enjoyed by all!
Ingredients
Chocolate Buttercream Frosting
1 C (16 oz) salted butter, room temperature
1 C (3.6 oz) cocoa
7 C (32 oz) powdered sugar
2 tsp vanilla
7 T + 3 T milk
Instructions
Make the Frosting:
Soften the butter, but do not melt. Beat butter with a mixer until it is smooth.
Add cocoa and powdered sugar. Beat butter, cocoa, and powdered sugar until combined and mixture looks dry and uniform. Scrape bowl.
Add vanilla and 7 T of milk. Beat until frosting is light, creamy, and soft.
If frosting is too thick, add up to 3 additional tablespoons of milk.
Sandwich Frosting between Graham Crackers:
Carefully break each graham cracker sheet into two pieces and spread 1-2 T of frosting between graham crackers.
Best if eaten 3-5 days later. This allows time for the graham crackers to soften and absorb some flavor from the frosting.
Lasts for one to two weeks in an airtight container at room temperature or stored in refrigerator. Can also be frozen.
Notes
When adding powdered sugar and cocoa, we highly recommend covering your mixer. Use a clean tea towel or a shield if your mixer came with one, or spend the next decade cleaning powdered sugar and cocoa dust from every surface in your life.
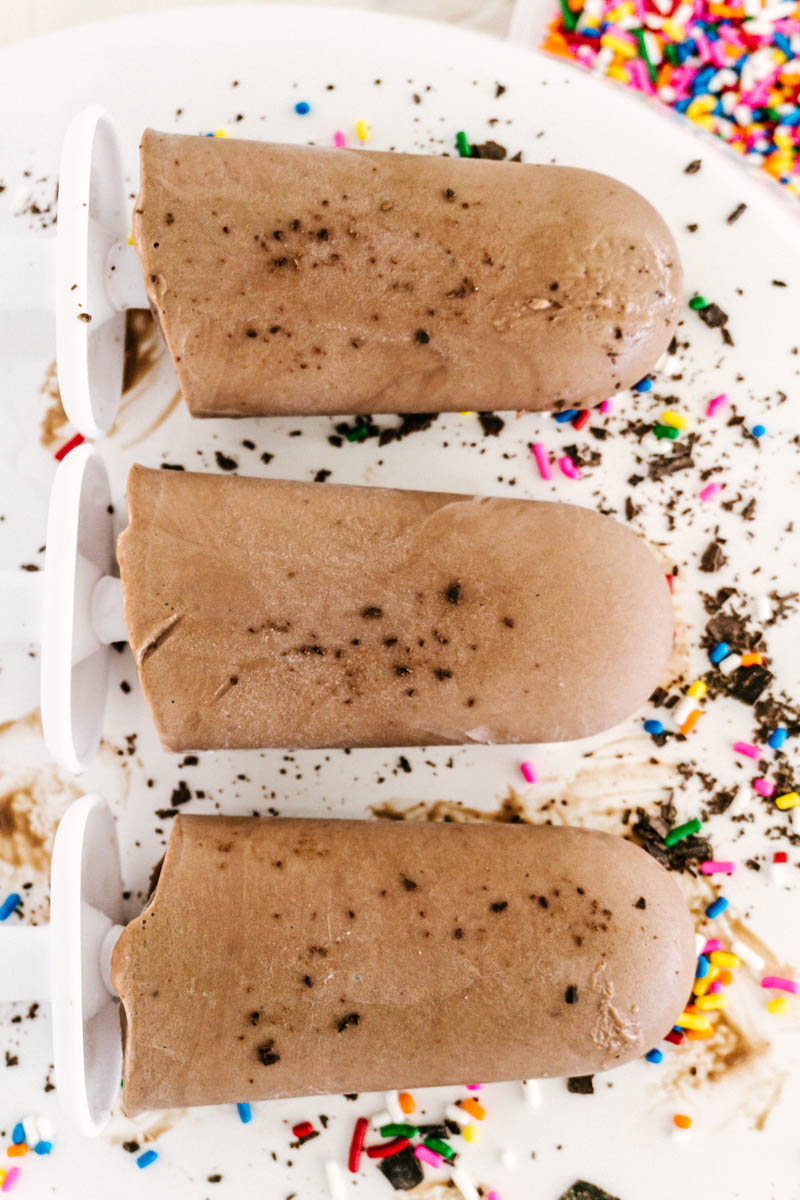
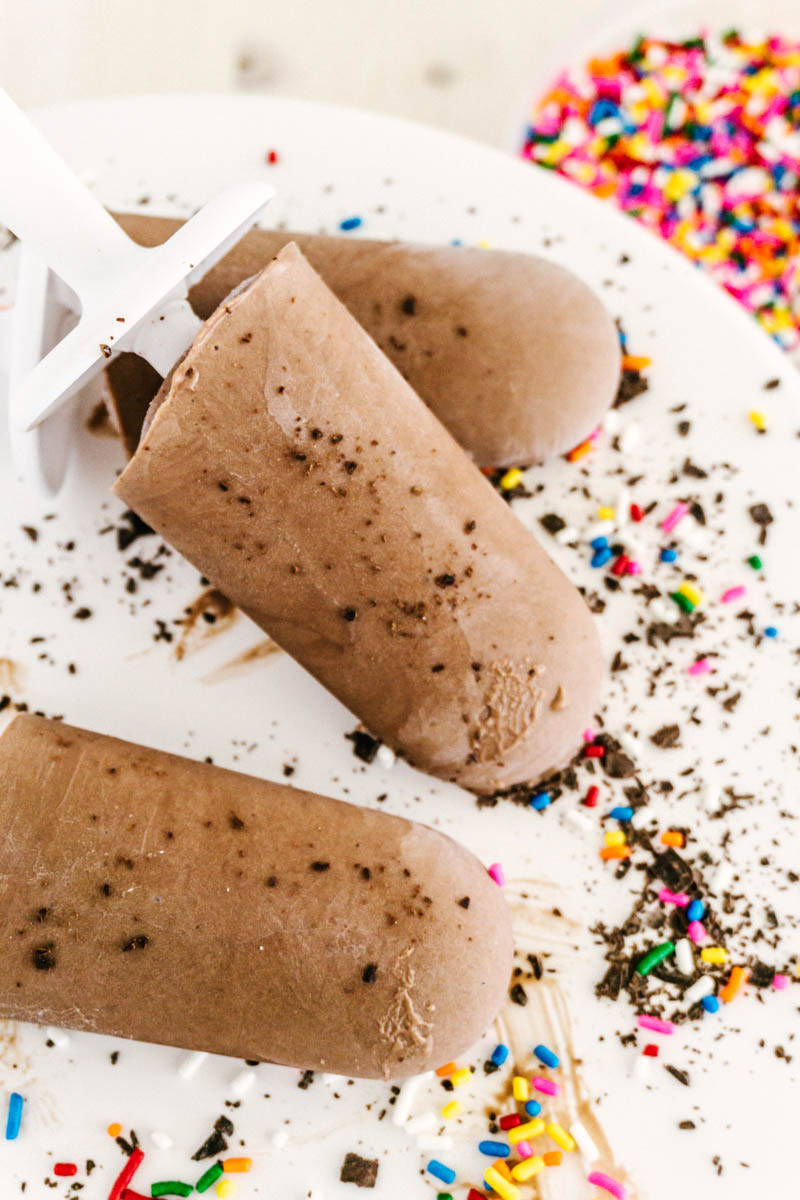
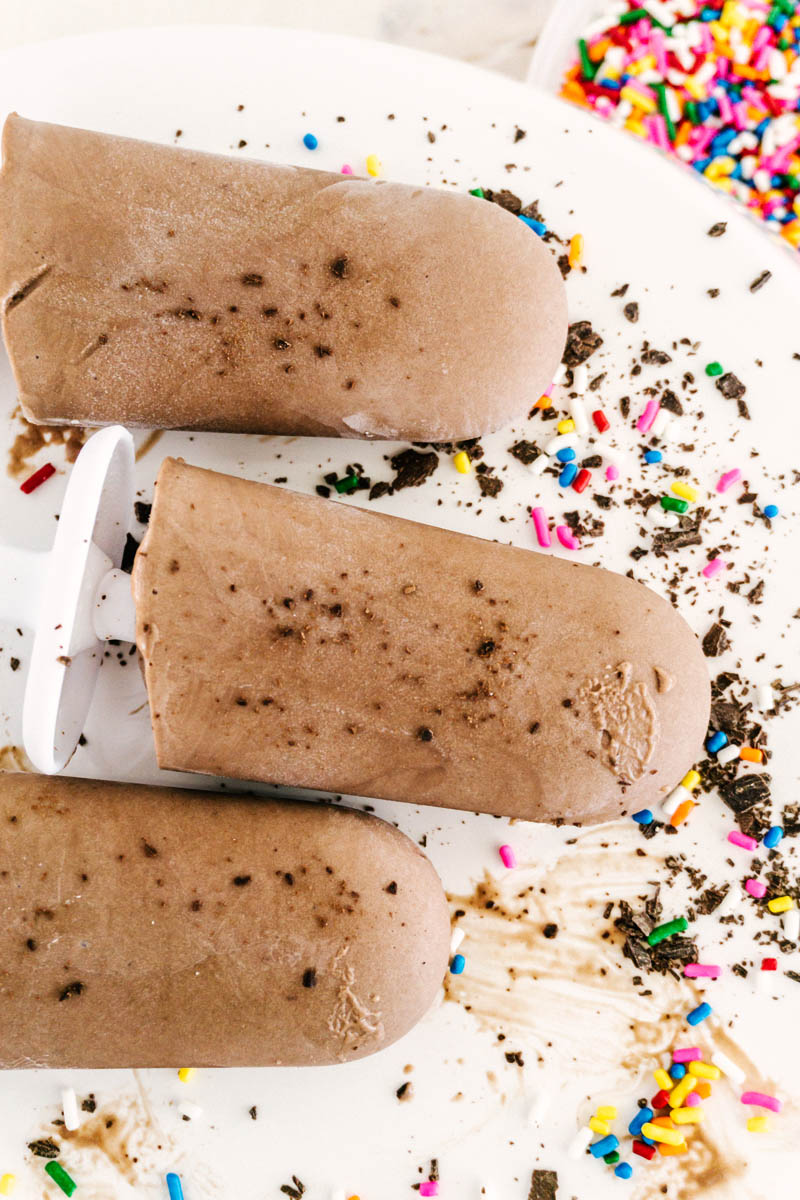
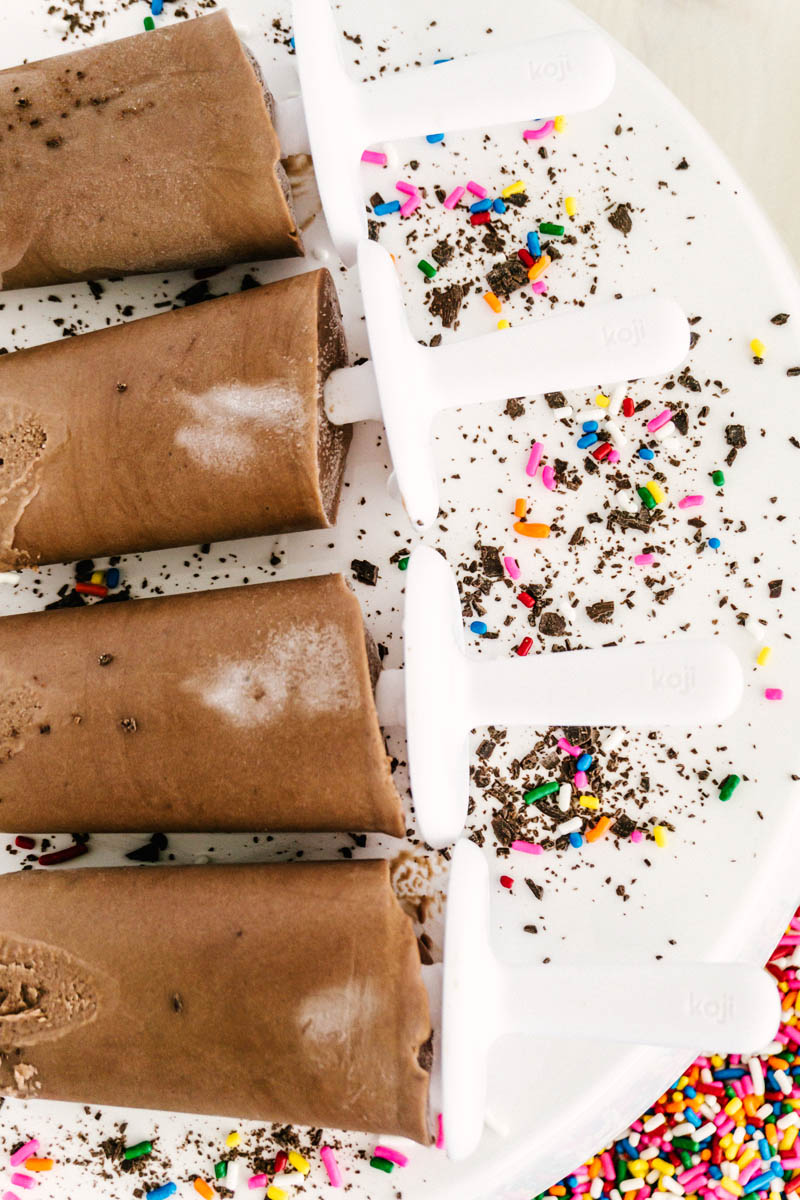
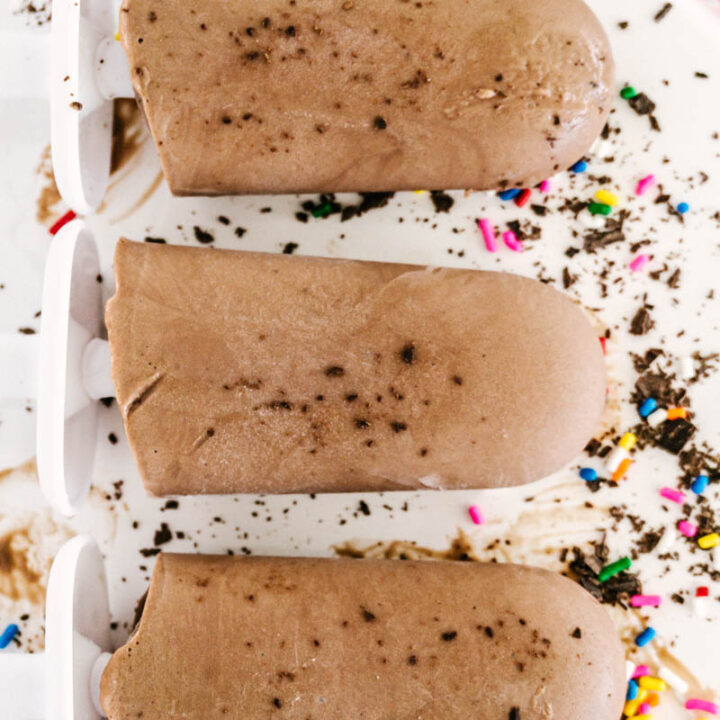
You can count on one hand how many ingredients you need for these homemade fudgesicles. A creamy, chocolatey, chilly treat to enjoy all summer long!
Beat the Heat
Growing up I loved eating Fudgesicles! They were my preference over any fruity ice popsicle that was around. I loved chocolate and couldn’t help but eat a few of these after hitting up the slip ‘n slide. Let’s be honest though, even as an adult these still are my favorite frozen treat!
Grab your kids, your friends, or yourself and make these! With ingredients commonly found at home, these are a no-brainer when you want a last-minute chilly chocolatey treat!
No Whisk for You
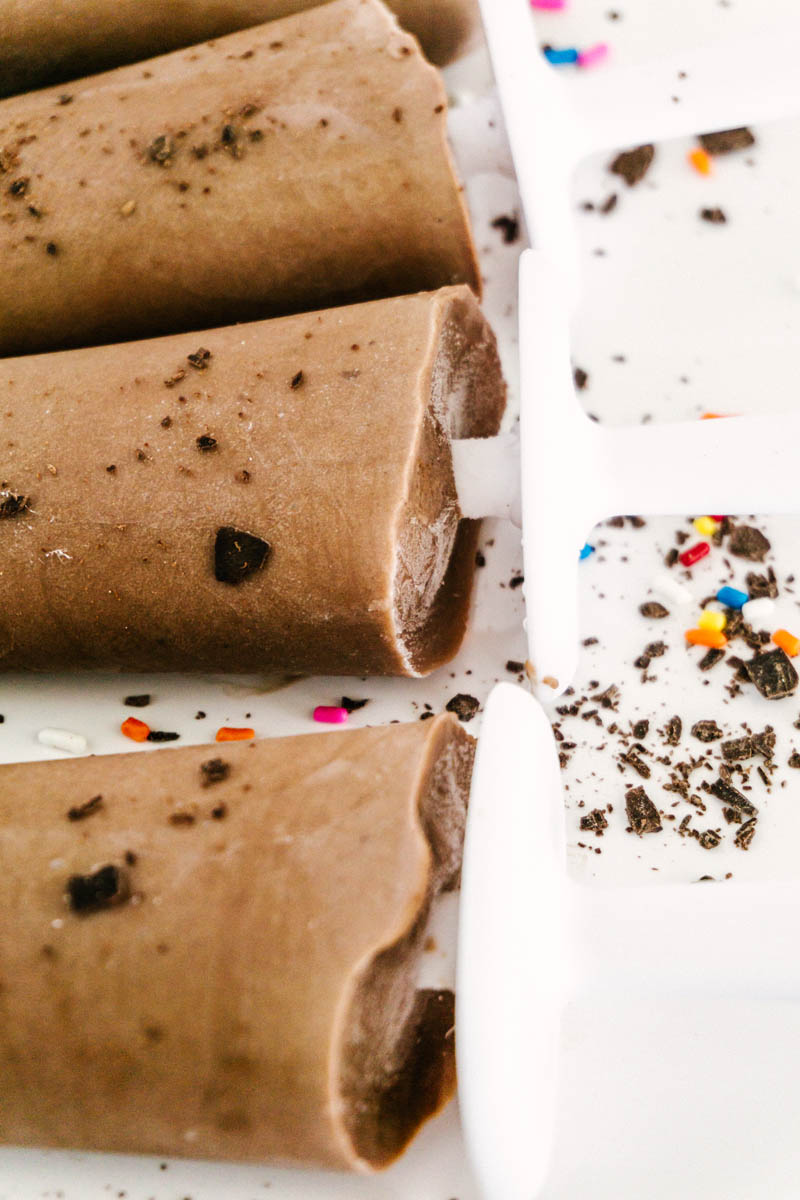
Because you don’t want air pockets in your Fudgesicles, it is important that you don’t use a whisk to stir the chocolate mixture or when you’re adding the whipped cream. The more air you introduce into the mixture, the more air bubbles you will get as your fudgesicles freeze. Use a flat spatula or spoon instead.
Recipe Ingredients
Cook and Serve Chocolate Pudding- This is different from the box of instant chocolate pudding also found in your baking aisle. You will want to make sure you grab the box that says “Cook and Serve” on it.
Milk- I use whatever is in my house, which is currently 2%.
More Details on Assembly
Whipping the cream till you get soft peaks means when you pull the beaters up from the bowl the cream points up for a second then curls back down. If the peaks were stiff the cream would stay pointed up when beaters were removed from the bowl.
If you don’t have popsicle molds, use paper cups and put popsicle sticks in them halfway through your freezing time. They are not the prettiest, but they work in a pinch!
This recipe is not only easy but inexpensive and delicious!
Looking for more delicious chilly recipes? Try these:
You can count on one hand how many ingredients you need for these homemade fudgesicles. A creamy, chocolatey, chilly treat to enjoy all summer long!
Ingredients
1 C (8 oz) heavy whipping cream
1 (5 oz) package Cook and Serve chocolate pudding
⅓ C (2.3 oz) white sugar
3 C (24 oz) milk
Instructions
In a bowl, whip whipping cream until soft peaks form. Set aside.
In a medium saucepan add Cook and Serve chocolate pudding, sugar, and milk. On medium heat, stir mixture until it boils and thickens, about 8 minutes or so. Do not use a whisk.
Turn off heat and stir in whipped cream. Mix thoroughly until all whipped cream is incorporated and mixture is smooth without lumps.
Pour into popsicle molds. Freeze for at least four hours.
Notes
Do not use a whisk while stirring the mixture. Use a flat spatula or spoon instead.
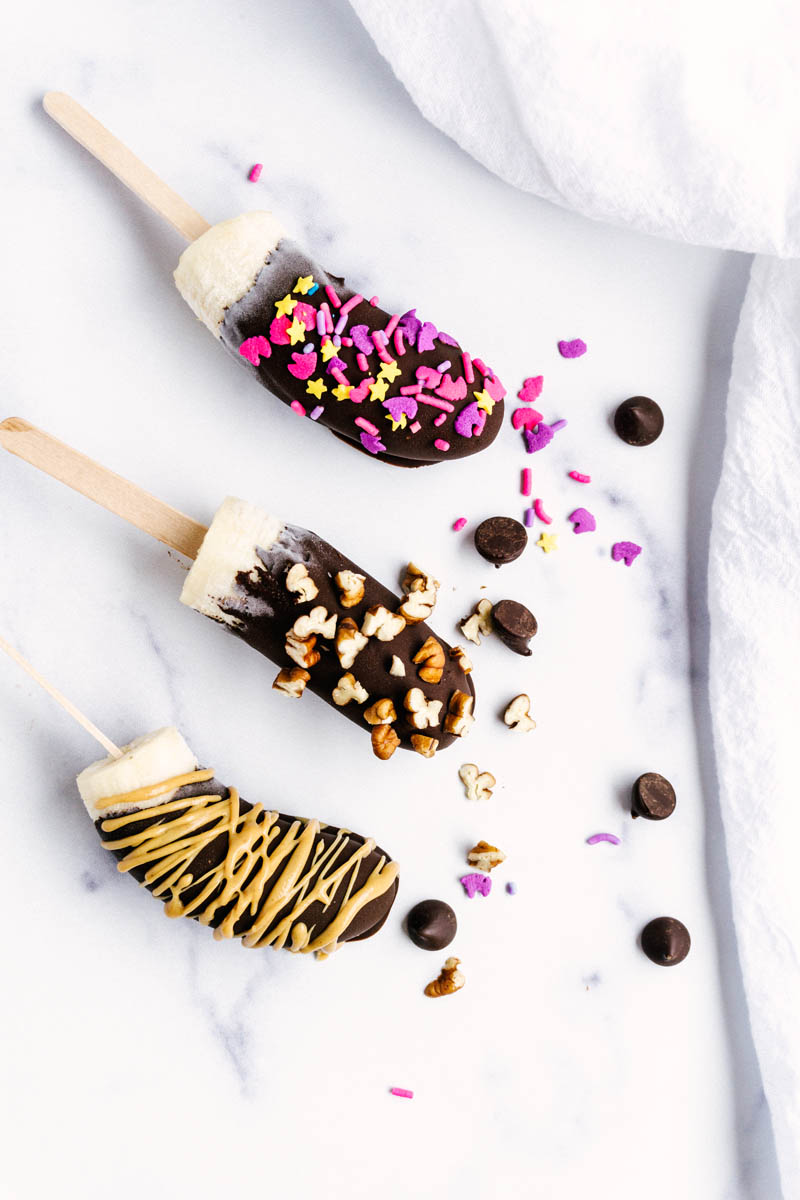
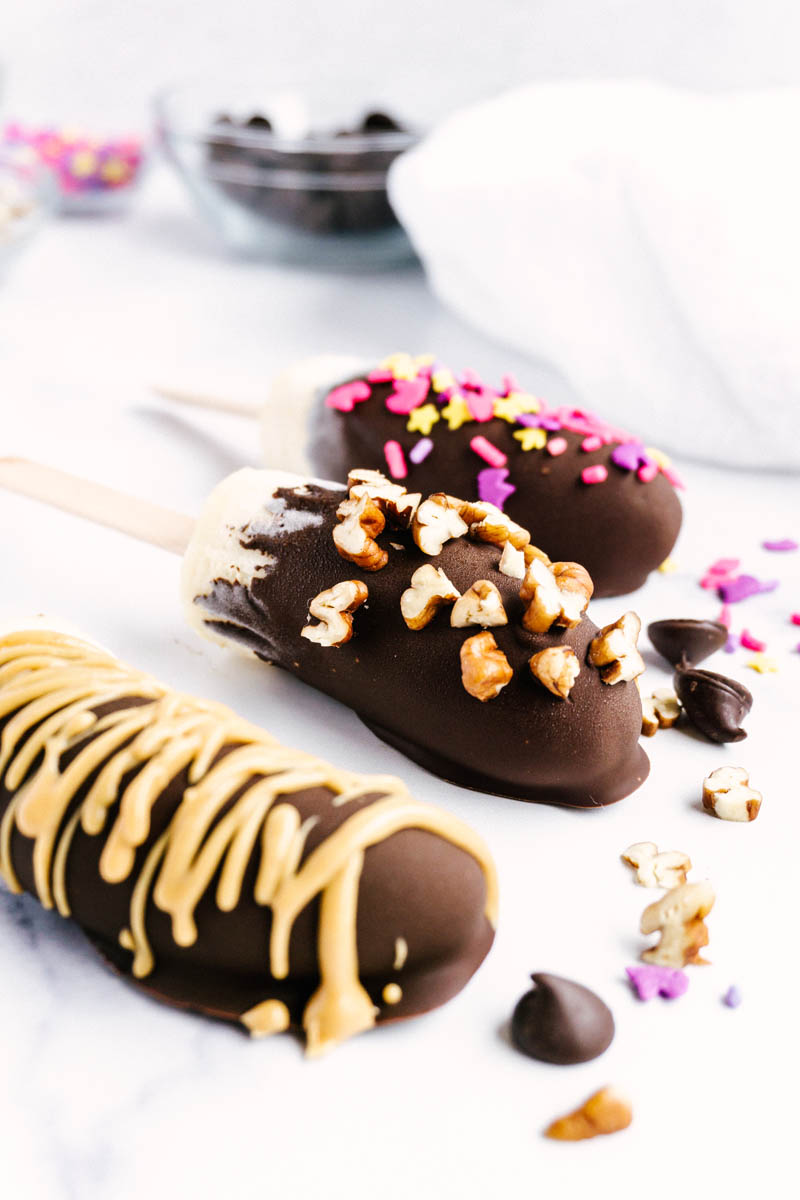
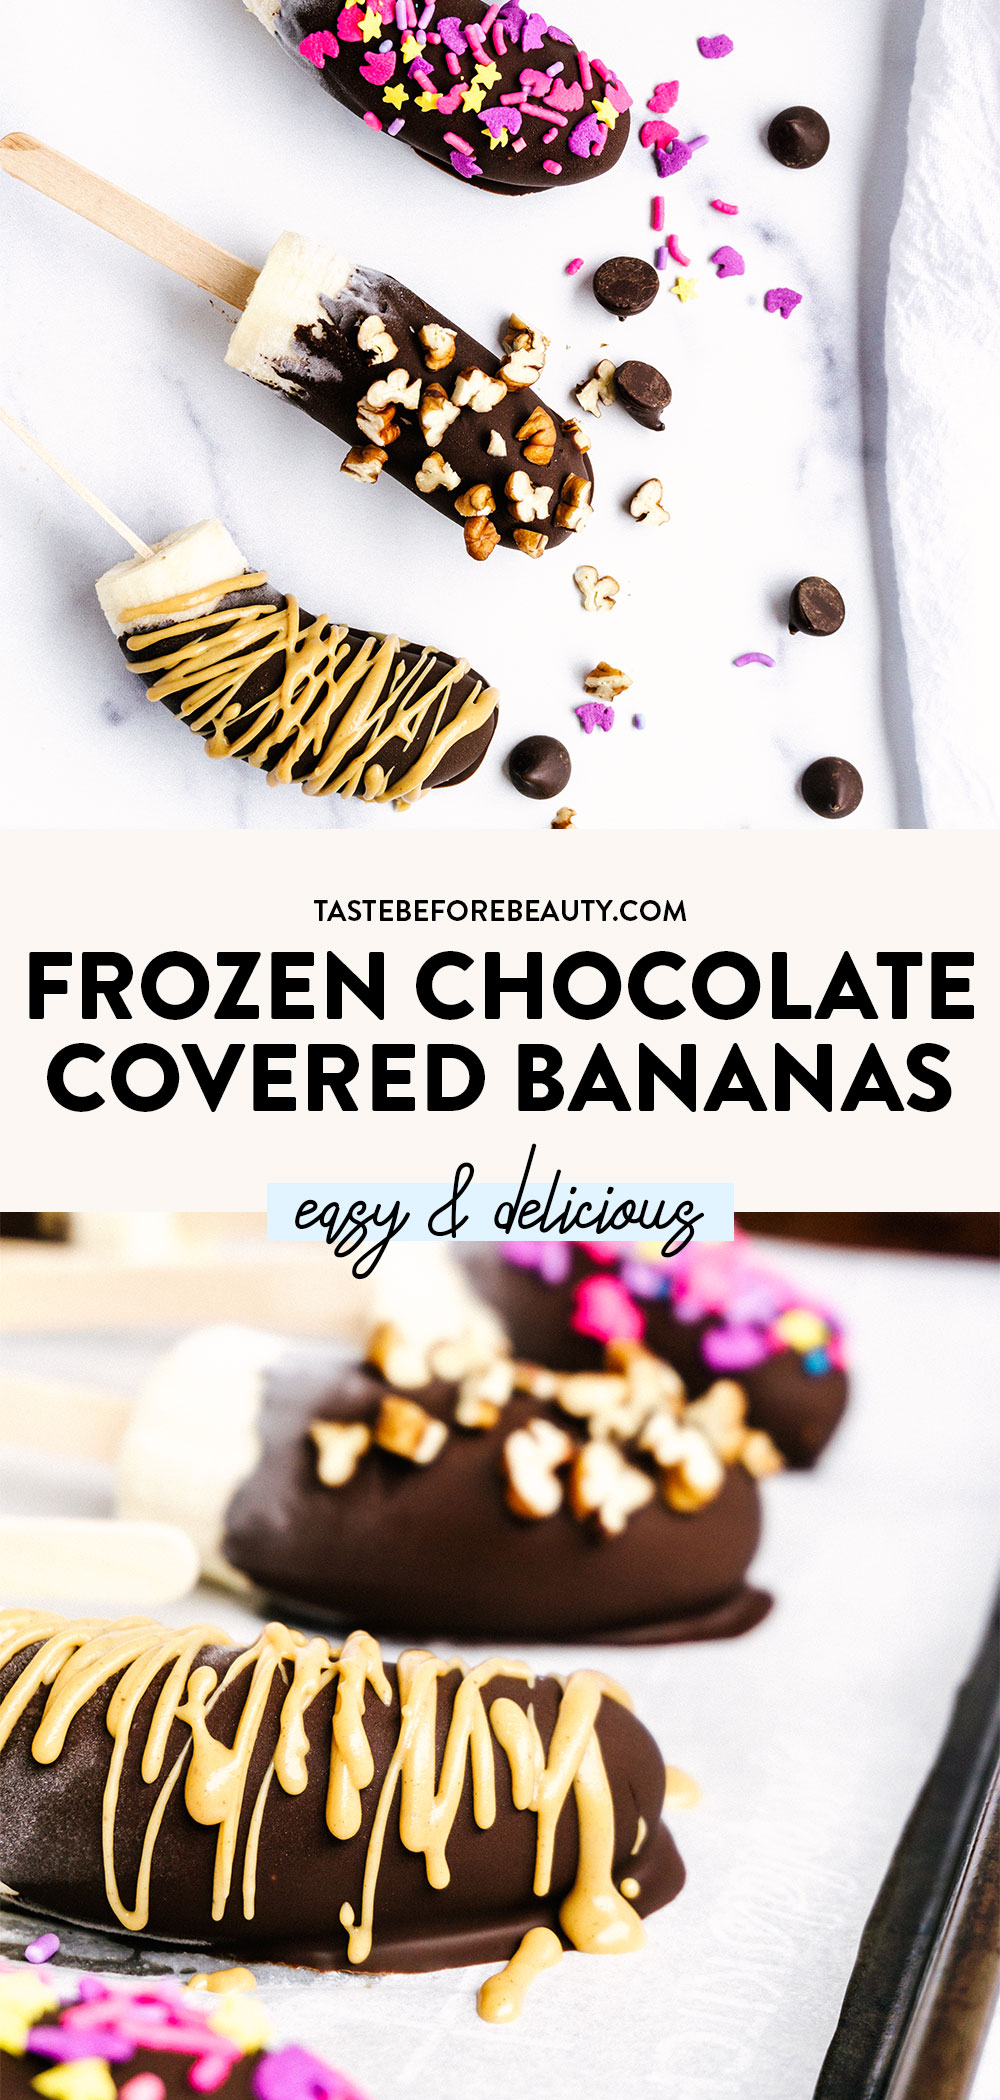
You’ll go bananas for these easy delicious Frozen Chocolate Covered Bananas. With no baking and minimal prep, these are the perfect summer treat!
The Perfect Frozen Summer Treat
Looking for the perfect, cold treat for those hot summer days? You’ve found it! These Frozen Chocolate Covered Bananas are super easy and refreshing. With only a few minutes of actual prep work involved, these are quicker and easier than a trip to the store to buy those popsicles that come in the plastic tubes. Plus they taste way better!
The last time I had a frozen chocolate-covered banana was in 2007 when my family took a trip to Disney World. The temperatures warmed up here in Pennsylvania last weekend and I got a craving for one. With continuing travel restrictions due to the pandemic, I knew I would have to make them at home.
Fortunately, these come together fast. The hardest part is waiting for them to freeze, but even then you’re less than two hours from a delicious frozen treat. And since the main part of it is banana, you can feel good about your mid-afternoon snack.
About the Ingredients
Bananas – I like to use ripe bananas with a few spots on them. They’re nice & sweet and make an ice cream bar-like treat.
Chocolate Chips – chocolate chips melt nicely and I always have lots around. I prefer dark chocolate. You can use any chocolate chips or chopped chocolate you like.
Coconut Oil – helps the chocolate melt and coat the frozen bananas smoothly.
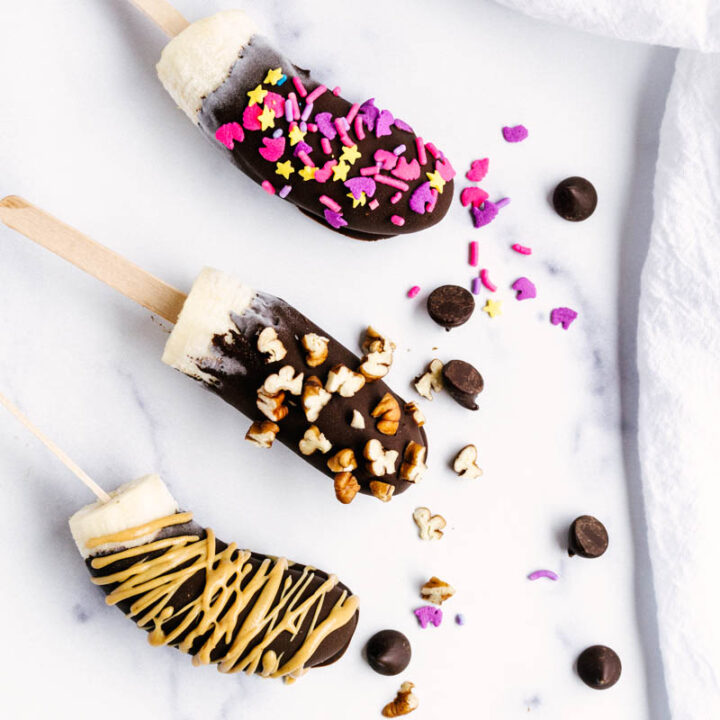
Toppings: I used unicorn sprinkles, finely chopped pecans, and peanut butter. Other ideas could include mini M&Ms, chopped peanuts, chocolate chips, mini marshmallows, white chocolate drizzle, flaky sea salt, coconut flakes, crushed Oreos, or freeze-dried raspberries. They also might be super delicious with cookie dough topping from these Cookie Dough Brownies!
Frozen Chocolate Covered Bananas Assembly Tips
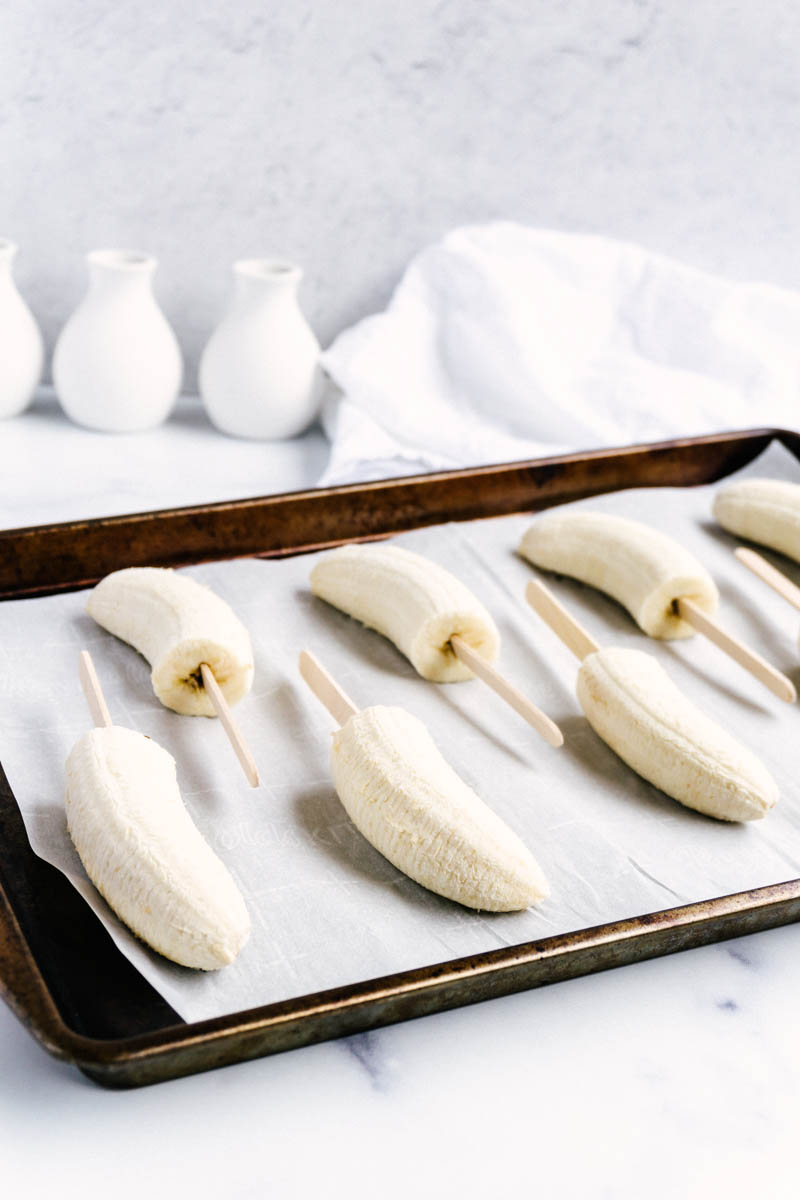
Prepare the bananas: Peel each banana and cut it in half. Place a popsicle stick far enough into each banana half that it stays on, but not so far that it pokes out the other end.
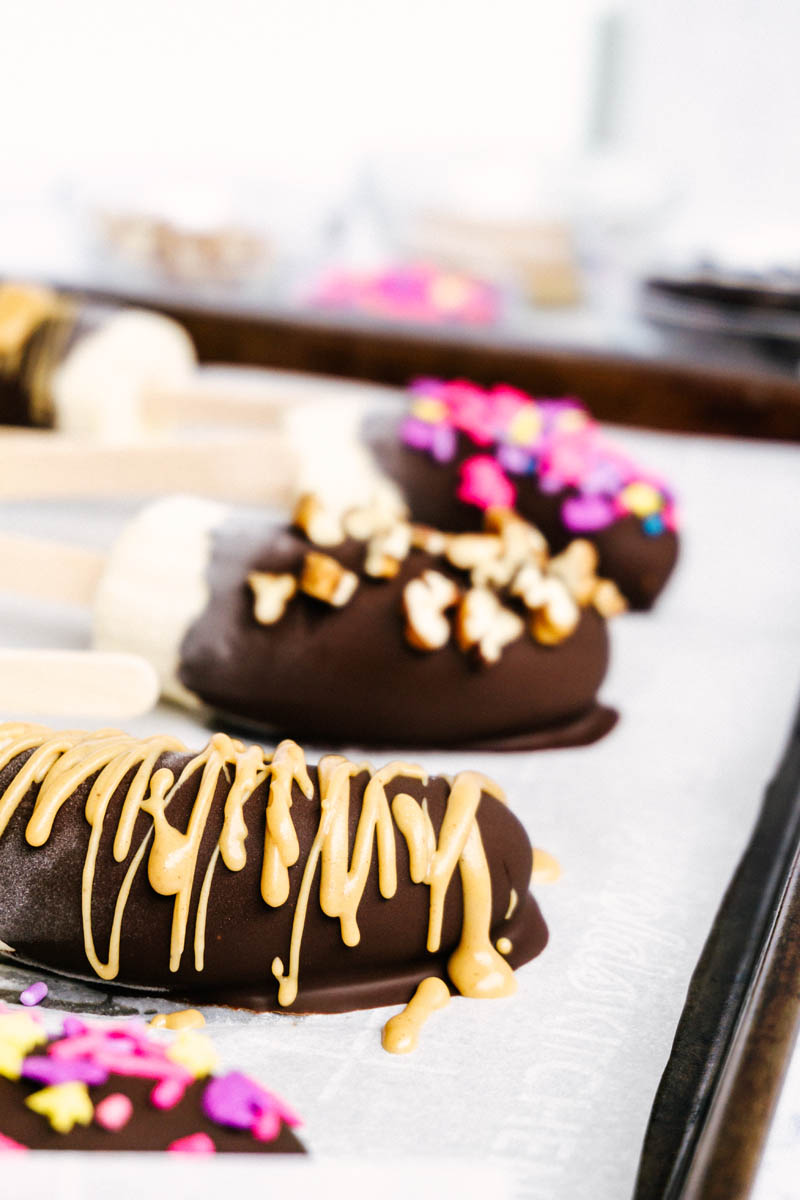
Dip bananas in chocolate: After melting the chocolate and coconut oil, dip each banana into the chocolate. It works best to use a tall, skinny container like a glass. I do just one banana at a time because the chocolate sets up so fast.
Decorate: Immediately after dipping each banana in chocolate, sprinkle with whatever toppings you’d like. The chocolate hardens fast so move quickly!
Drizzle: If you want to use a drizzle, like peanut butter, freeze the chocolate-dipped bananas for 15 minutes or so first so the drizzle doesn’t just blend into the chocolate.
Freeze: After decorating, place the bananas back in the freezer for 20-30 minutes to firm the chocolate up. I like to eat these completely frozen, straight from the freezer. My husband likes them after they’ve thawed for just a few minutes and have a soft, nice cream texture.
However you choose to top these, they are guaranteed to be delicious and the perfect cold treat on a hot day. Enjoy!
Looking for more delicious summer recipes? Try these:
You’ll go bananas for these easy delicious Frozen Chocolate Covered Bananas. With no baking and minimal prep, these are the perfect summer treat!
Ingredients
Frozen Bananas
3-4 medium bananas
Chocolate Coating
1 C (6 oz) dark chocolate chips or chopped chocolate bar
1 T coconut oil
Toppings
Sprinkles
Chopped pecans
Peanut butter
Instructions
Cut & freeze the bananas.
Peel bananas. Cut in half and insert a popsicle stick a few inches into each half. Place on a wax paper-lined cookie sheet.
Repeat with the rest of the bananas. Freeze for at least one hour.
Dip bananas in chocolate & decorate.
Combine chocolate and coconut oil in a microwave-safe bowl. Melt in 15-second bursts until melted and smooth.
Dip frozen bananas in melted chocolate. Place back on cookie sheet and immediately top with desired toppings.
Freeze chocolate-covered bananas for another 20-30 minutes.
Serve frozen. Store in freezer in an airtight container for up to a week.
Notes
If adding peanut butter or other drizzles, freeze chocolate-covered bananas for 15-20 minutes before drizzling, then freeze for another 20-30 minutes before serving.
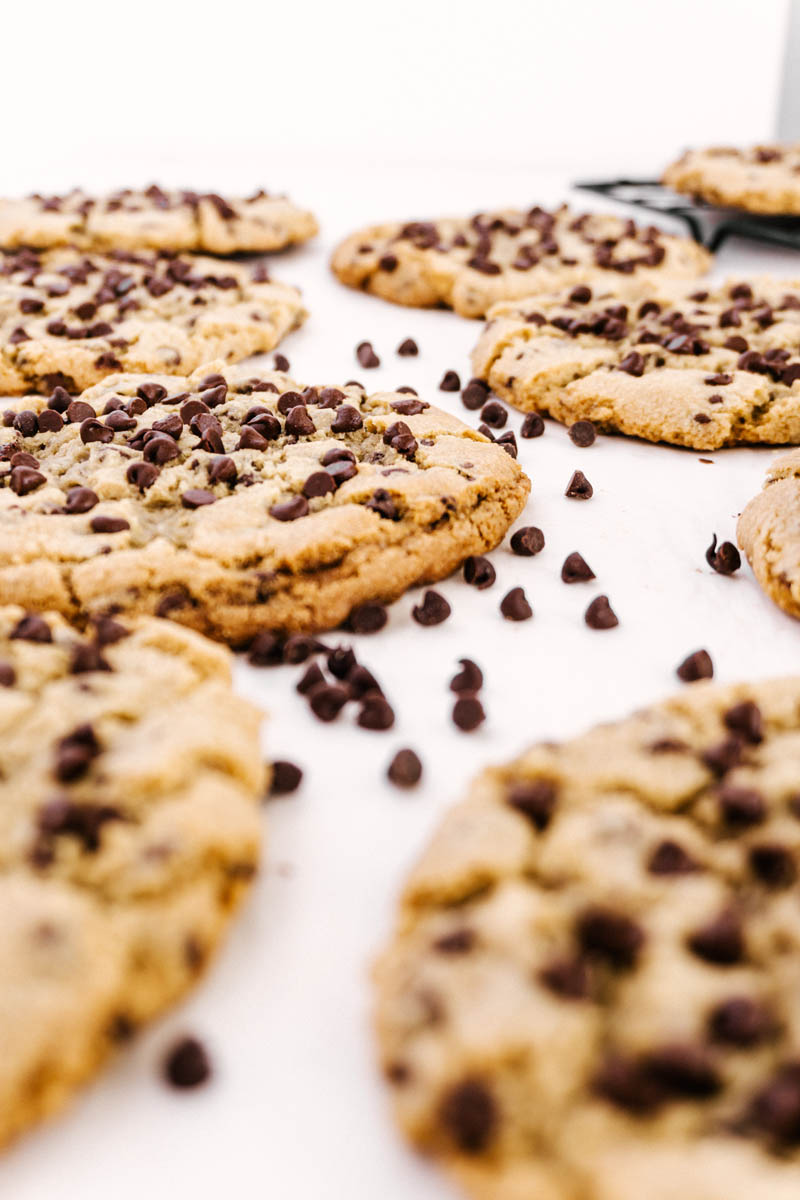
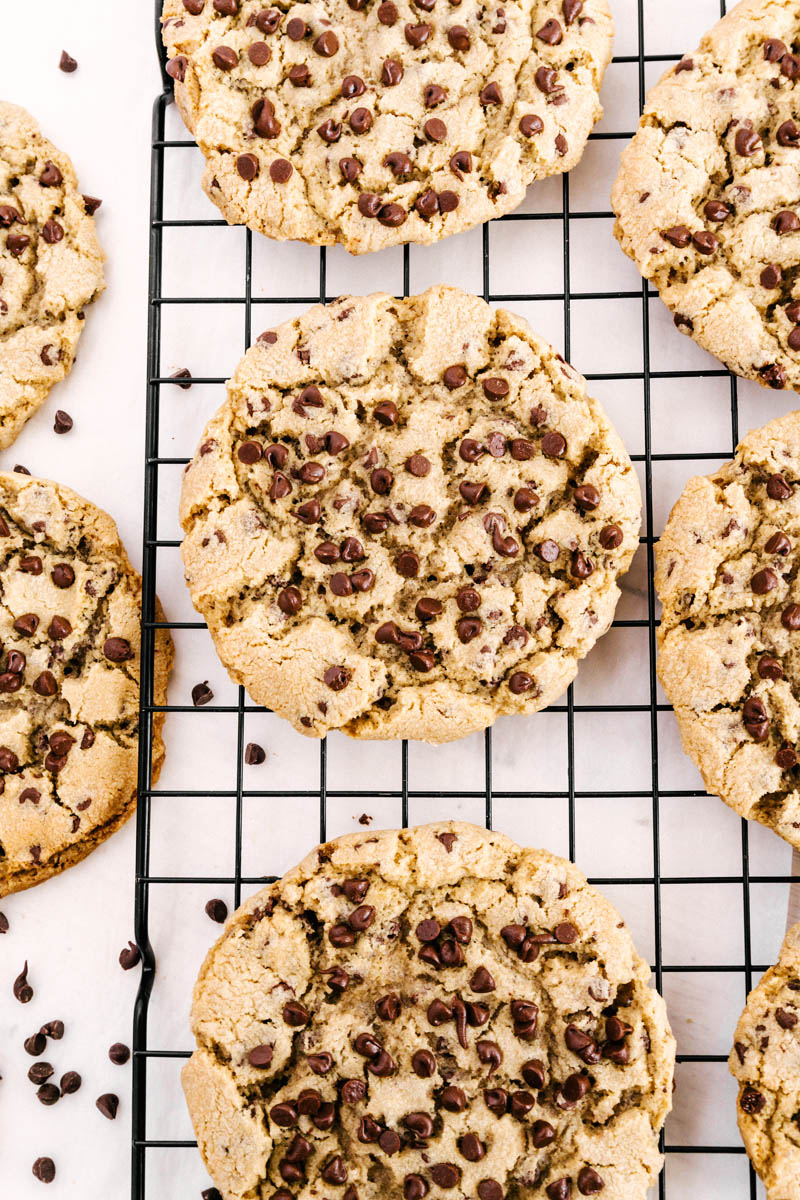
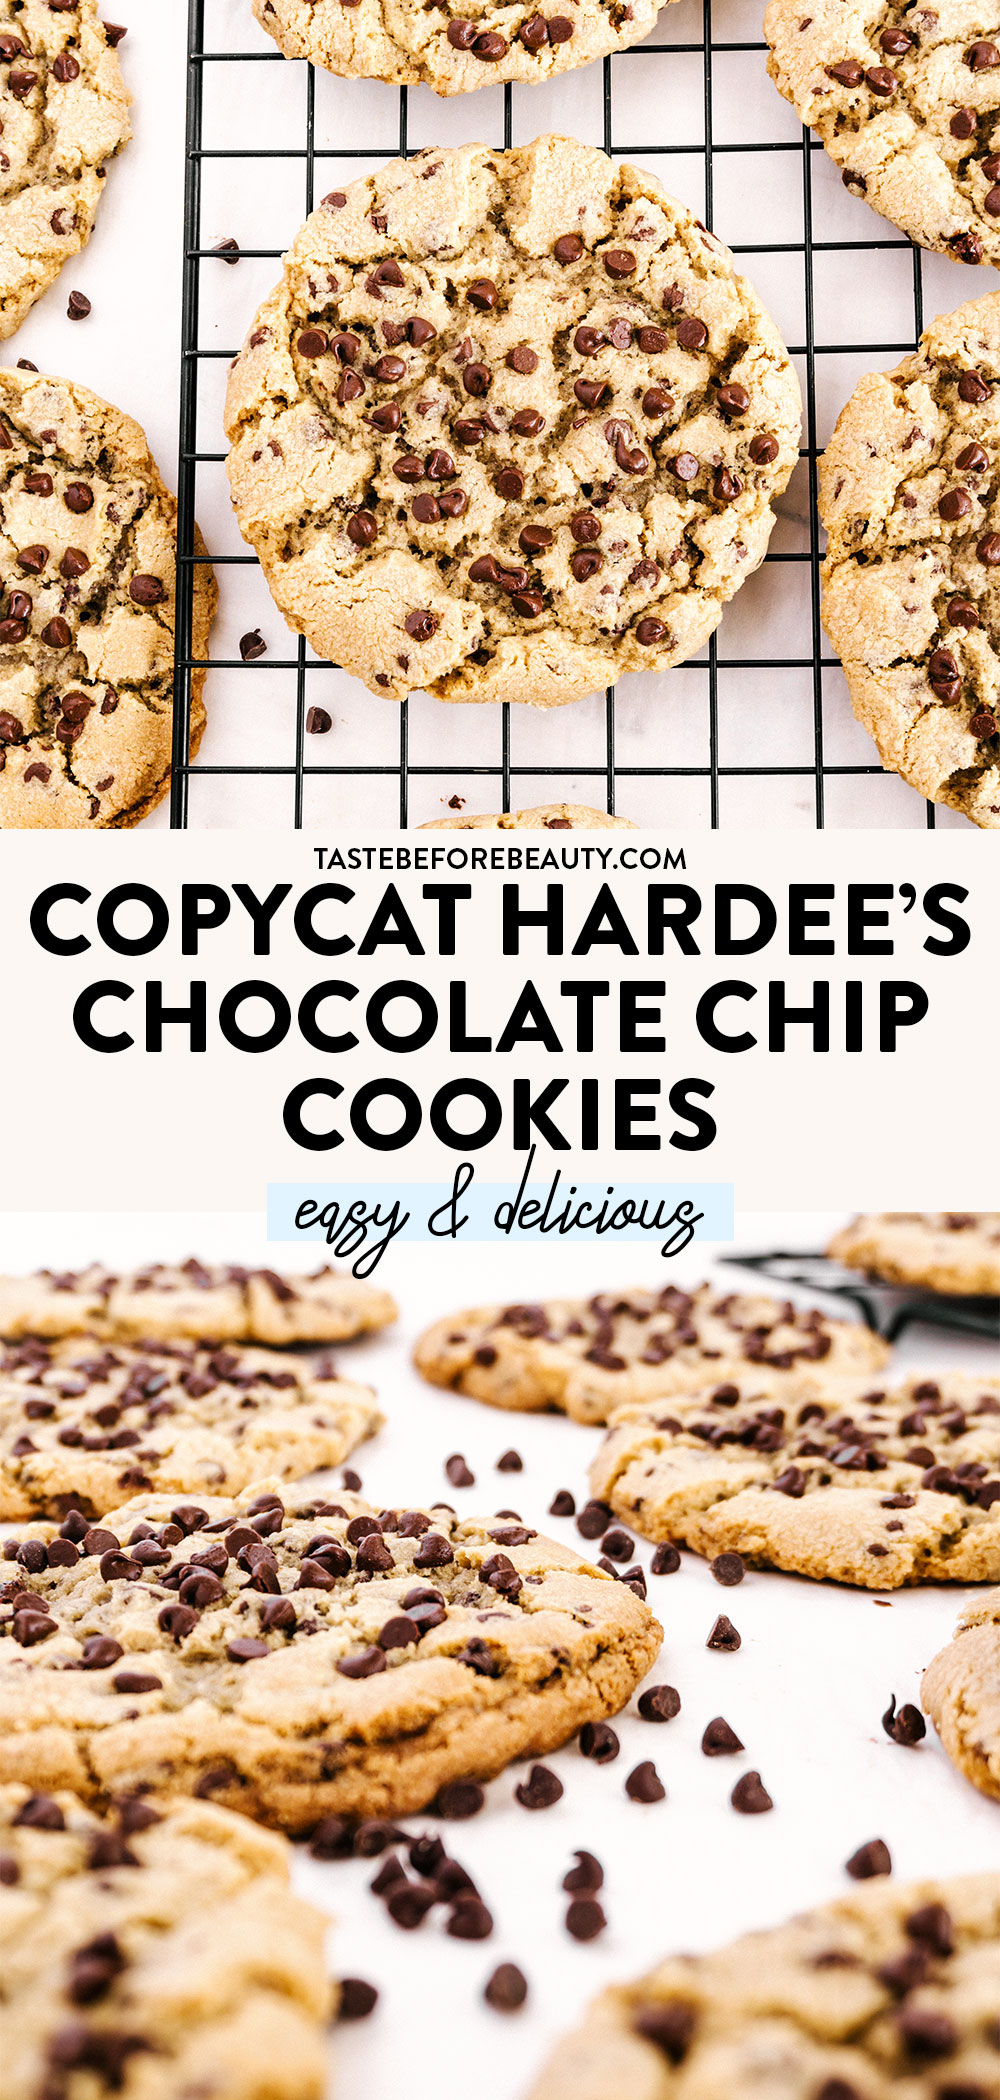
Go big or go home! This big cookie is a copycat of the original ‘90s chocolate chip cookie offered at Hardee’s, and is enjoyed best with a friend and a tall glass of milk. If you’re looking for that delicious ‘90s cookie nostalgia, you’ve found it!
Way Back When
Way back in 1993, my mom, Missy was a newlywed. To help pay the bills, she worked at the local Hardee’s fast-food restaurant. She is one of the hardest workers I know, so I don’t doubt she put in long hours working at Hardee’s.
Being on your feet all day can be exhausting, but mom mentioned she was always able to grab a fresh chocolate chip cookie during her much-needed lunch breaks. She said the cookie always seemed to hit the spot, so she tried to recreate it years later!
This Copycat Hardee’s Chocolate Chip Cookie is the result of her testing. The original Hardees cookie baked up much darker than your average cookie, which is why this recipe has lots of brown sugar and dark brown sugar.
Copycat Hardee’s Chocolate Chip Cookies: Big and Beautiful
These cookies can be made with any size cookie dough scoop you would like. The original ‘90s Hardee’s Chocolate Chip Cookie was quite large, so I made it with the biggest scoop I had in my kitchen. A #20 cookie dough scoop is about 3 tablespoons of dough. To be honest, I made them even bigger by heaping the dough onto the scoop each time! I was even tempted to go bigger, but maybe next time!
No matter what size you make these, make sure to adjust the baking time accordingly. A #30 cookie dough scoop size (standard size) will need about 8 minutes. Keep your eye on when the cookies start to lightly brown on the edges.
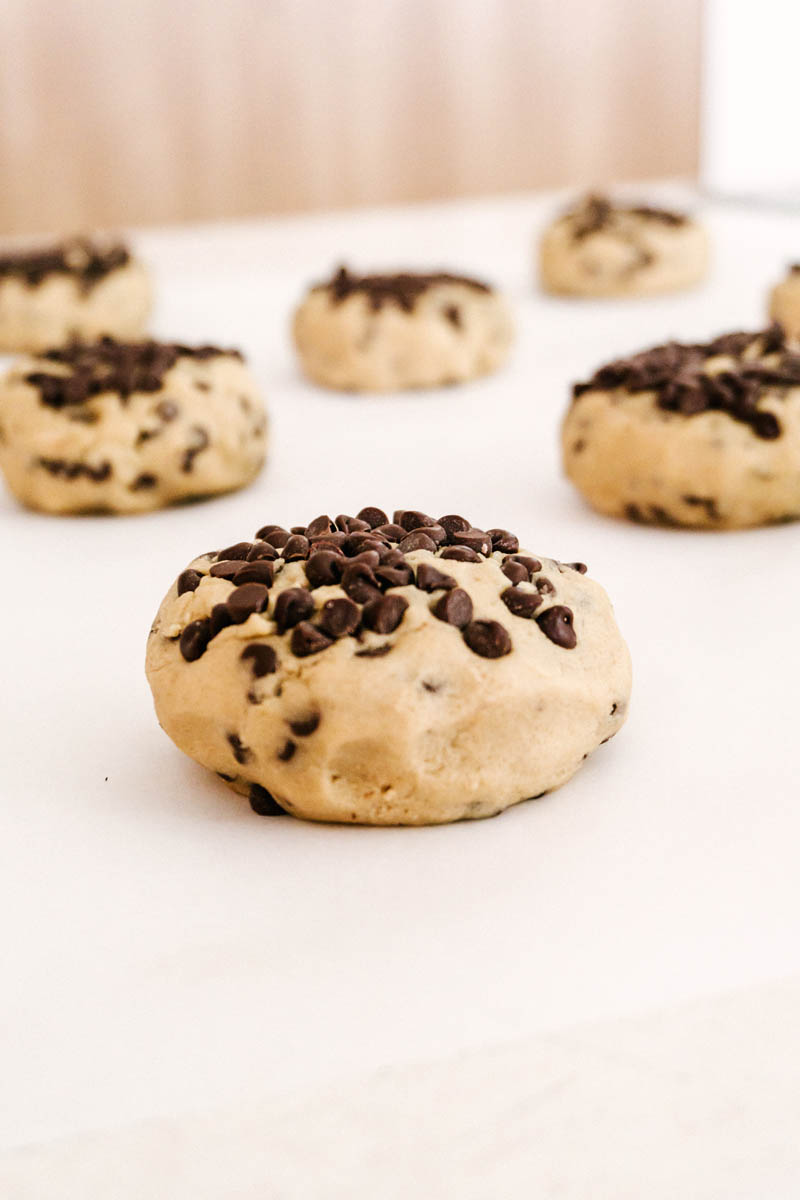
Topping the Dough Balls
After mixing the dough, scoop it into balls. Since mini chocolate chips are being used, I find it easiest to take each ball of dough and press it gently into the chocolate chips. Then, flip it over and place it on the cookie sheet. That way you are not trying to put a bunch of tiny chocolate chips on top of a giant dough ball. It makes it fast and easy and they all stick to the dough instead of fall off onto your parchment paper.
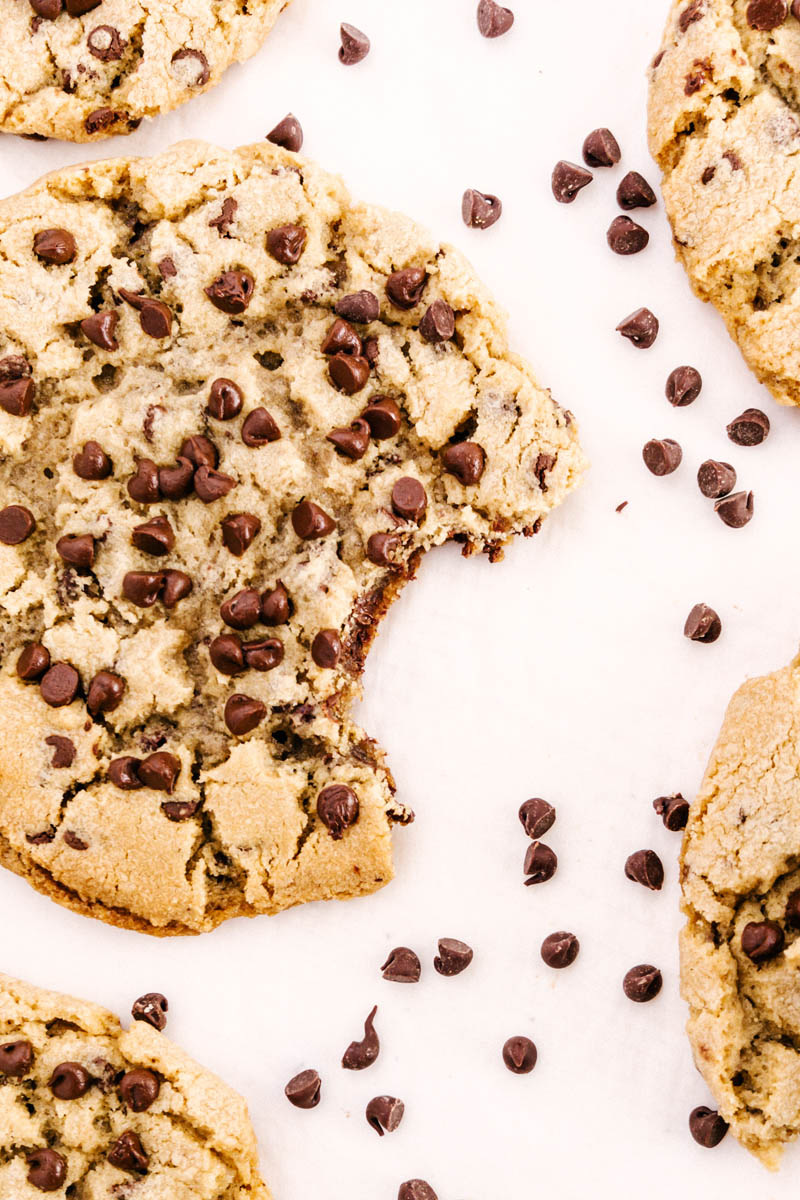
Overdone But Still Perfect
The first time I made these cookies I over-baked them by a few minutes and they were a little crunchy. However, to my surprise, my husband’s family loved them because they were the perfect milk dipping cookie! So if you want a little extra crunch leave them in the oven for an extra 2-3 minutes, and be sure to enjoy them with a tall glass of milk!
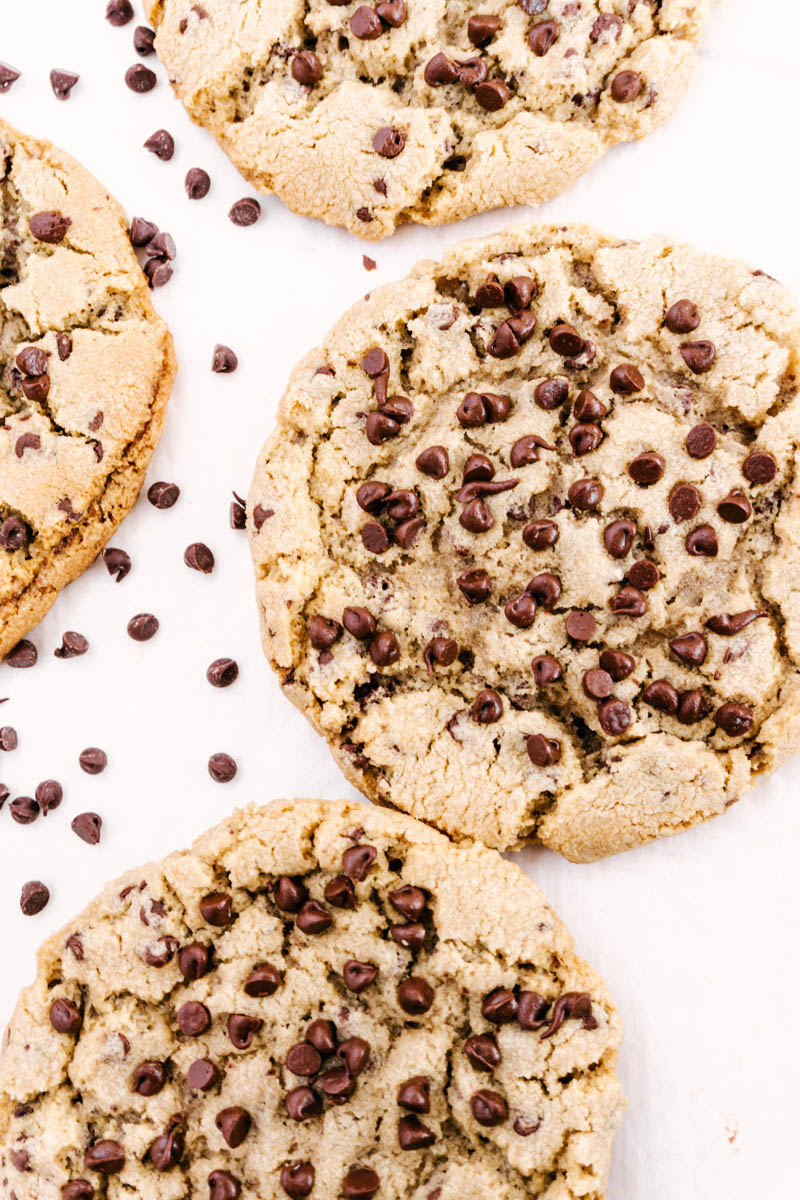
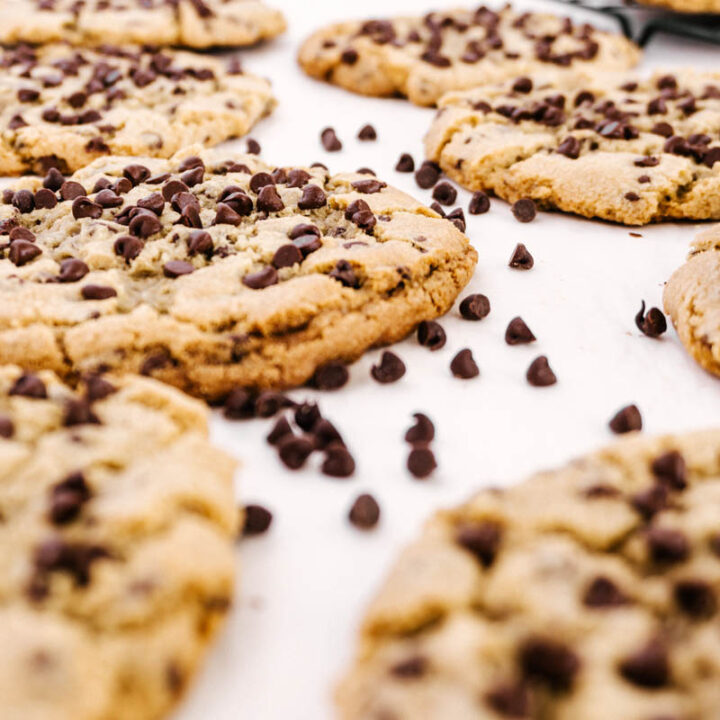
Whatever size you make these, they are guaranteed to be delicious. Packed full of brown sugar and irresistible mini chocolate chips, every mouthful is a delight. When you try these, please leave a comment and a review!
Looking for more delicious cookie recipes? Try these:
Go big or go home! This big cookie is a copycat of the original chocolate chip cookie offered at Hardee’s, and is enjoyed best with a friend and a tall glass of milk!
Ingredients
1 C (8 oz) salted butter
½ C (4 oz) dark brown sugar
1 C (8 oz) light brown sugar
¼ C (1.75 oz) white sugar
1 large egg
1 tsp vanilla
1 tsp baking soda
¾ tsp salt
2 ½ C (11.25 oz) all-purpose flour
2 C (12 oz) mini semi-sweet chocolate chips, reserve ⅓ C (2 oz) for topping
Instructions
Preheat oven to 350*F. Line cookie sheets with parchment paper.
In a mixing bowl, cream together butter and sugars. Add egg and vanilla. Mix well. Add baking soda, salt, flour, and mini chocolate chips. Mix until fully combined.
Using a #20 (3 T) cookie scoop, place dough a few inches apart on a parchment-lined cookie sheet. Top with mini chocolate chips then flatten dough balls slightly with the palm of your hand.
Bake for 10 minutes or until the edges are lightly browned.
Cool completely before storing. Store in an airtight container. These cookies store well in the fridge for a week or in the freezer for up to 3 months.