
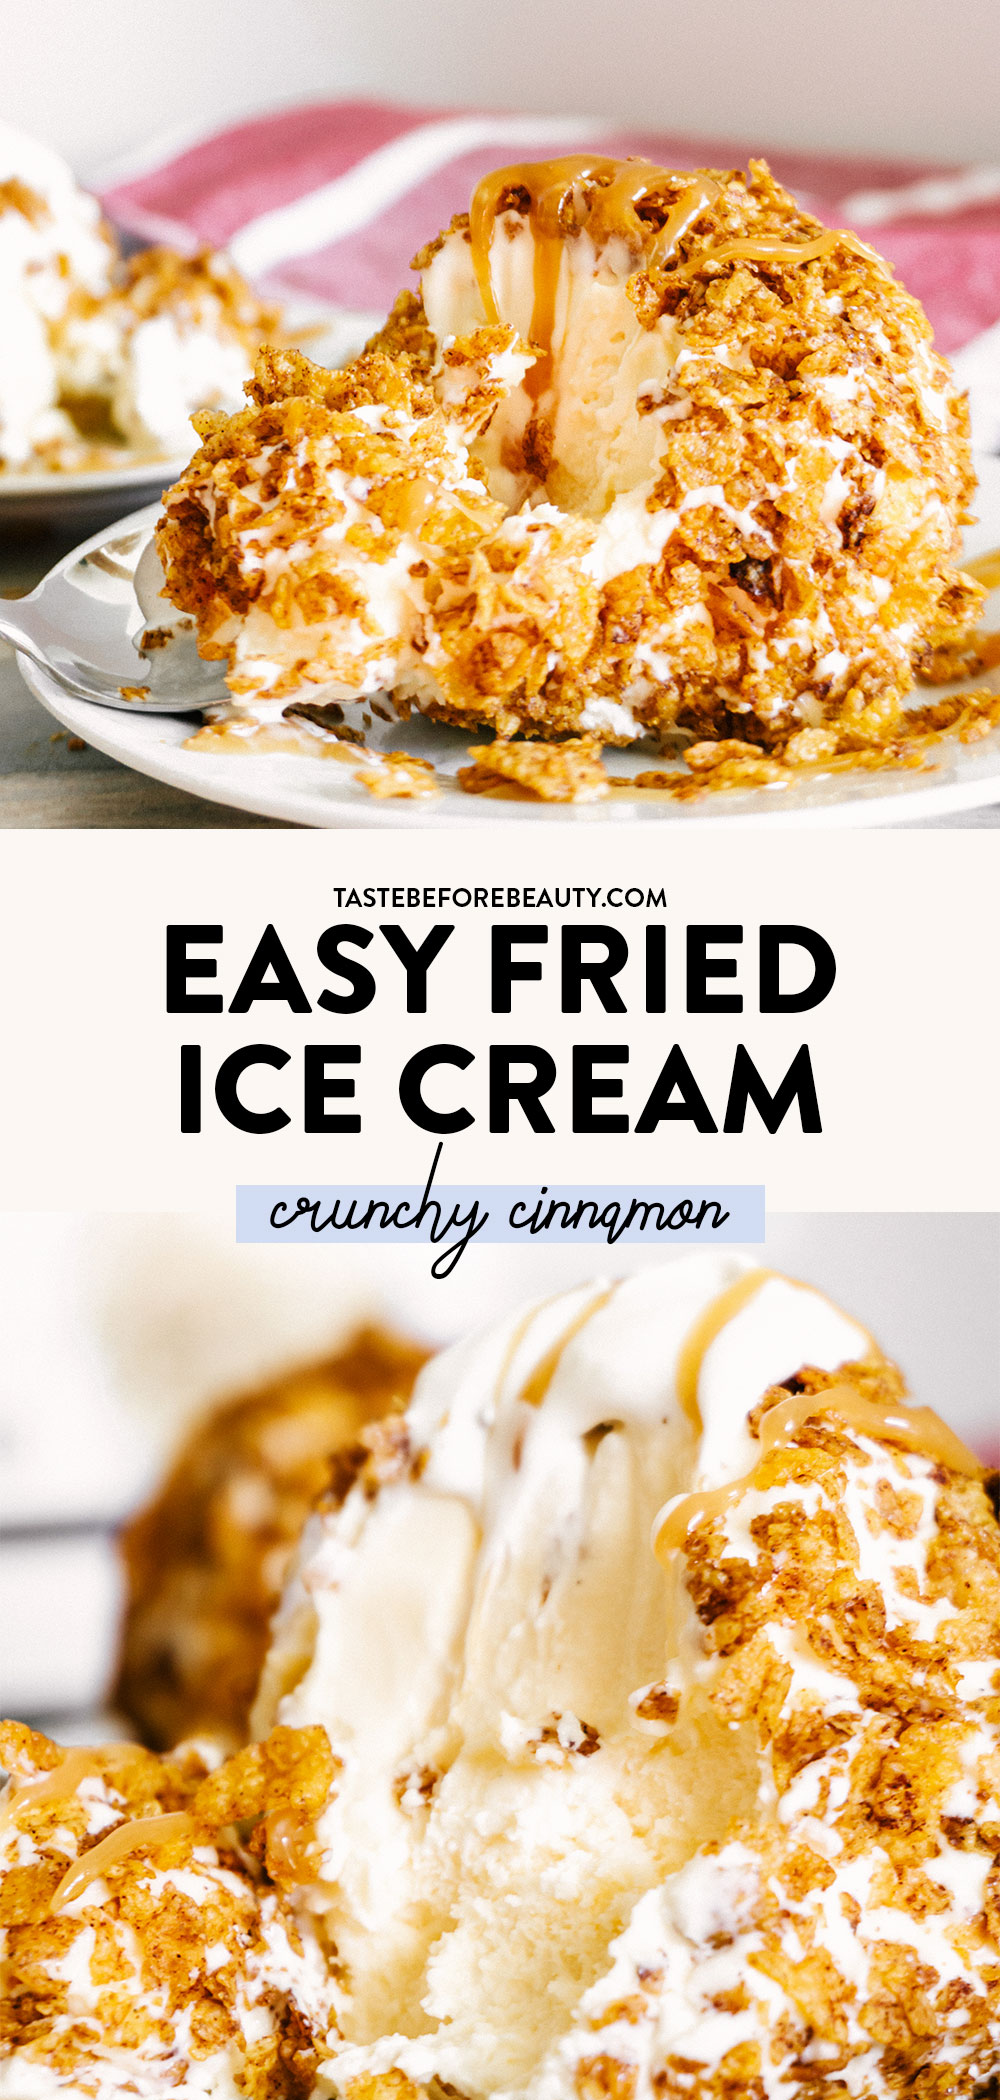
No oil? No problem! Enjoy this Fried Ice Cream that, shh… isn’t truly fried. Covered in a crunchy cinnamon coating and topped with salted caramel, this is a fun twist on an ice cream dessert.
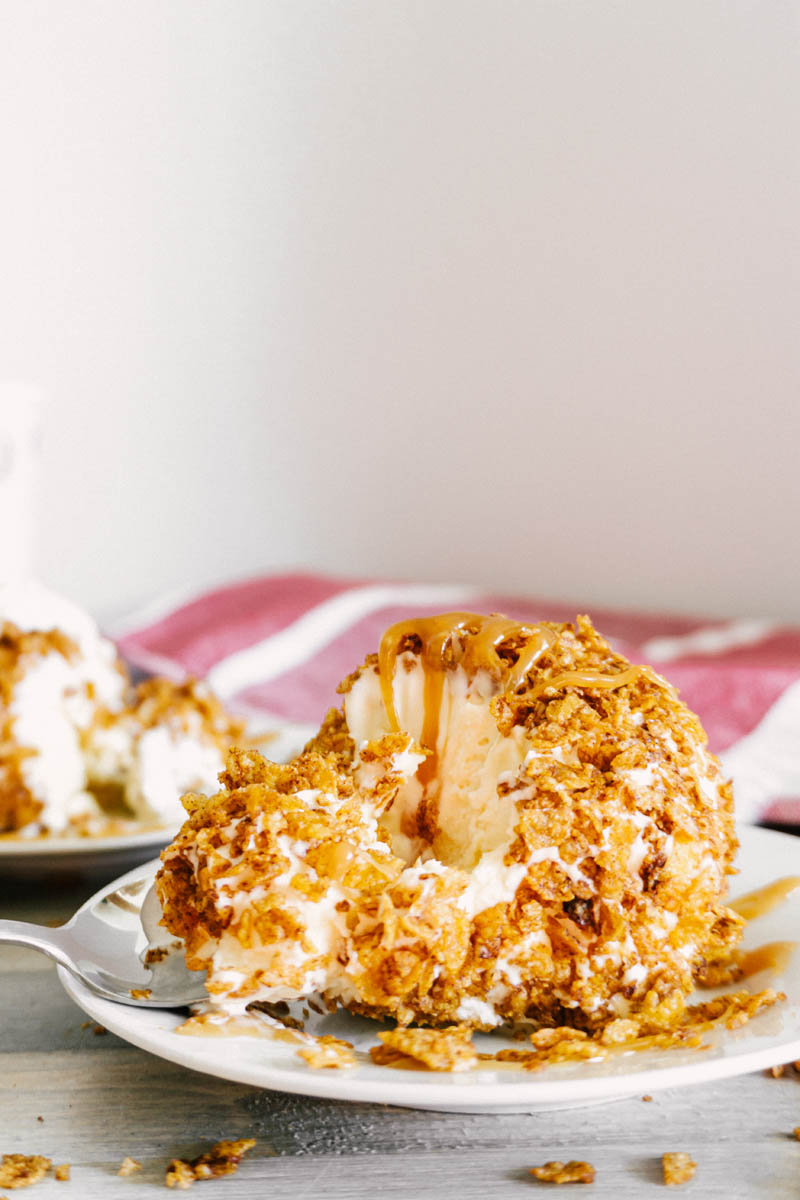
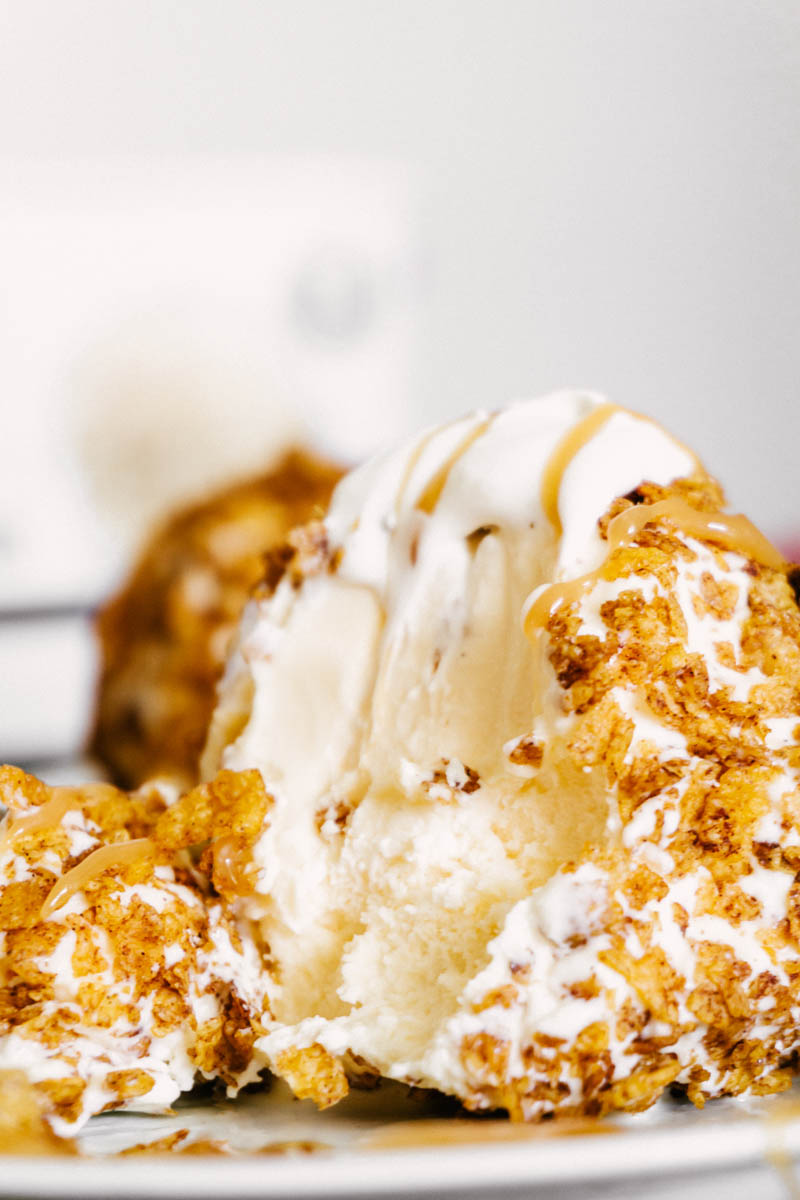
Everyone likes a good bowl of creamy ice cream. But what if you’re ready for a switch up from the same-ol’ same-ol’? This Fried Ice Cream has a big scoop of rich French vanilla coated in crunchy, “fried” Corn Flakes and is drizzled with a homemade salted caramel sauce.
With all the textures and flavors, you’ll be drooling before you ever take a bite. Don’t cut this recipe in half because you won’t want to share!
French Vanilla vs Regular Vanilla
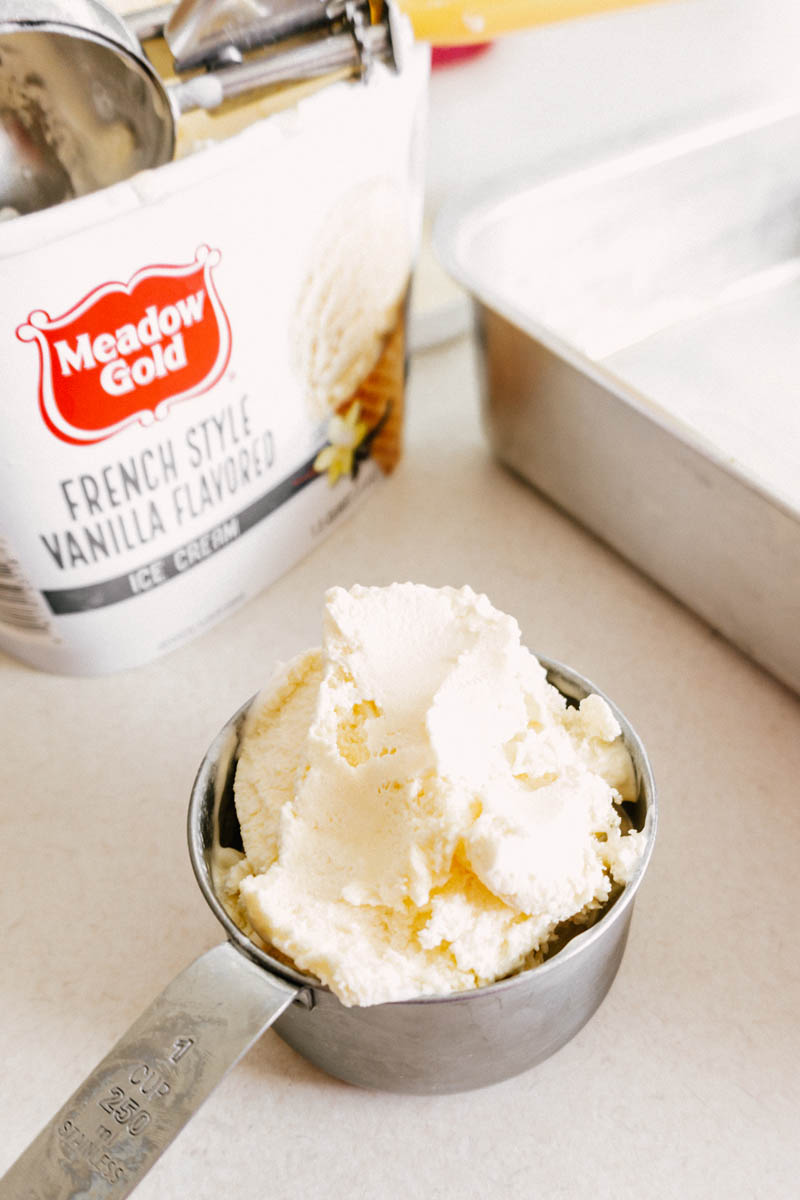
For the best flavor, it is important to use French vanilla ice cream for this recipe. It has a deeper flavor that compliments the cinnamon and salted caramel the best.
The rich flavor in French vanilla comes from the egg yolks in the base of the ice cream. It gives French Vanilla that rich yellow color, unlike regular vanilla which appears pale in color and doesn’t have that smooth and creamy texture that the egg yolks bring to French vanilla.
How to Easily Shape Ice Cream Into Balls
Trying to shape the ice cream into balls and ending up with a melted ice cream mess? Yeah, that happened to me too! I find it easiest to scoop the ice cream into a one-cup measuring cup. Press the ice cream down to form it into a (rather square-shaped) ball and scoop it back out and transfer it to a pan.
Let the ice cream balls hang out in the freezer for 30-60 minutes to firm up again. Once the ice cream balls have refrozen, take them out of the freezer. Use your hands to round out the square edges and make them into round ball shapes. I like to wear gloves for this part to help minimize the mess. Stick the ice cream back into the freezer until you’re ready to assemble.
Salted Caramel Tips
Salted caramel is the perfect complement to the crunchy cinnamon coating on this Fried Ice Cream. When making the salted caramel it can take a little while for the corn syrup and sugar to come to a boil and start to caramelize. Once it reaches that perfect amber color it can burn quickly, so it is important to have your butter, lemon juice, cream, and salt ready beforehand. Once it reaches the right color, turn down the heat a little, and then add the rest of the ingredients.
When the cream mixture is added, the caramelized sugar will appear clumpy and you will have hard sugar lumps. Be patient and keep stirring constantly over the heat until the lumps dissolve. They will.
Once all the sugar is dissolved, remove it from the heat and let it cool. If the caramel appears too thick for you, add a teaspoon of water at a time and mix it in to thin up the caramel. When the caramel is completely cool store it in a microwave-safe container in the fridge. When ready to use, microwave it for 30 seconds or so until it becomes soft and pourable again.
Feel free to pull out this caramel for more than just a topping to Fried Ice Cream. It pairs well with brownies, puddings, apple slices, drizzled over Chocolate Chip Cookies, french toast, and even Whole Wheat Waffles.
Let us know how this delicious Fried Ice Cream goes for you in the comments! I can’t wait to hear what else you use the Salted Caramel Sauce on. If you take pictures, be sure to tag us @tastebeforebeauty.
Fried Ice Cream
No oil? No problem! Enjoy this Fried Ice Cream that, shh… isn’t truly fried. Covered in a crunchy cinnamon coating and topped with salted caramel, this is a fun twist on an ice cream dessert.
Ingredients
Ice Cream Balls
- 1 ½ quarts French Vanilla Ice Cream
"Fry" Mixture
- 4 tsp cinnamon
- 6 C Corn Flakes (3 C once crushed)
- ½ C butter, melted
Salted Caramel Sauce
- ¼ C (2 oz) sugar
- ½ C (5.5 oz) corn syrup
- ¼ C (2 oz) butter
- ⅛ tsp lemon juice
- ½ C (4 oz) heavy whipping cream
- ⅛ tsp salt
Instructions
Make Ice Cream Balls
- Scoop ice cream and shape into round balls. Each ball should be about 3 inches or about 1 cup of ice cream. Place on a pan and freeze for 30 minutes to an hour.
Make “Fry” Topping
- Preheat oven to 350*F.
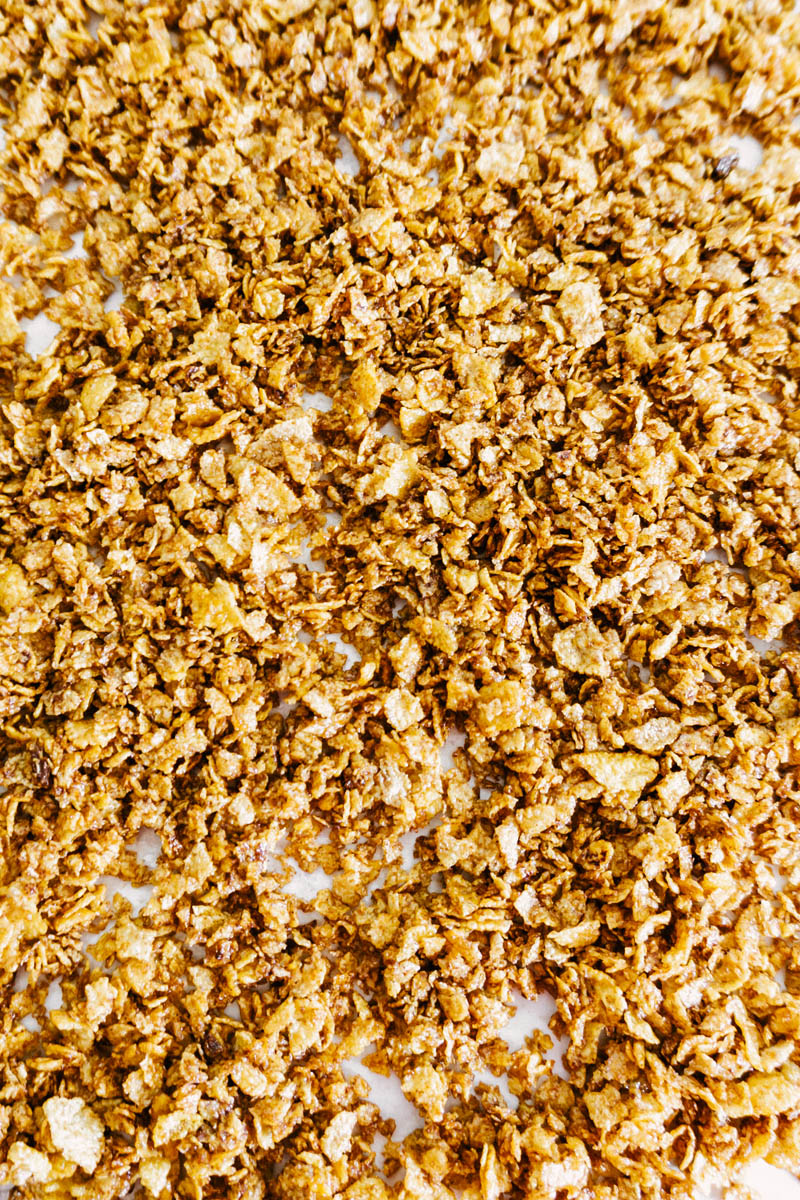
- Finely crush 6 cups of Corn Flakes in a ziplock bag to make 3 cups of crushed Corn Flakes.
- In a large mixing bowl, stir together crushed Corn Flakes, cinnamon, and melted butter.
- Line a baking sheet with parchment paper and spread the mixture evenly onto the baking sheet.
- Toast mixture in the oven for about 5 minutes, until crispy and golden, then let cool.
Make Salted Caramel Topping
- In a small bowl combine butter, lemon juice, heavy cream, and salt. Set aside.
- On medium heat, add sugar and corn syrup to a saucepan. Stir constantly until you reach an amber color. Be careful, as the mixture can burn quickly once starting to brown.
- Immediately add in the butter, lemon juice, heavy cream, and salt.
- Stir until all clumps of sugar have dissolved and the mixture becomes smooth.
- Remove from heat and store in a microwave-safe container.
Assemble the Ice Cream Balls.
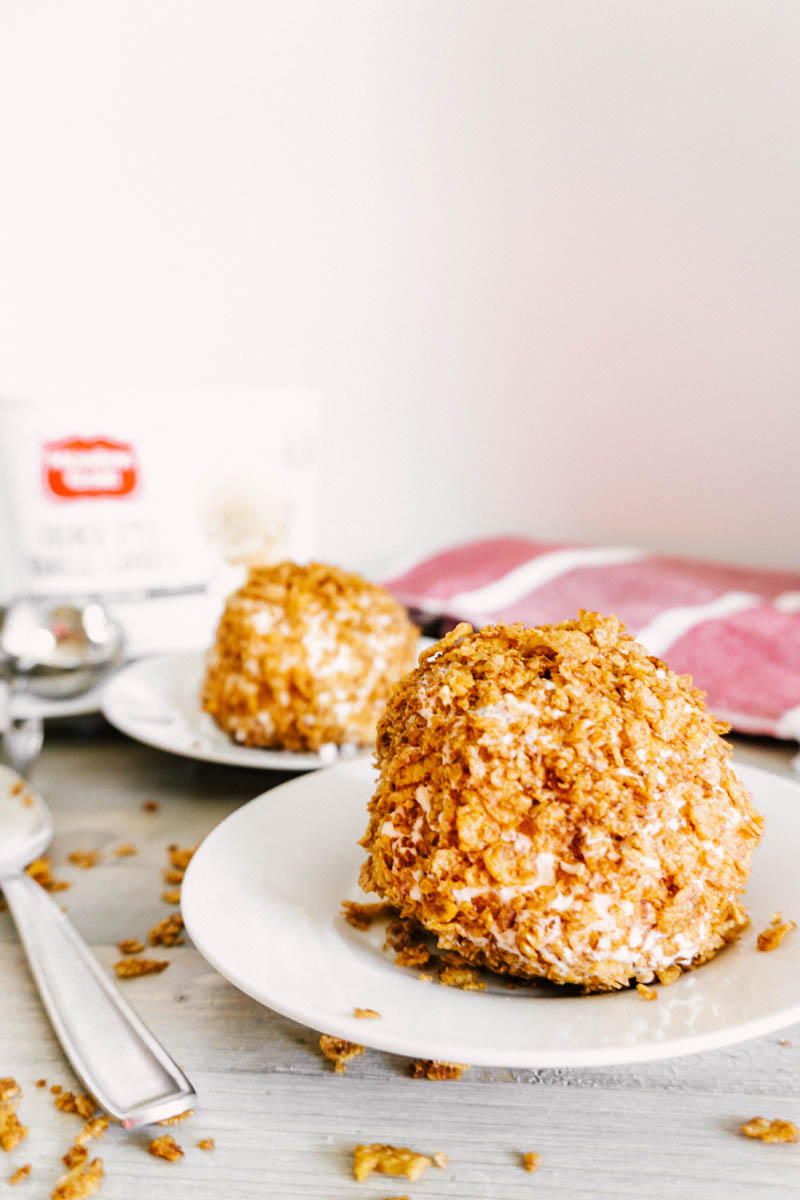
- Remove ice cream balls from the freezer. If needed, use plastic gloves to round out the balls before coating in the “fry” mixture.
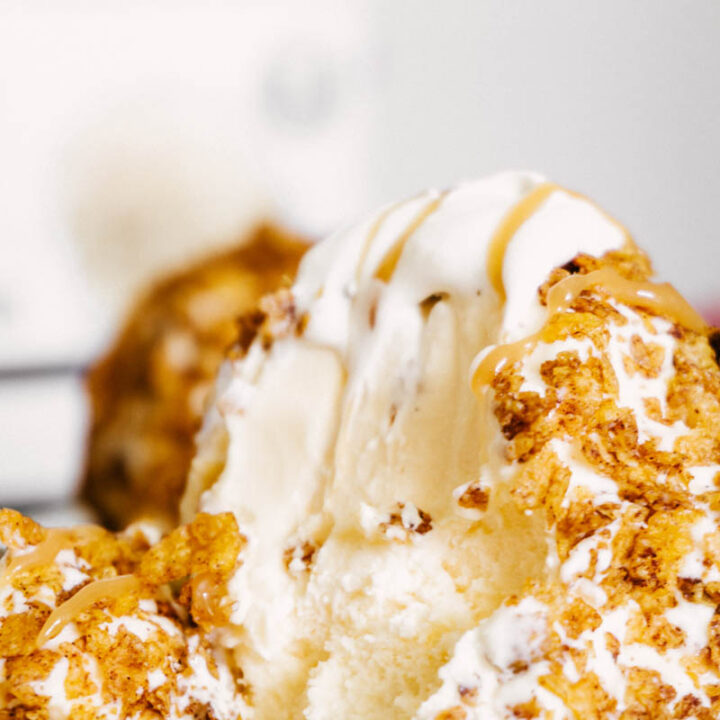
- Roll each frozen ice cream ball in fry mixture, and press mixture on with your hands until all sides are covered.
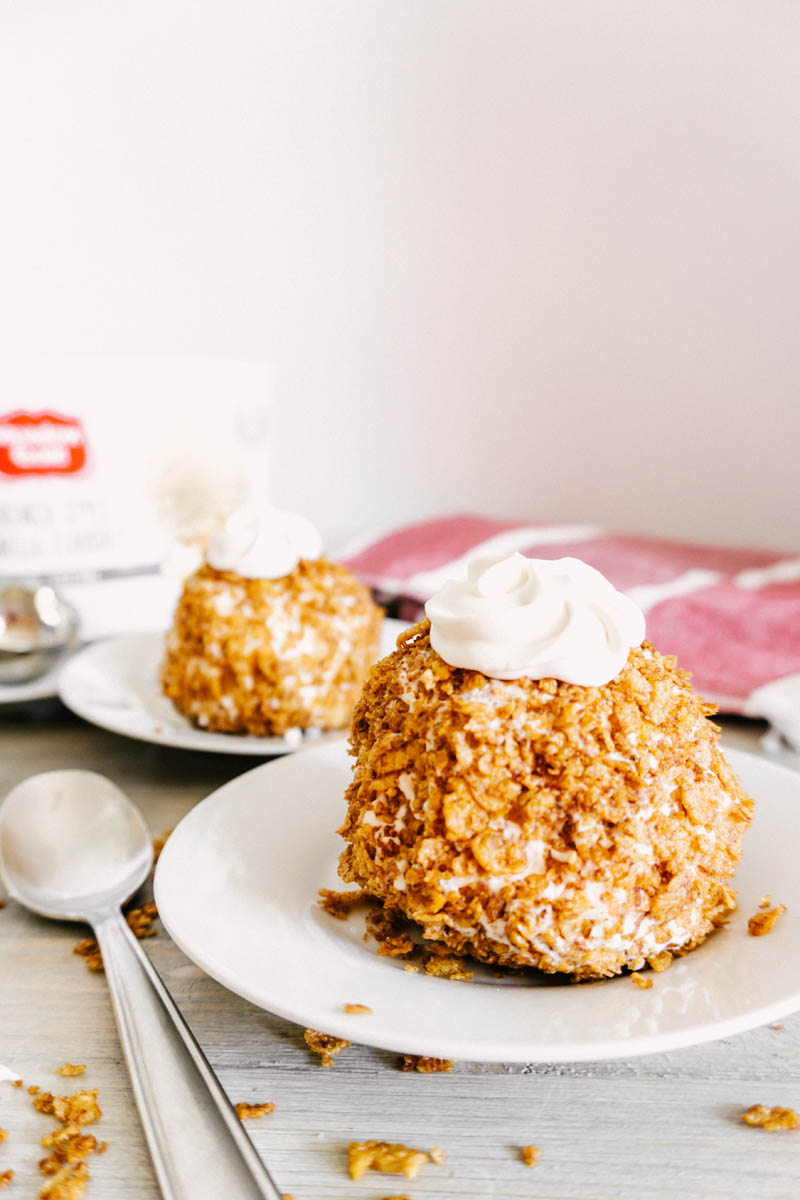
- Serve immediately and top with salted caramel, chocolate sauce, or whipped cream.
- If not eating immediately, freeze until ready to eat.
Notes
- If you don’t have plastic gloves to shape the ice cream into balls, put little plastic bags over your hands and they work just fine.
- You will have extra fry topping to serve as an additional topping or to use for another batch of Fried Ice Cream.
- Use real Corn Flakes for this recipe. Generic brands don’t have the same flavor.

0 Comments