
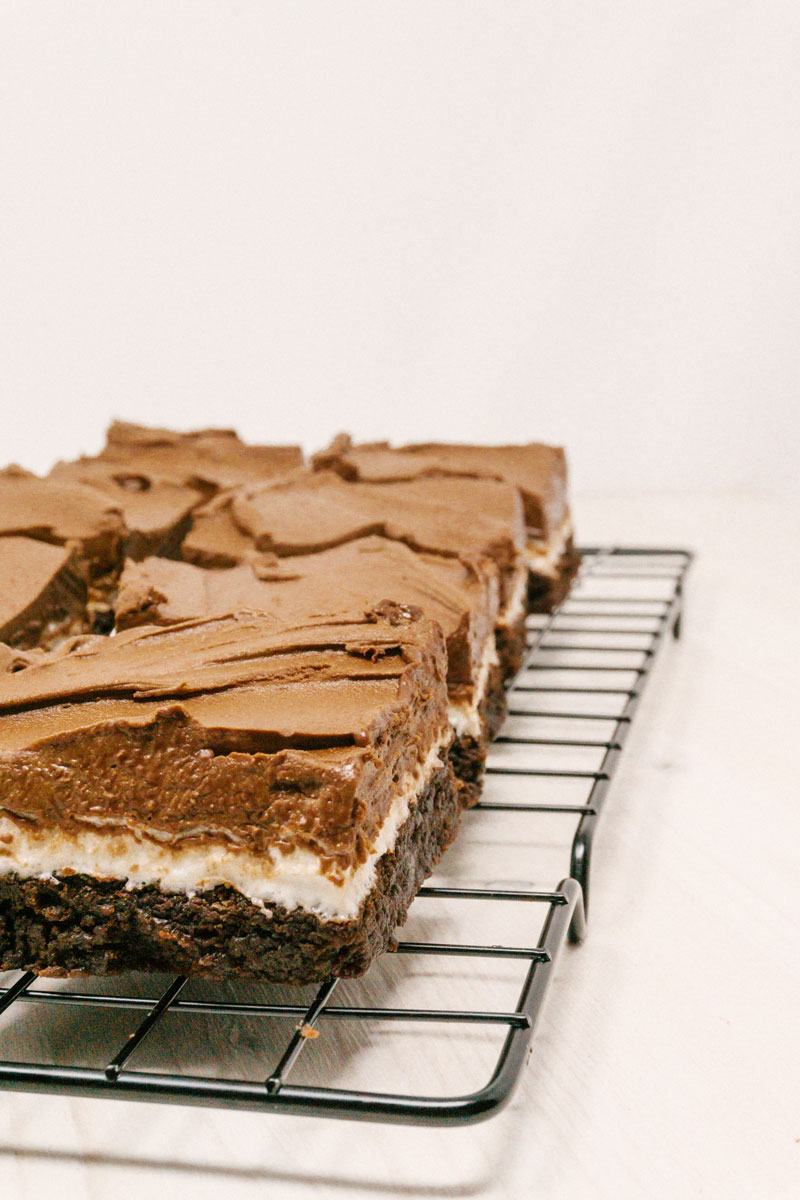
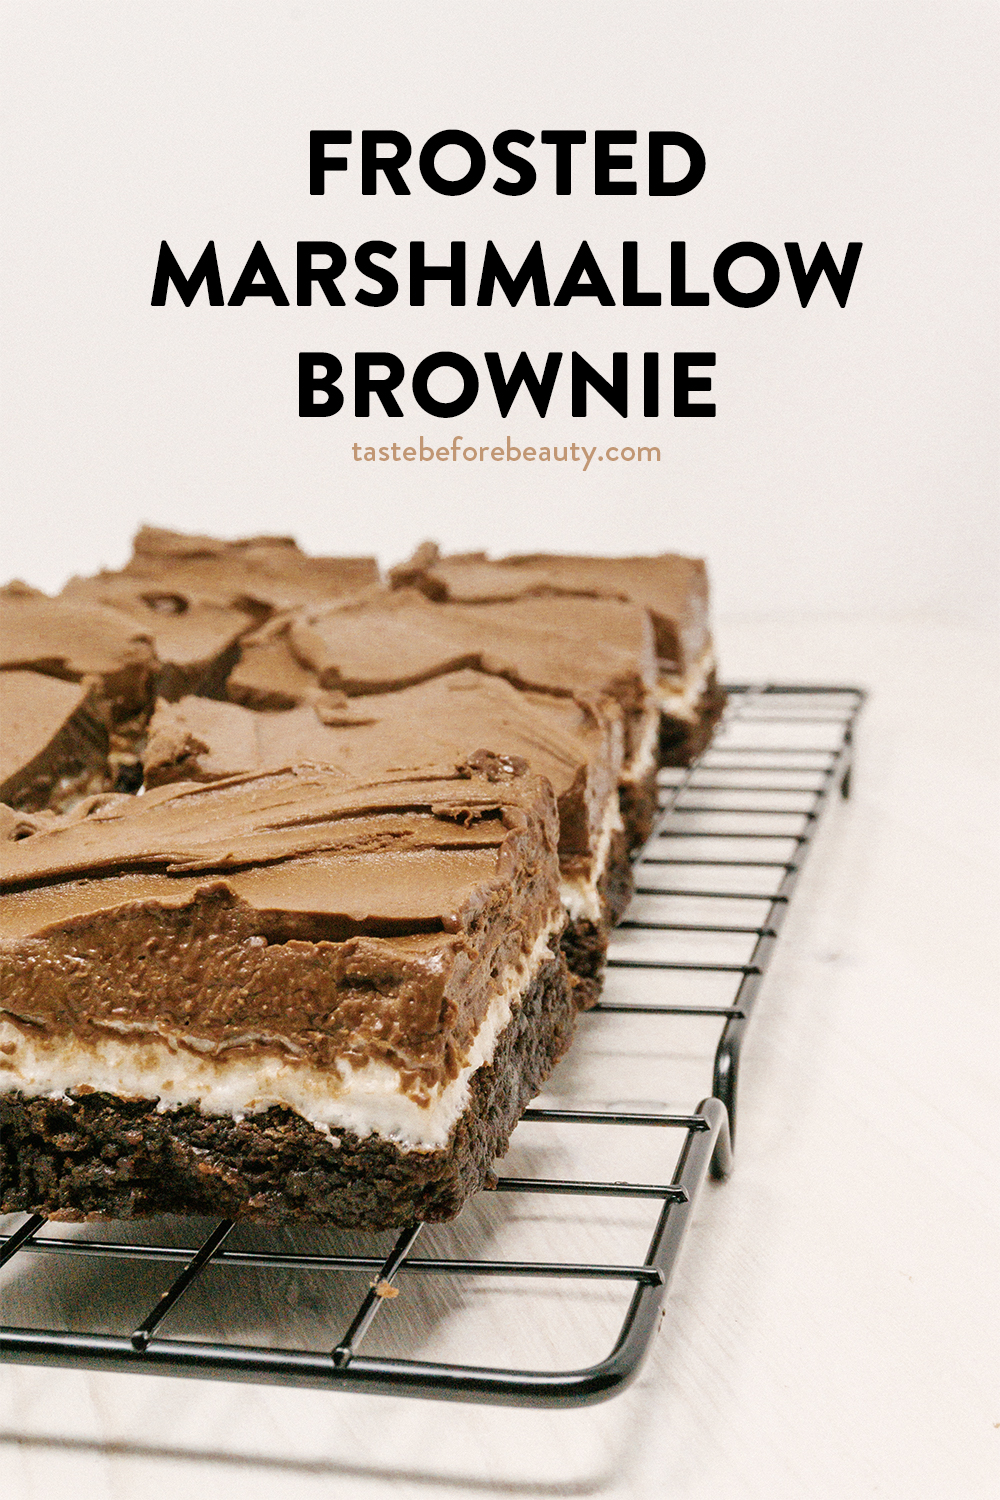
This is not your average, made-from-the-box brownie. Dense and moist, with a pillowy marshmallow layer, and topped with homemade chocolate buttercream, this is what brownie dreams are made of.
This brownie is in my personal baked goods hall of fame. Dense and moist and a dreamy creation, it is not your average frosted brownie. The chocolate buttercream frosting is so creamy and the marshmallow layer is so fluffy. I hope they serve these in heaven.
I grew up eating brownies with toasted marshmallows on top. I know you think this is going to be one of those “Missy goes on a baking journey to recreate another childhood memory” stories, but wait. This one has a plot twist! I was looking for a good brownie that would pair well with a layer of marshmallow on top. I didn’t want it to be super chewy or cakelike. I knew I needed a fudgy, truly chocolate brownie. I tested this recipe and that recipe, tweaking amounts of ingredients until my kids practically begged me to stop making them taste-test brownies (just kidding!). After many trials, I arrived upon the mouthfeel and chocolate flavor I wanted.
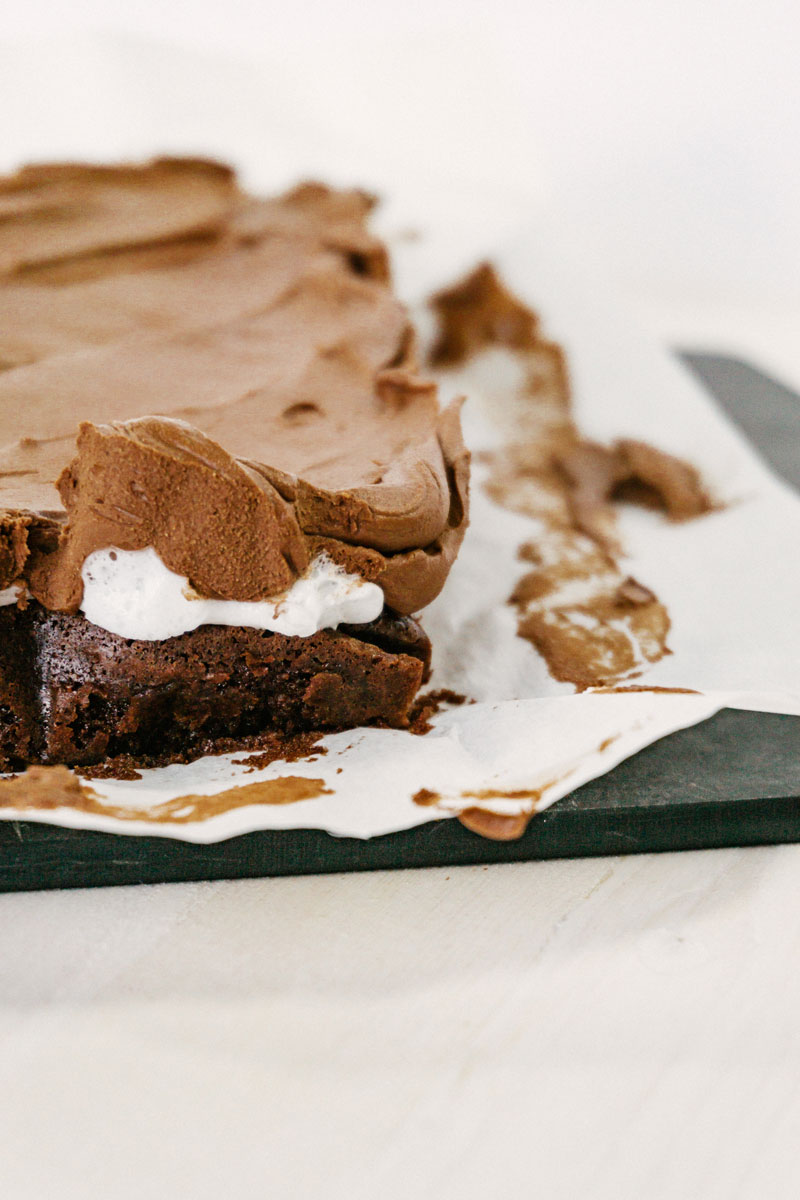
Then, it was on to finding the right consistency for the marshmallows. My family always let the marshmallows get toasty and browned, and while there is nothing wrong with a toasted marshmallow in s’mores, it didn’t work here. As soon as the marshmallows cooled, they set up into a pseudo-cement texture that could probably work as road paving in a pinch. After some more trial and error (and more brownie testing by my wonderful kids but not my favorite Kenzie because she hadn’t married into the family yet) I discovered that a quick minute in the oven just to soften the marshmallows was the key. It helped bind everything together without drying the marshmallows out.
During the whole process, I had made a chocolate cake with chocolate buttercream frosting, when ALL OF A SUDDEN (that’s what you say when a plot twist is coming, right?) I realized that chocolate frosting was the obvious finishing touch to my marshmallow brownie. The missing piece. The third element to the perfect trio. So, there you have it. A frosted marshmallow brownie.
Sounds simple enough, and it can be. I’ll let you in on all of my tried and tested tricks. First, as I mentioned, don’t let the marshmallows get too melty. They dry out, harden, and the whole thing falls apart. The second is to get a nice, clean cut. Start by cooling the brownies with marshmallows until they are room temperature and then frost, otherwise the butter in the frosting melts, and then you’ll have to start all over again (while you eat this batch because it’s hideous). Once frosted, stick the whole pan in the fridge until the frosting hardens. This usually takes about an hour. Using a large knife, I run it under hot water, dry it, then cut the brownies, re-heating the knife as necessary.
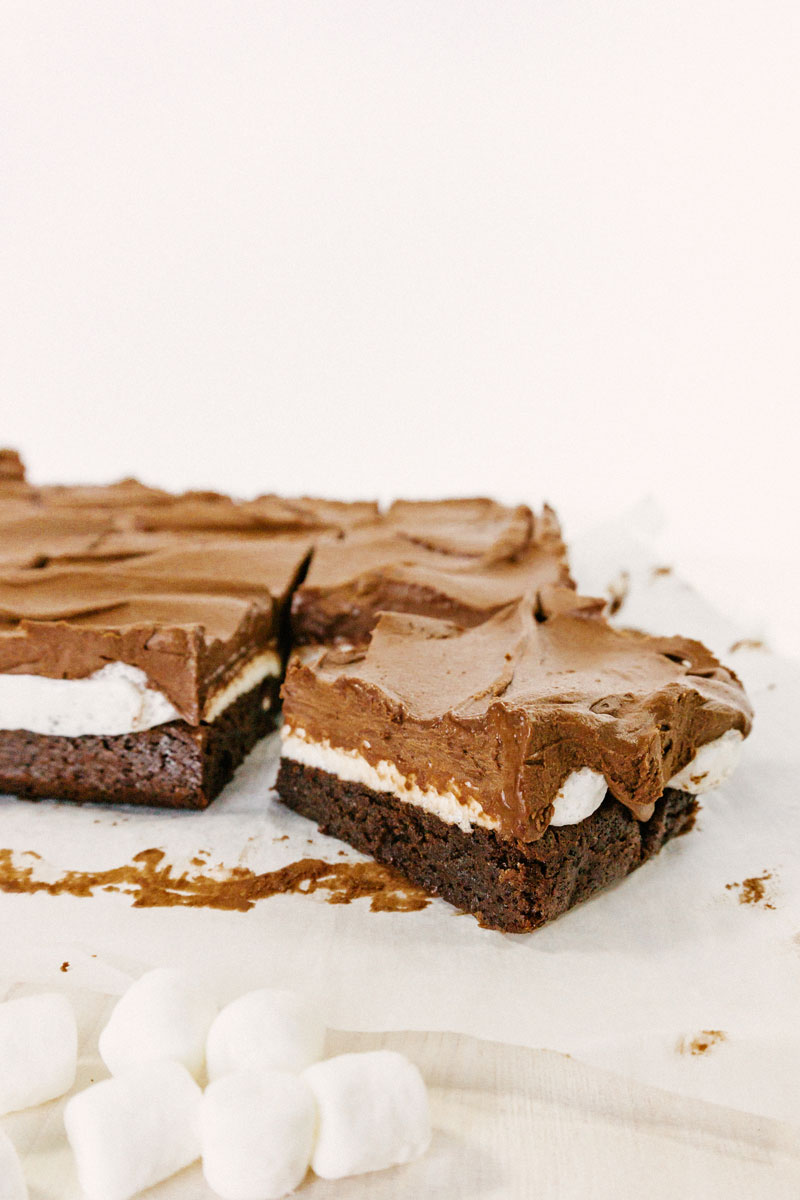
When it’s time to serve the brownies, I place each brownie on a white cupcake liner and then put on a platter or tray. I like to individually wrap these and store them in the refrigerator if I’m not serving them right away. It helps me not to eat them all in one sitting. I wish you luck in not eating them all immediately. If you come up with a better method of self-control, let me know!

Frosted Marshmallow Brownie
This is not your average, made-from-the-box brownie. Dense and moist, with a pillowy marshmallow layer, and topped with homemade chocolate buttercream, this is what brownie dreams are made of.
Ingredients
Brownies
- ½ C (4 oz) salted butter, melted
- ½ C (3.8 oz) vegetable oil
- 1 ¾ C (7 oz) powdered sugar
- 1 C minus 2 T (7 oz) light brown sugar
- ½ C (1.8 oz) cocoa
- 4 large eggs
- 1 tsp vanilla
- 1 tsp salt
- 1 C minus 2 T (4 oz) all-purpose flour
Marshmallow Layer
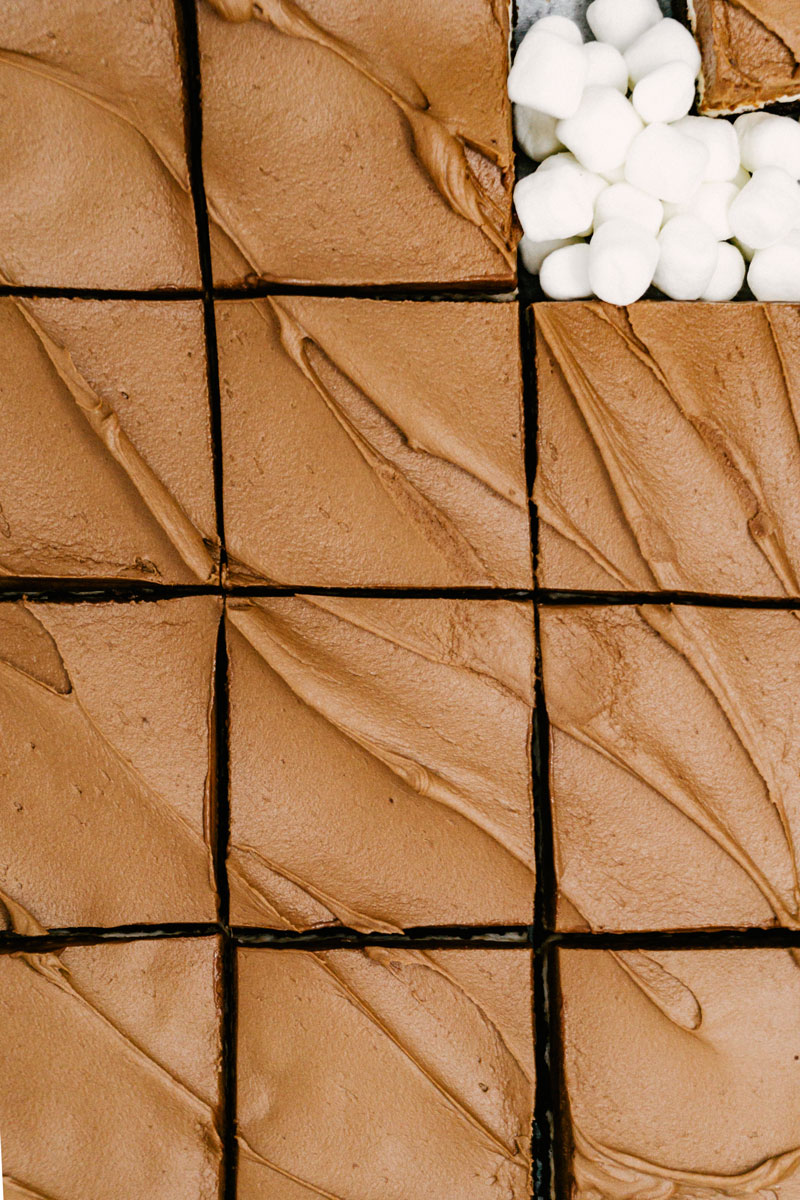
- 3 C (5 oz) mini marshmallows
Chocolate Buttercream Frosting
- 1 C (8 oz) salted butter, softened
- ½ C (1.8 oz) cocoa
- 3 ½ C (16 oz) powdered sugar
- 1 tsp vanilla
- 4 T milk
Instructions
Make the brownies.
- Preheat oven to 350*F. Line the bottom and sides of 10x10 or 9x13 cake pan with parchment paper.
- Mix fats, sugars, and cocoa. Add eggs, vanilla, salt, and flour and mix until combined. Pour into prepared pan.
- Bake for 25 minutes. Pull brownies from the oven and immediately top with marshmallows. Put back in the oven for one more minute to slightly melt marshmallows. Remove from the oven and let cool completely.
Make the chocolate buttercream frosting.
- Let butter come to room temperature before beating. Beat until smooth. Add cocoa and powdered sugar. Beat until very dry and uniform in texture. Scrape bowl, then add vanilla and 4 T milk. Beat until light and creamy. If frosting is still too thick, add up to 2 additional tablespoons of milk.
- Once brownies have cooled completely, top with frosting.
Notes
- While it may be tempting to leave the marshmallows in the oven longer so they start to brown, this will result in a tough, overly chewy topping when they cool. One minute allows them to melt and become soft, without drying them out.
- Be careful not to overbeat the chocolate buttercream frosting. It should be light and creamy, but not have lots of big air pockets.
- Brownies, once topped with marshmallows, can be chilled in the fridge for 30-60 minutes, then frosted, and cut immediately.
These are dreamy delicious!