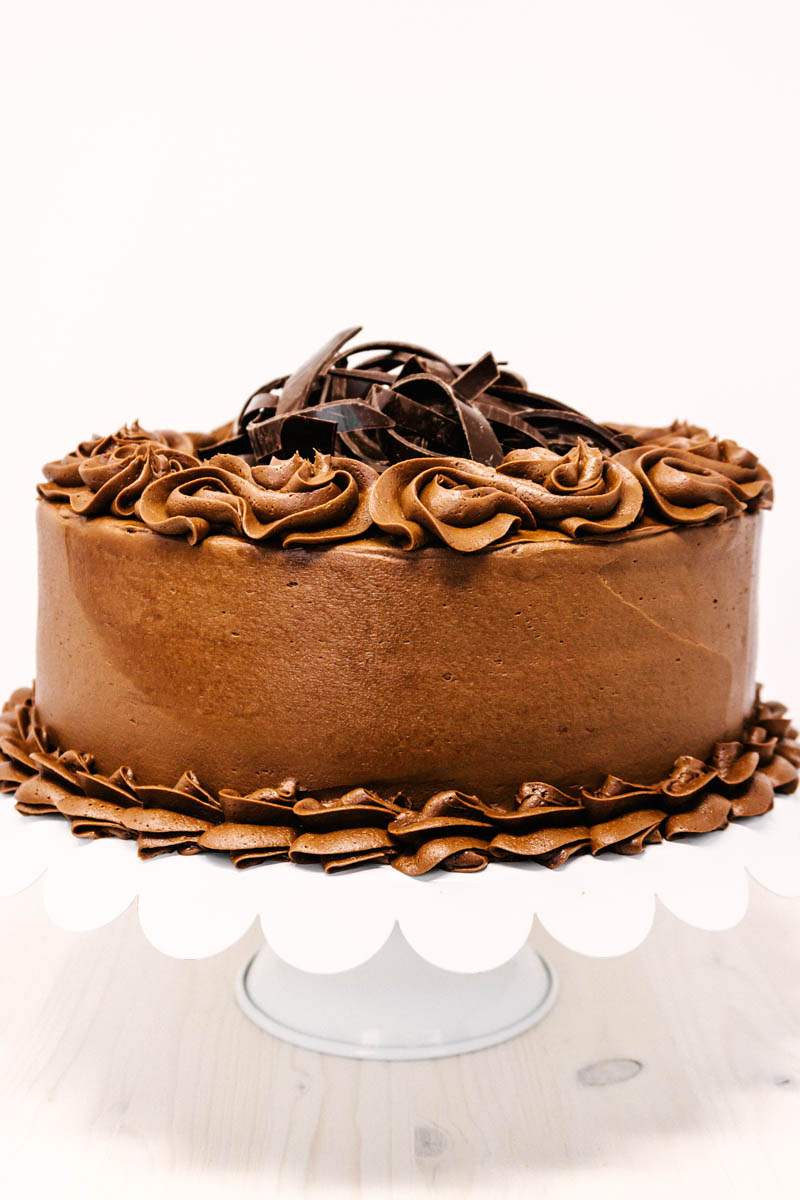
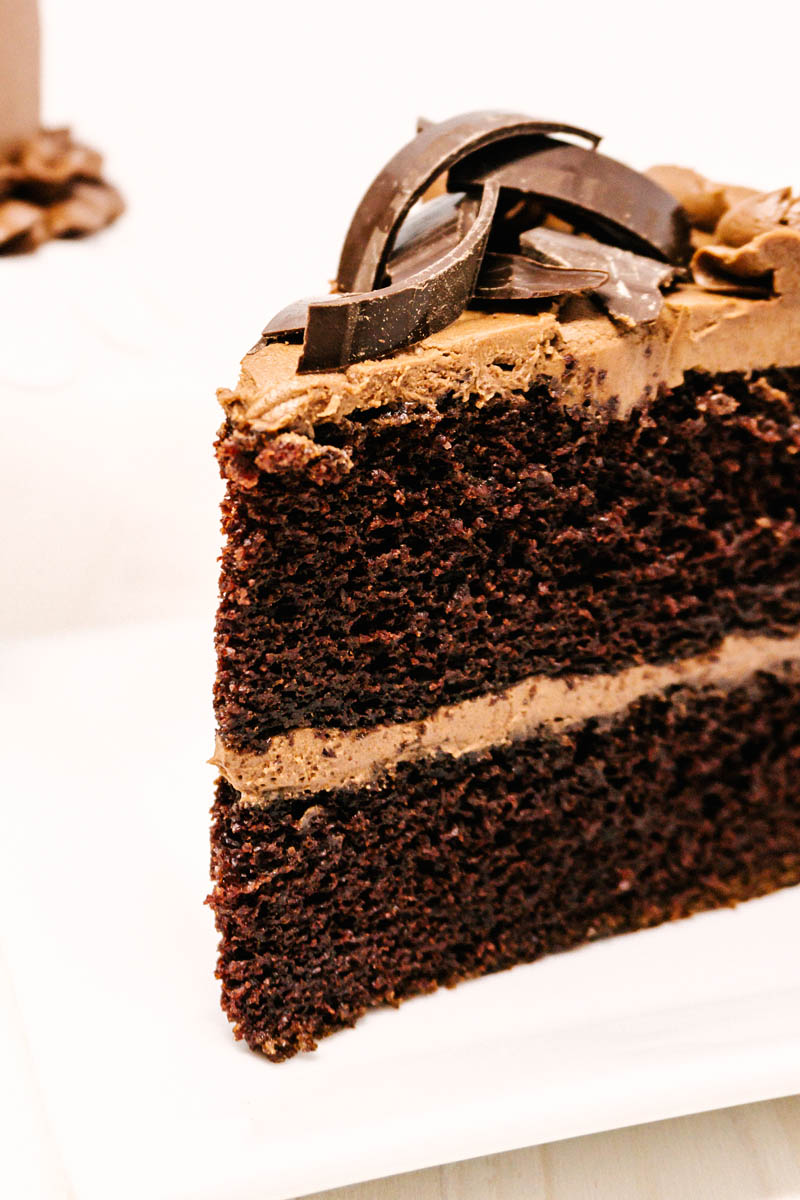
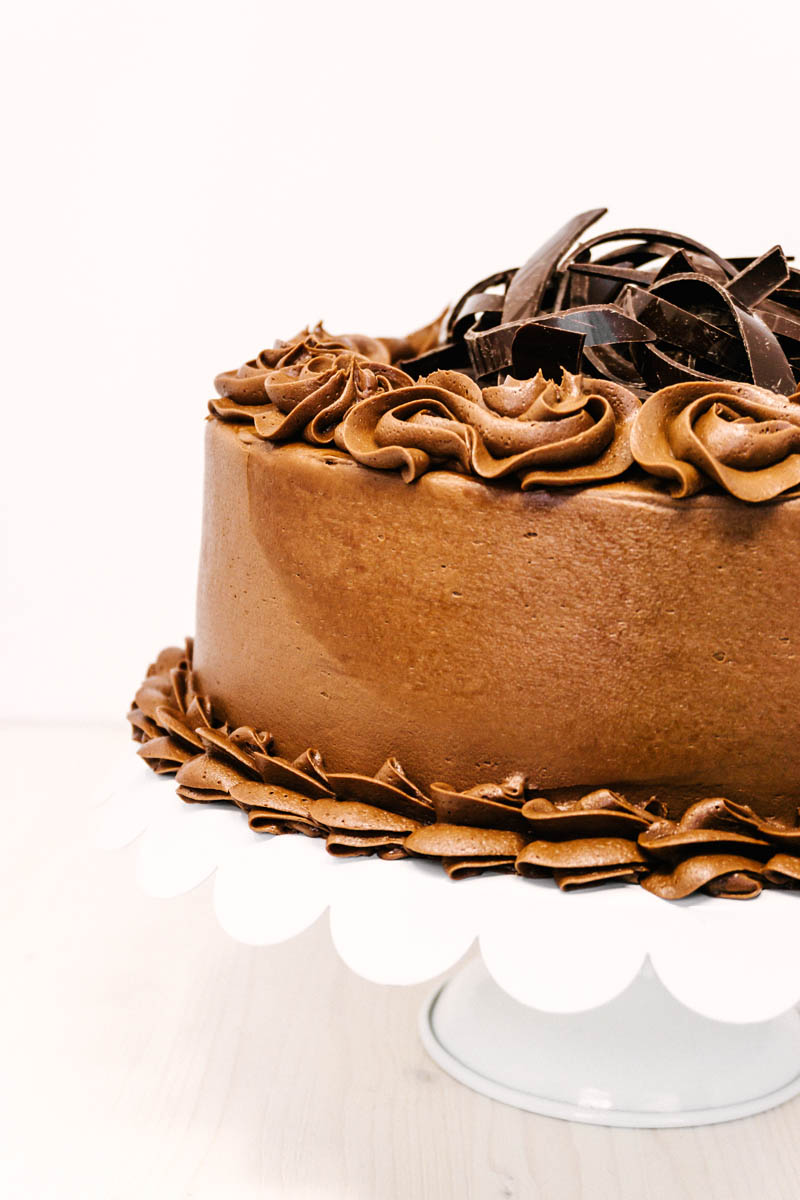
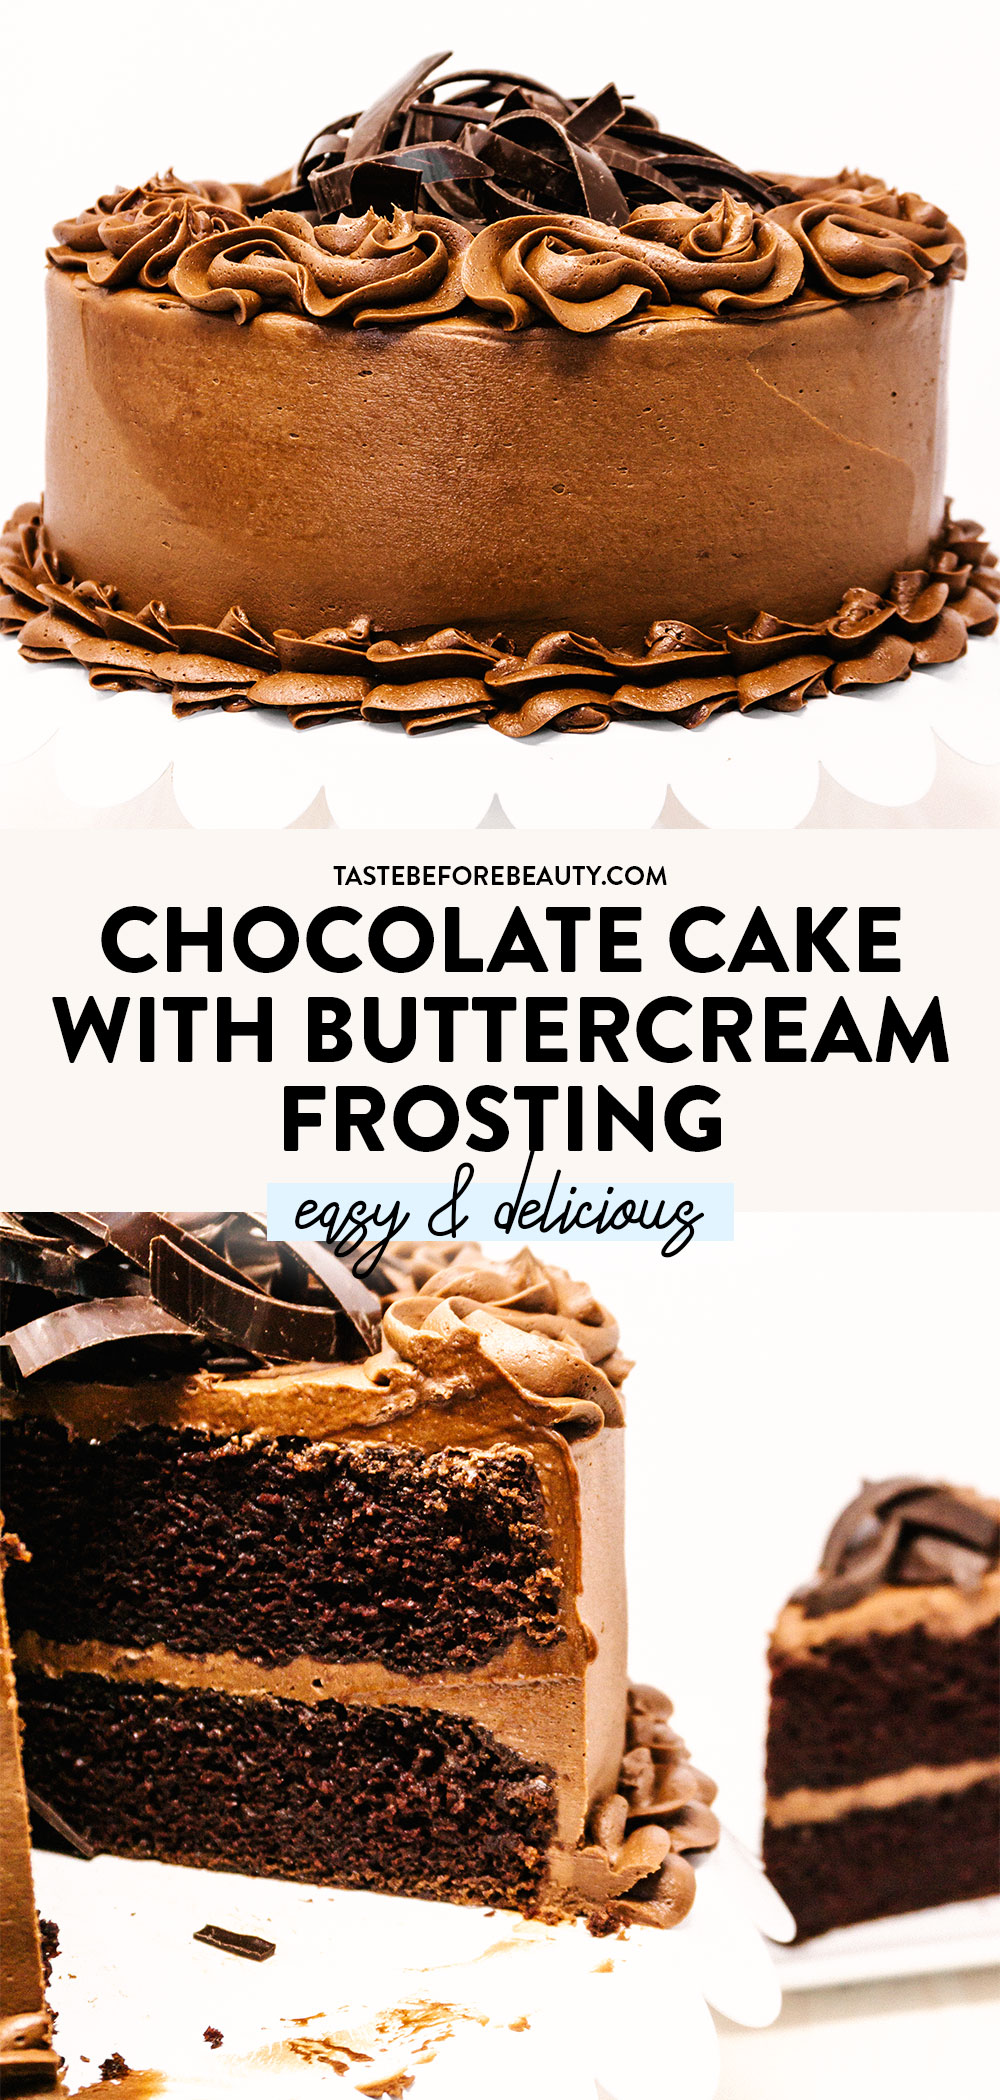
This Chocolate Cake is THE Chocolate Cake. It has rich chocolatey layers, a smooth chocolate buttercream, and checks every box on the list. It’s really the only cake you need.
The Chocolate Cake Origin
I used to love using boxed Devil’s Food cake mixes. I learned from my first cake decorating class back in 1998 to start with a basic cake mix and doctor it up a bit. It made a great cake with good flavor. I received lots of compliments over the years and no one ever knew it came from a box! However, over the years, cake mixes changed. The amount decreased over time and I noticed my cakes baked up thinner and the flavor changed for the worse. I was tired of subpar results, so I decided to create my own Chocolate Cake recipe from scratch.
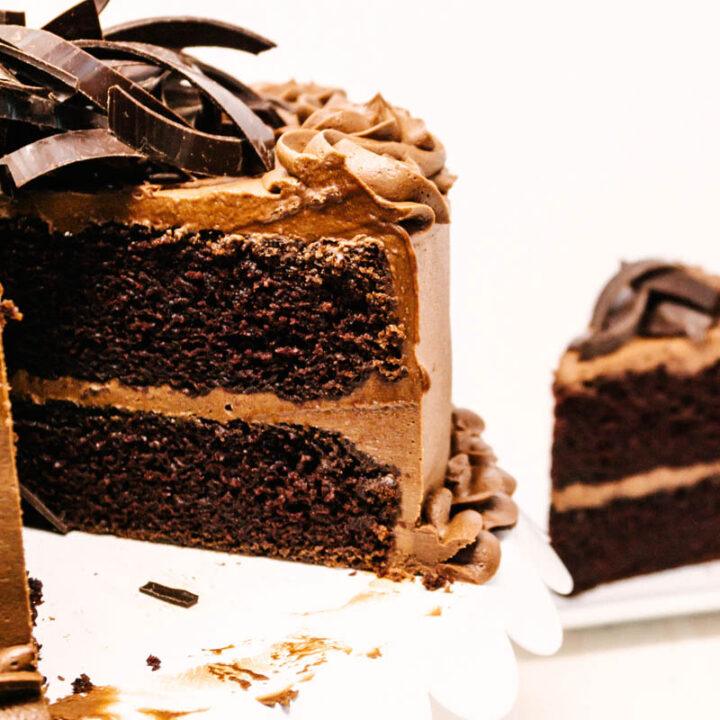
I spent time researching, testing, baking, and retesting chocolate cakes. I had chocolate cakes all over my counter. There were six cookbooks laid out across my table, comparing and researching. This cake needed to have the structure to stack four layers high, be moist and flavorful, but not have too dark of a chocolate flavor that it wouldn’t pair with my Chocolate Buttercream Frosting or Easy Chocolate Mousse. It needs to be endlessly versatile and a cake my children could also easily make.
One moment on the right day, I had a “eureka!” moment! Adding a touch of Dutch-process cocoa powder made this cake perfect. This Chocolate Cake has the perfect balance of moisture and texture I hoped for. My husband even calls this cake “The Only Cake.” I hope you enjoy this cake as much as we do!
Cocoa Powder – essential for a rich, chocolate flavor! I use Hershey’s 100% Natural Unsweetened Cocoa Powder.
Buttermilk – I make my own buttermilk. I add 1 T lemon juice to a cup and then enough milk to equal 1 C or 8 ounces.
Dutch-Process Cocoa – Yes, there are two types of cocoa in this cake! Dutch-preocess cocoa is processed with alkali and will specify that in the ingredient list. I use Hershey’s Special Dark 100% Cacao Dutched Cocoa.
Salted Butter – Using salted butter is necessary to make the Chocolate Buttercream lick-the-spoon delicious!
Chocolate Cake Components
Chocolate Cake: Make sure to sift together the dry ingredients first. Then add the liquids. You only need to mix long enough to combine all the ingredients together. If you will be layering these, bake them at 325*F so the tops stay flat.
Chocolate Buttercream Frosting: Start with salted butter and beat it until it’s smooth. I like to use my stand mixer for this. Once the butter is smooth, add the cocoa and powdered sugar. Cover the mixer bowl with a damp towel to avoid spraying powder all over the kitchen! Once they are combined into a powdery mixture, add the milk and vanilla. After mixing, if your frosting is still too dry add extra milk, one tablespoon at a time until it reaches the perfect consistency.
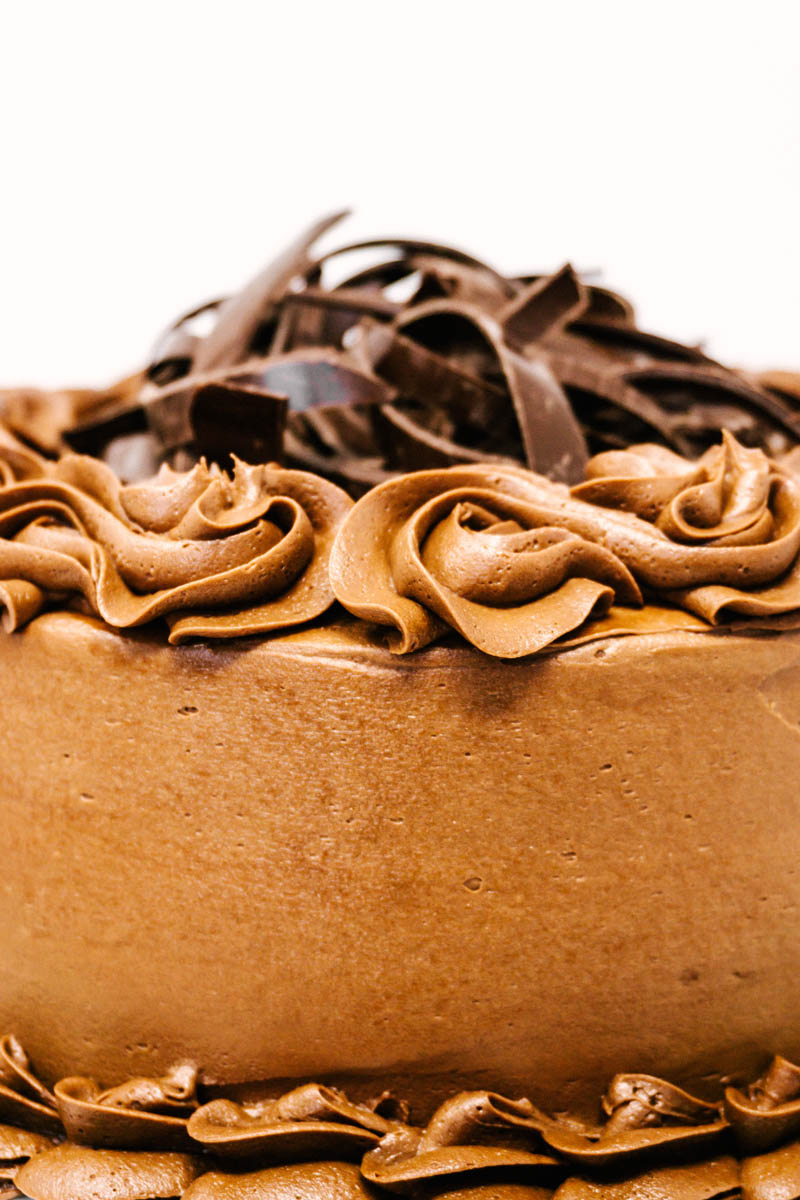
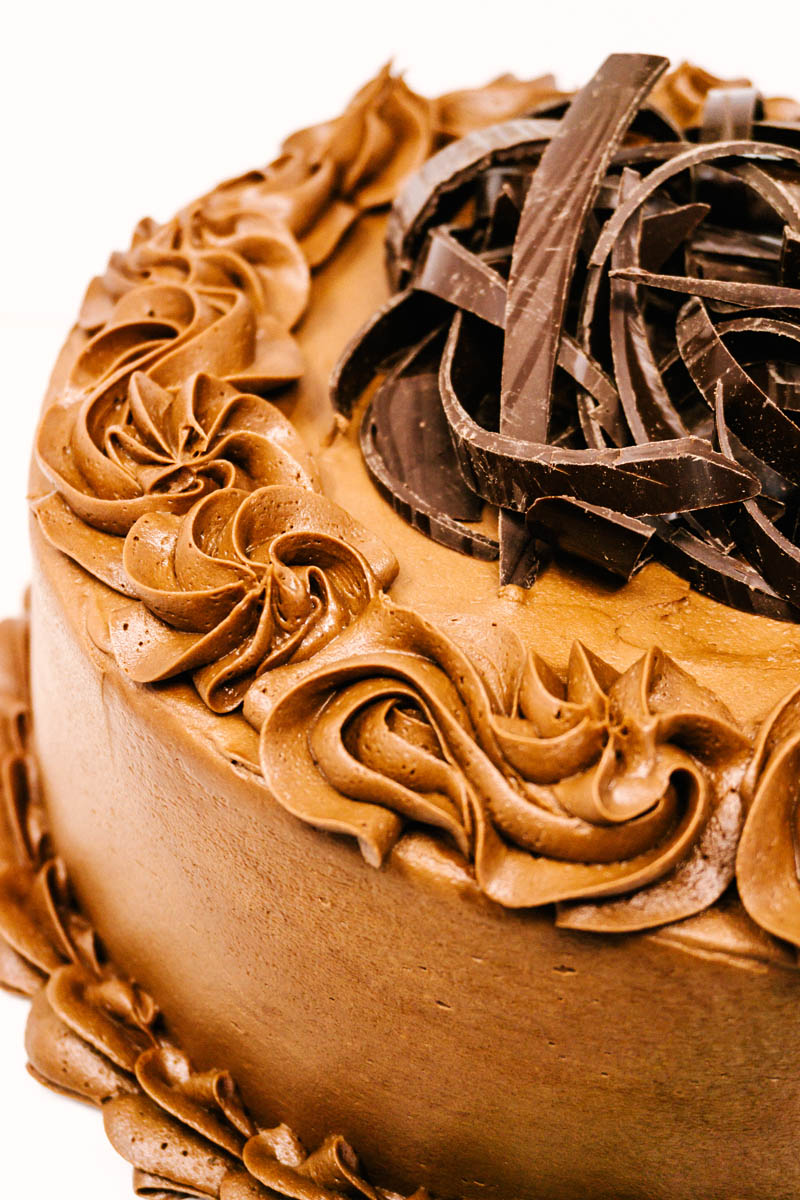
Decorating: You can decorate this cake however you want. I like to pipe extra Chocolate Buttercream Frosting on the top and base of the cake and then add shaved chocolate curls to the top.
Assembling the Chocolate Cake
Start by placing one layer of chocolate cake on your cake stand or plate. Layer frosting on top, then add the second layer. Coat the whole cake in Chocolate Buttercream.
I use a Wilton 2D or 1M star tip to decoratively pipe extra frosting onto the cake. You can create swirls or stars of buttercream to make it look pretty.
Add chocolate shavings. I use a potato peeler to shave long curls off of a bar of Hershey’s Milk Chocolate or Hershey’s Special Dark Chocolate.
This cake is divine and every bite is an experience. I hope you love making it and sharing it with your loved ones!
Looking for more delicious cake recipes? Try these:
This Chocolate Cake is THE Chocolate Cake. It has rich chocolatey layers, a smooth chocolate buttercream, and checks every box on the list. It’s really the only cake you need.
Ingredients
Chocolate Cake
2 ¼ C (10 oz) all-purpose flour
½ C + 1 T (2 oz) cocoa powder
2 C (14 oz) white sugar
1 tsp salt
1 tsp baking powder
2 tsp baking soda
2 tsp Dutch-processed cocoa powder
2 C (16 oz) buttermilk
2 large eggs
1 C minus 1 T (7 oz) vegetable oil
1 ½ tsp vanilla
Chocolate Buttercream Frosting
2 C (16 oz) salted butter, room temperature
1 C (3.6 oz) cocoa powder
7 C (32 oz) powdered sugar
2 tsp vanilla
7 T milk + 3 T milk, if necessary
Instructions
Make the Chocolate Cake.
Preheat oven to 325*F for a flat cake top or 350*F for a domed cake top.
Prepare two 9-inch round cake pans by spraying with non-stick spray, lining bottom with a circle of wax paper, then spray with non-stick spray again.
Sift together dry ingredients. Then add wet ingredients and mix to combine. Batter will be thin.
Divide batter equally between two pans (about 25-26 ounces per pan).
Bake for 30 minutes, until you can touch the center of the cake and it bounces back. Let cool in the pan for 5 minutes. Turn out onto wire cooling racks, peel the wax paper off the bottom and cool completely before spreading the frosting or decorating.
Make the Chocolate Buttercream Frosting.
Soften the butter, but do not melt.
Using a stand mixer, beat butter until it is smooth.
Add cocoa and powdered sugar. Beat butter, cocoa, and powdered sugar until combined and looks like a dry uniform mixture of cocoa dust. Scrape bowl.
Add vanilla and milk. Beat until frosting is light and creamy. If too thick add an additional 3 T of milk, one tablespoon at a time. Caution, overbeating will result in too many air pockets while frosting.
Assemble.
Place one cake on a cake stand or plate. Cover top with frosting.
Add second cake. Coat tops and sides with frosting.
Decorate, if desired. I like to pipe swirls of frosting on the top and around the bottom, then add shaved chocolate curls.
Notes
I make my own buttermilk. I add 1 T lemon juice to a cup and then enough milk to equal 1 C or 8 ounces.
If you want to use a 9x13 cake pan this cake mix makes enough for one 9x13 and 6 cupcakes - perfect if you want a treat before serving your cake!
High Altitude - This cake is new to my repertoire. I have not sufficiently tested it at high altitudes. Please adjust according to the altitude in which you live according to your usual pattern.
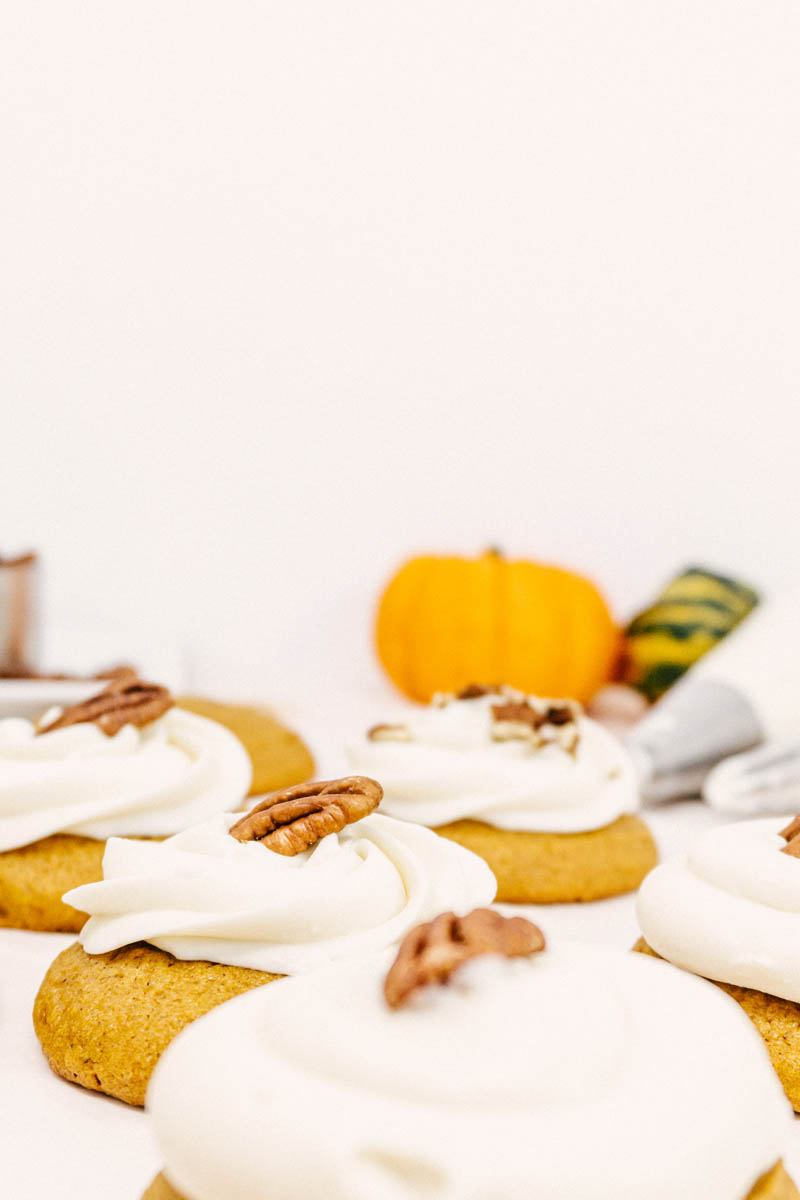
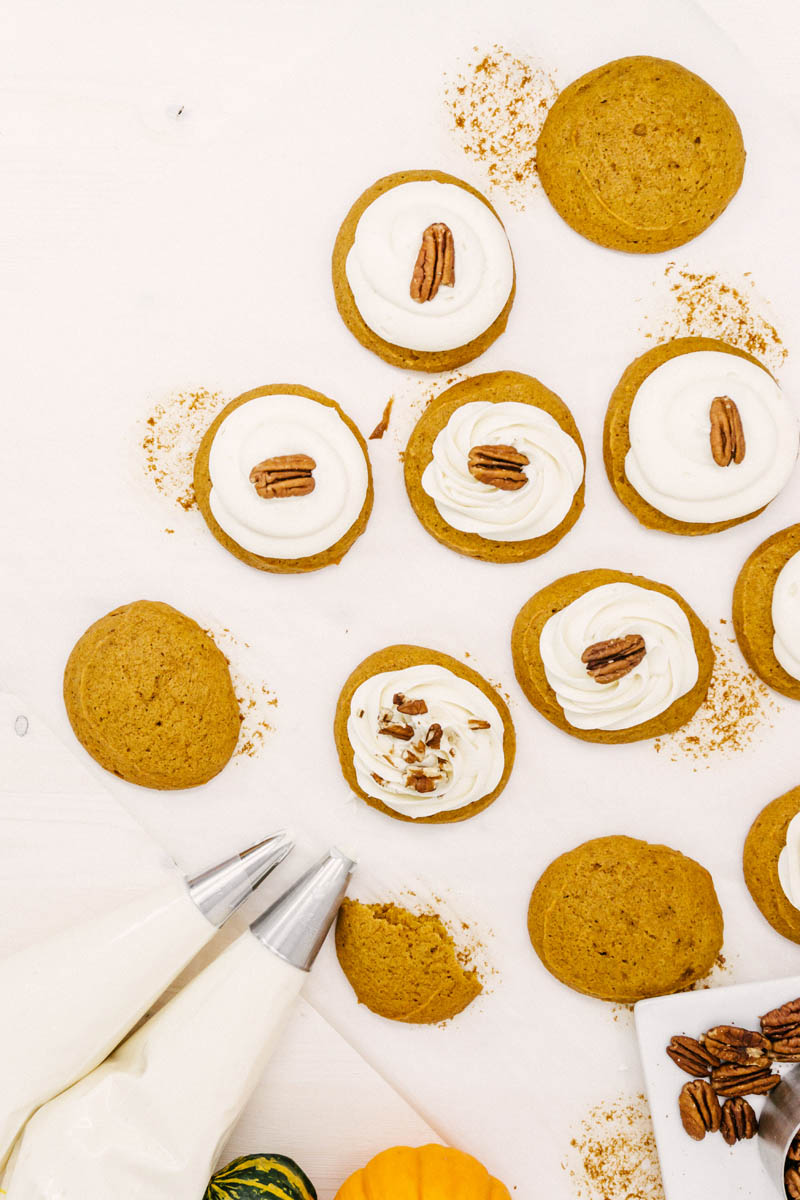
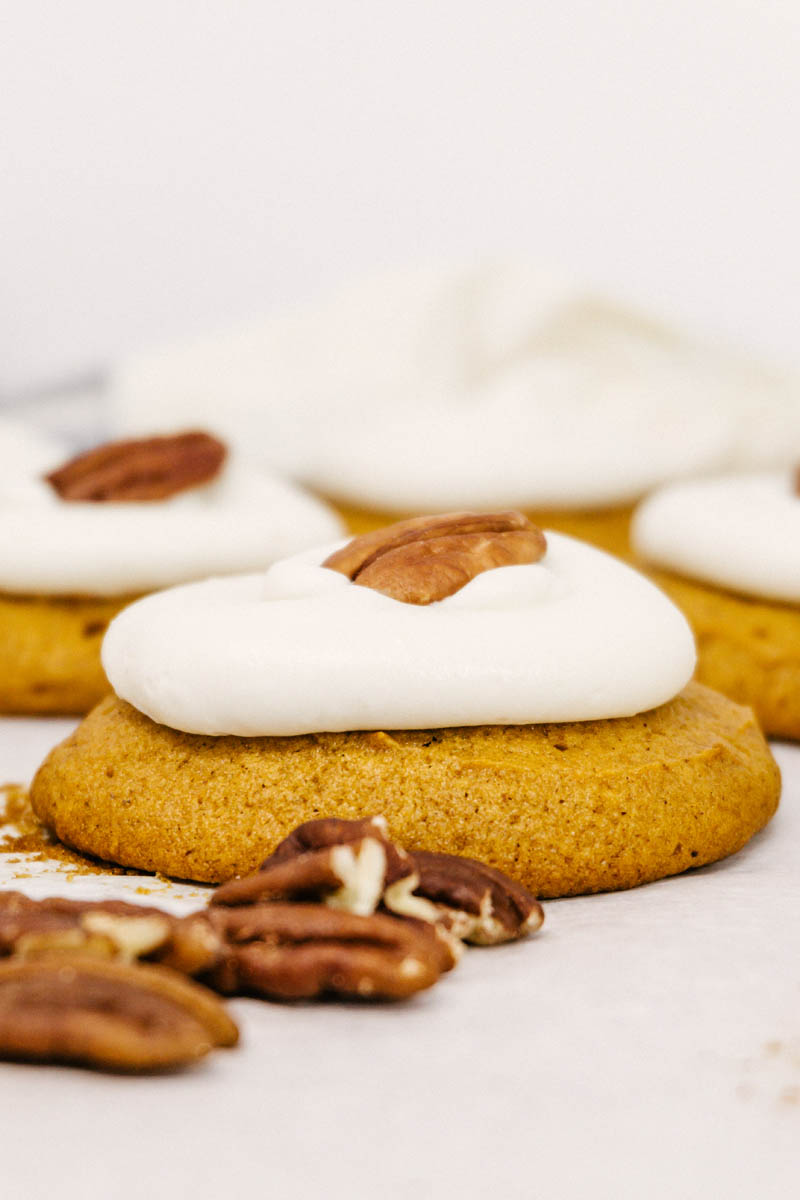
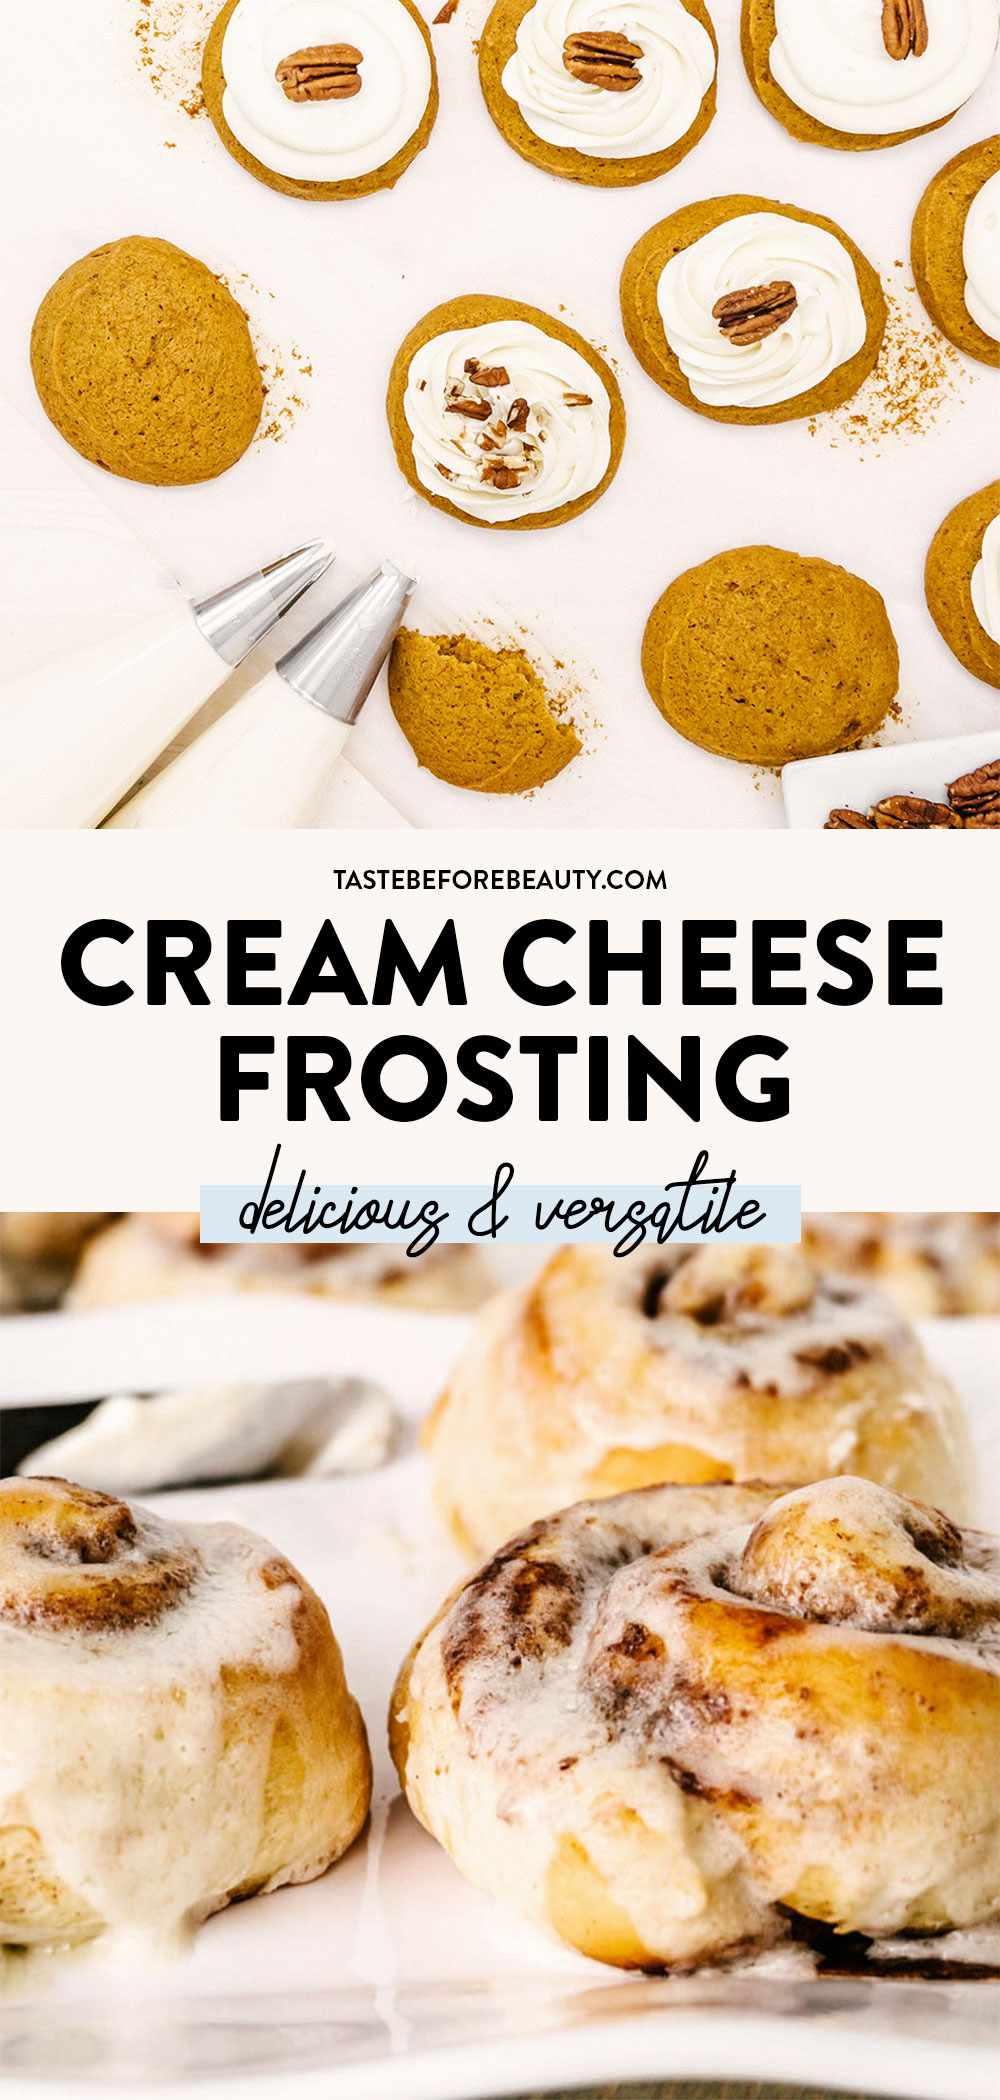
Cream cheese frosting that looks as good as it tastes.
Cream cheese frosting is delicious. End of story.
Delicious and Beautiful Cream Cheese Frosting
Okay, maybe not quite the end of the story. While we wholeheartedly support delicious ugly food here at Taste Before Beauty, we recognize that beautiful food is good for the mouth and the eyes. I wanted to create a cream cheese frosting that is not only delicious but is the perfect topping for any delicious treat.
Using only cream cheese for this frosting makes it too soft to use for decorating. Using butter takes away from the cream cheese flavor. A good dose of white chocolate complements the cream cheese flavor and gives stability to this cream cheese frosting so it can be used to pipe onto a cake or cookie.
Helpful Tips
When you make this, be extra careful that the cream cheese is at room temperature before starting. Cold cream cheese will cause the white chocolate to set up before it gets mixed together and your lovely, creamy cream cheese frosting will be a chunky mess.
When you add the melted white chocolate into the softened cream cheese, stir the mixture together right away. This is not the time to step away from the kitchen to take a phone call or get distracted scrolling through Pinterest for your dream home. Stirring the frosting together immediately ensures that everything mixes together smoothly and the white chocolate doesn’t start to harden before it should. Stay focused on the process and you’ll have flawless results every time.
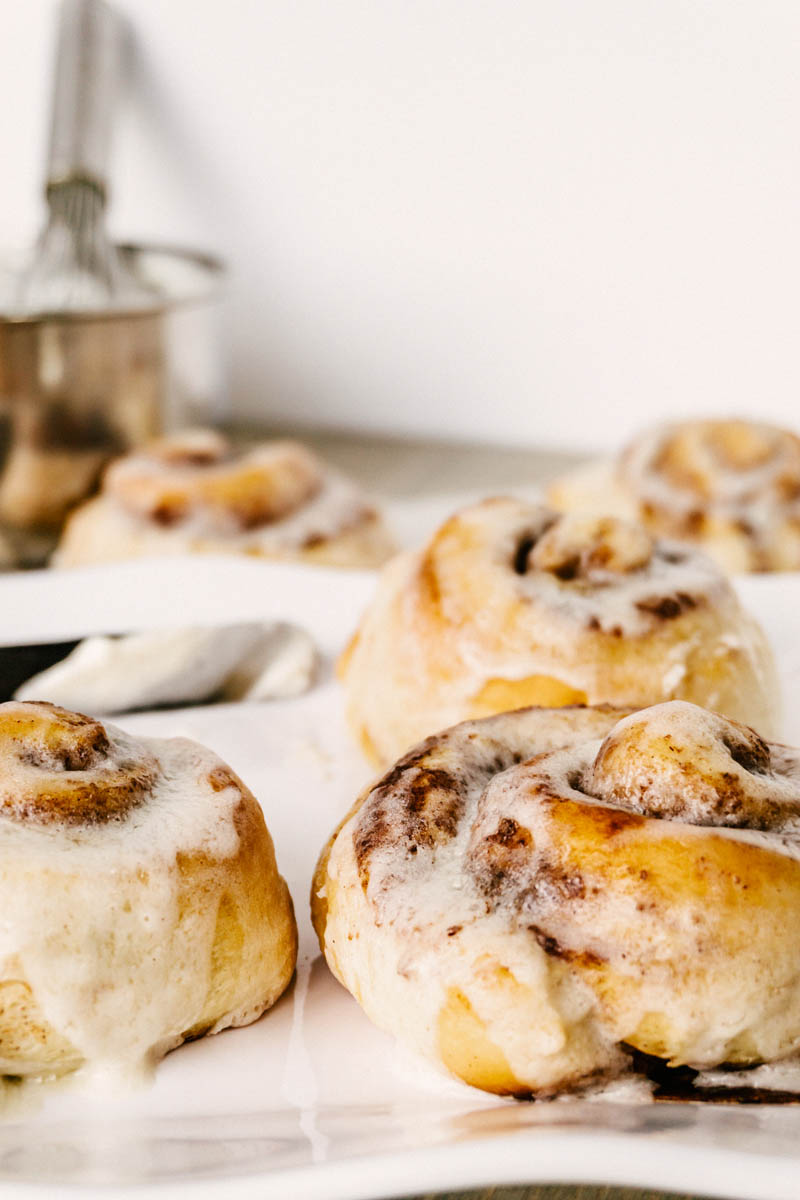
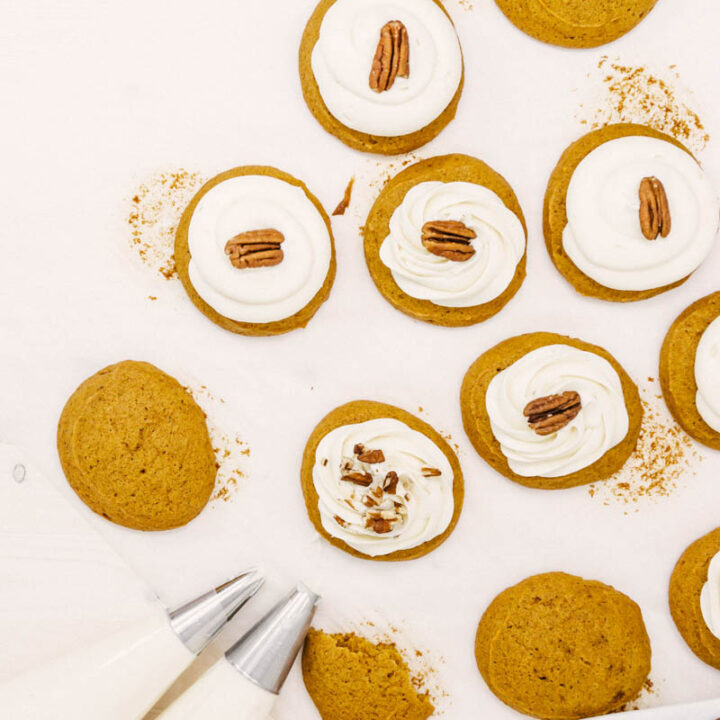
I’m so excited to hear what you use this delicious Cream Cheese Frosting on. I love to use it on Cinnamon Rolls and Pumpkin Cream Cheese Cookies. Let me know in the comments how you are using it!
Cream Cheese Frosting
Yield: 1 batch
Prep Time: 15 minutes
Total Time: 15 minutes
Cream cheese frosting that looks as good as it tastes.
Ingredients
2 (8 oz) cream cheese, room temperature
3 ½ C (16 oz) powdered sugar, sifted
2 ¾ C (16 oz) white chocolate wafers, melted and cooled slightly
1 T vanilla
1 T milk
Instructions
Melt chocolate. Set aside to cool slightly, but not thicken. It needs to stay a bit warm.
In a separate bowl, beat softened cream cheese with 1/2 C (2 oz) of the powdered sugar until very smooth.
Add the melted white chocolate all at once and immediately beat together.
Add remaining powdered sugar and vanilla and beat until smooth.
Add milk. Beat until light and completely smooth.
If consistency is too soft, put it in the fridge until thick enough to pipe.
Notes
It is very important to use room temperature cream cheese and milk. Using cold cream cheese or milk can cause the white chocolate to cool too quickly, making the frosting chunky instead of smooth and creamy.
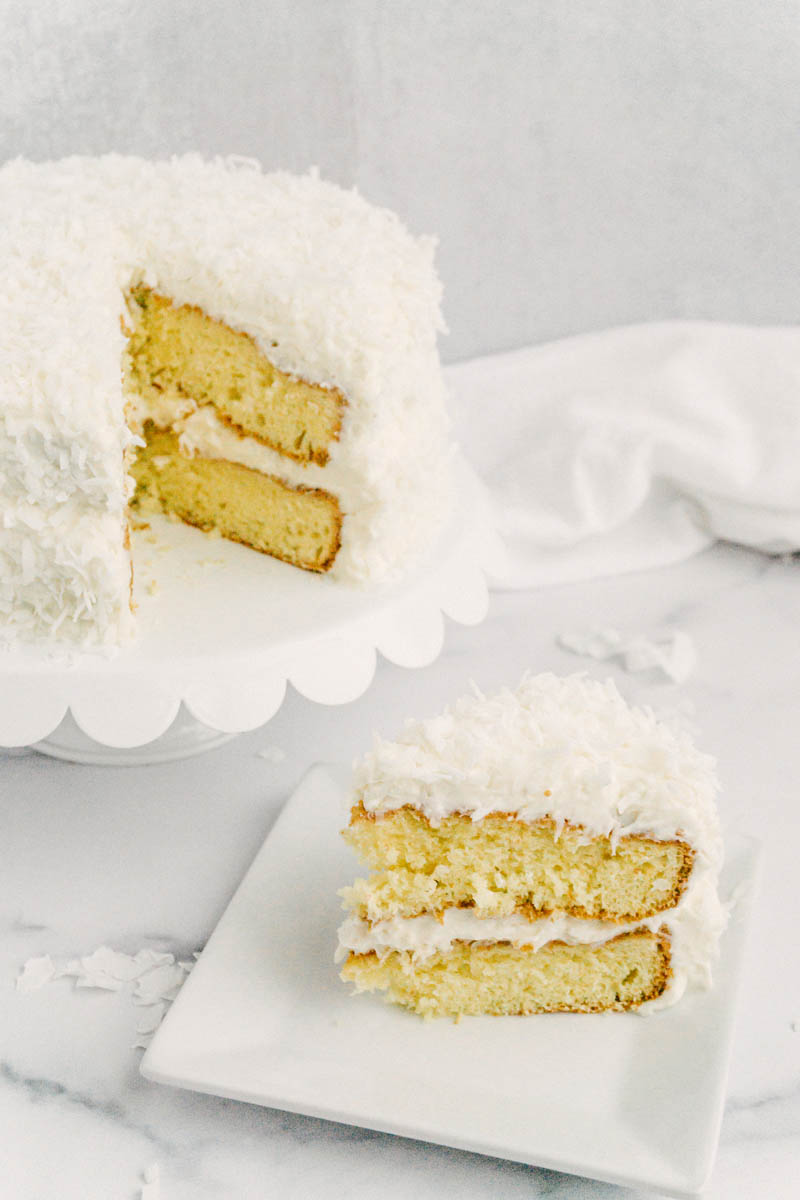
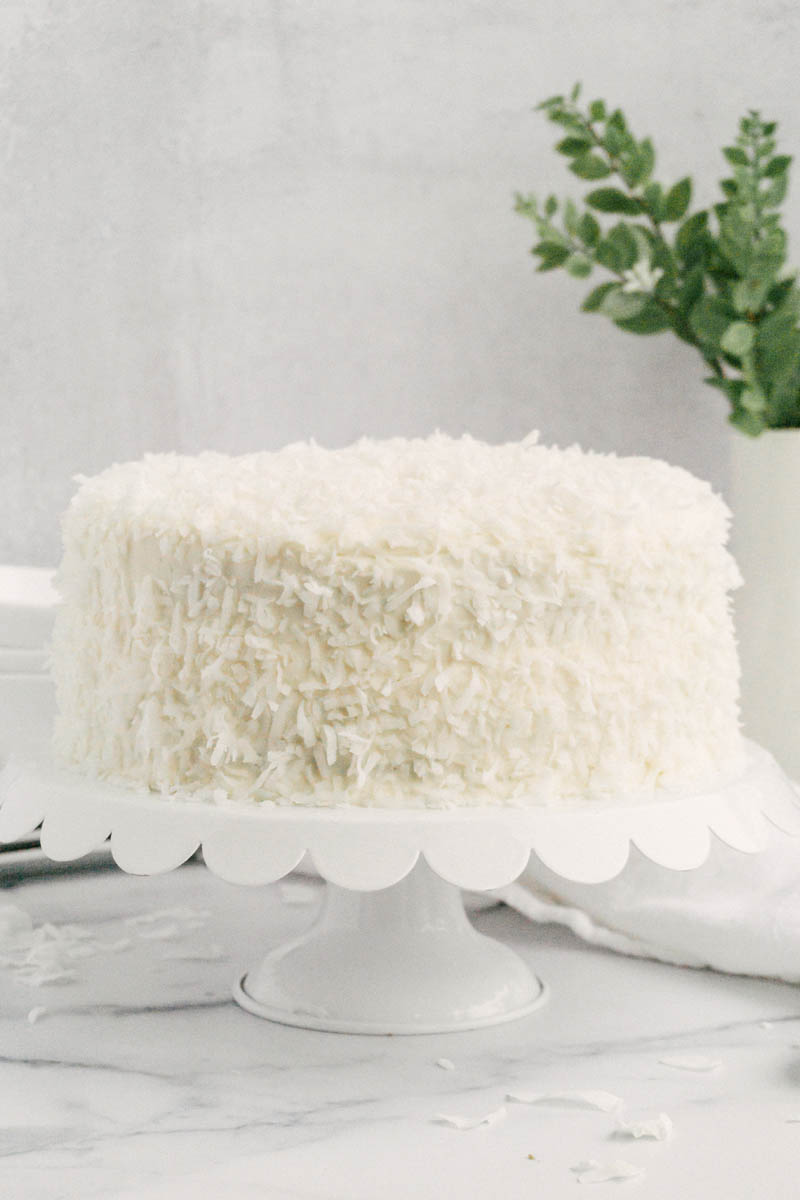
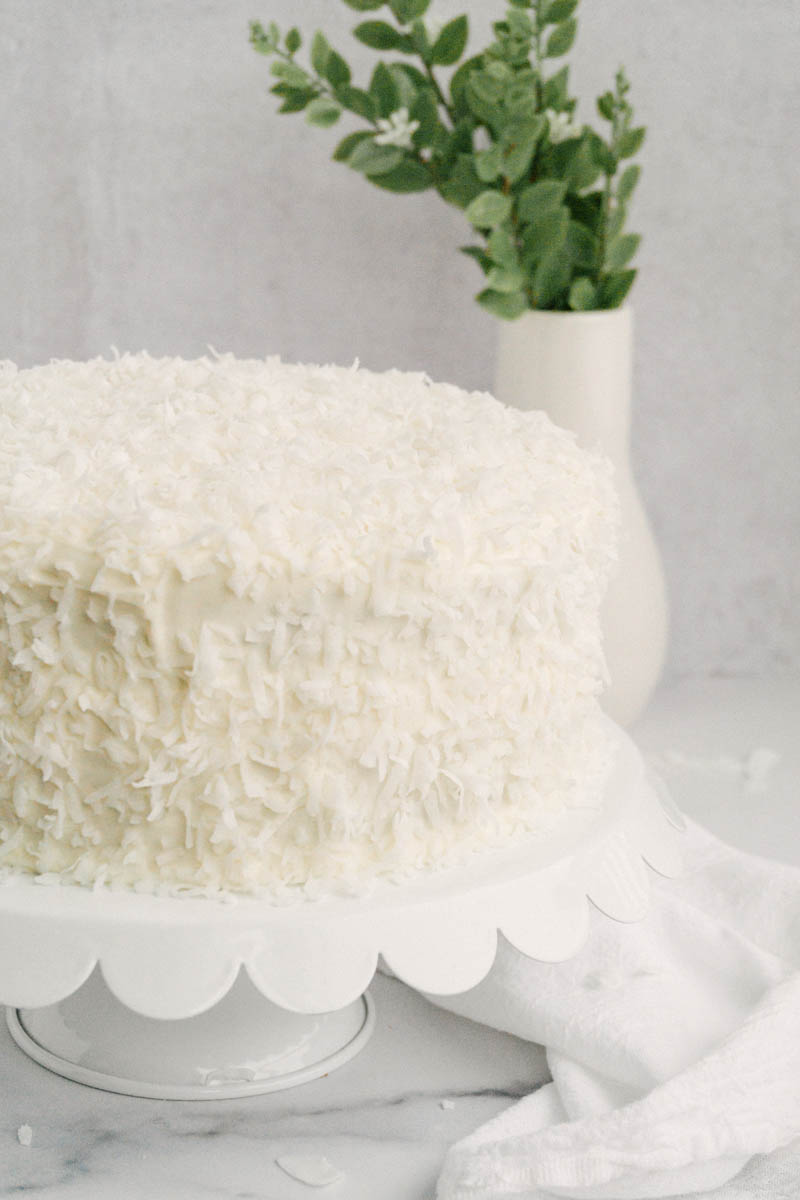
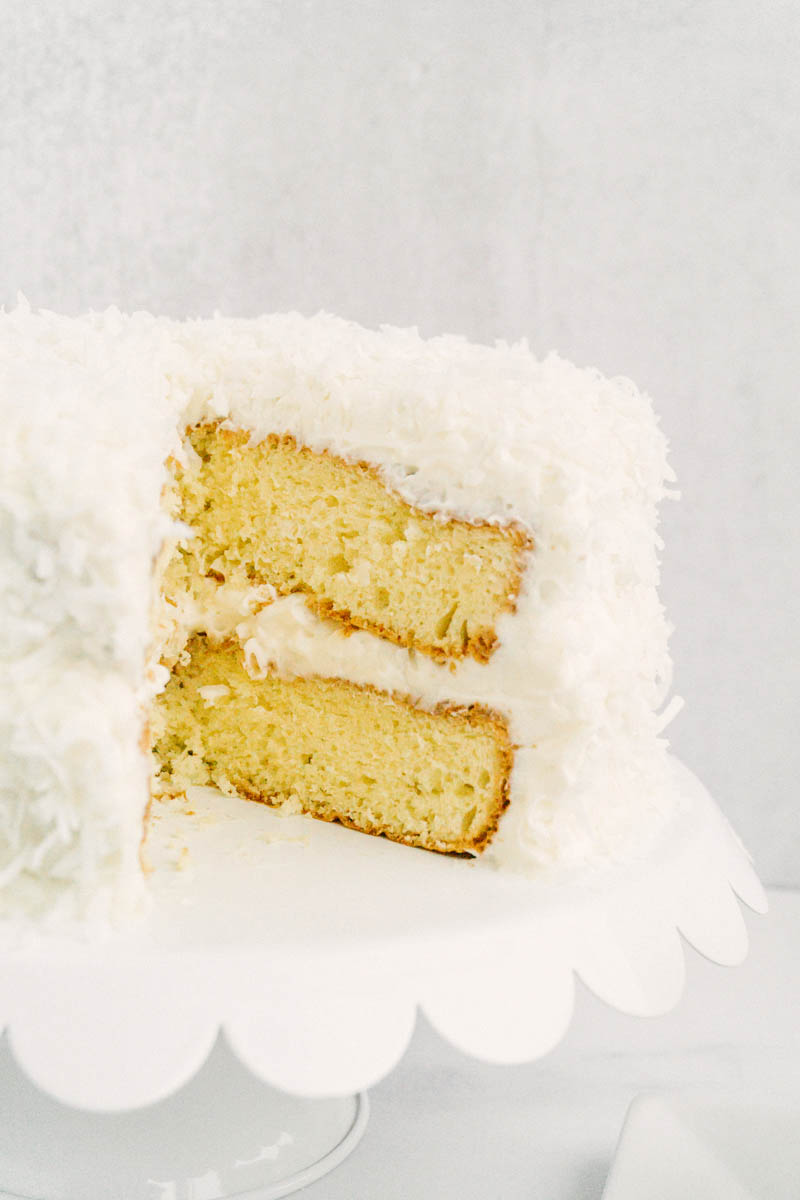
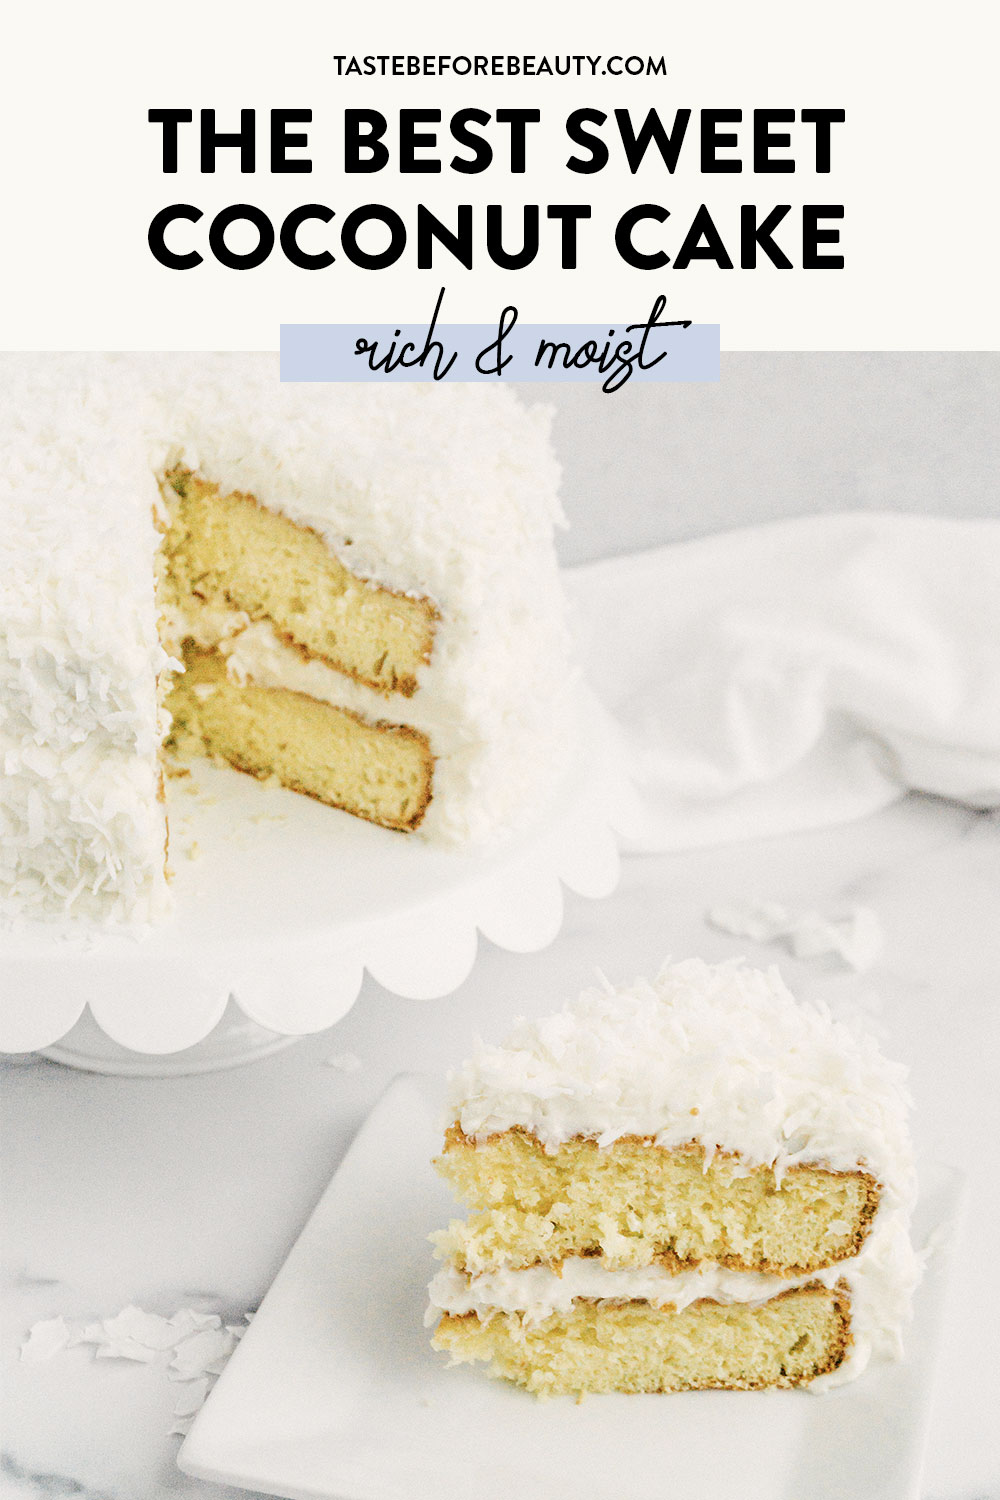
Rich coconut cake surrounded by velvety smooth coconut cream frosting. This Sweet Coconut Cake is sophisticated enough for any special occasion but simple enough for a weekday bake.
Vacation Vibes
Aidan and I took a trip to Charleston, SC for our one-year anniversary. We stayed at this cute little inn that had a fantastic restaurant downstairs. We had the best coconut cake I’ve ever tasted for dessert.
Missy served a similar cake at a women’s church event 10 years ago. It received raving reviews but she hadn’t made it since. When we started this website, I knew we needed to team up and combine our coconut cake experiences.
I crave that cake every year so it was inevitable that at some point I would either need to make a trip back to Charleston or learn how to make Coconut Cake on my own (or maybe both?).
Coconut Cake Recipe Tips
Using a boxed white cake mix keeps this cake simple. I doctor it up by using whole eggs instead of the egg whites called for on the back of the box and by using full-fat coconut milk. The result is a delicious, moist, flavorful cake.
Originally, we planned on using boxed pudding mix for the Coconut Cream to keep this cake ultra simple. Unfortunately, either due to ongoing COVID-19 effects or decreasing demand, coconut pudding isn’t carried in stores anymore. This gave Missy and me a chance to scheme in the kitchen and come up with a smooth, creamy homemade coconut pudding.
When you use canned coconut milk, run the can under warm water first before opening. This melts the coconut solids so they mix into a creamy liquid. When making the pudding, it is important to totally whisk in the cornstarch before turning on the heat. Otherwise, it can clump up and ruin your pudding (been there, done that).
Assembling the Perfect Cake
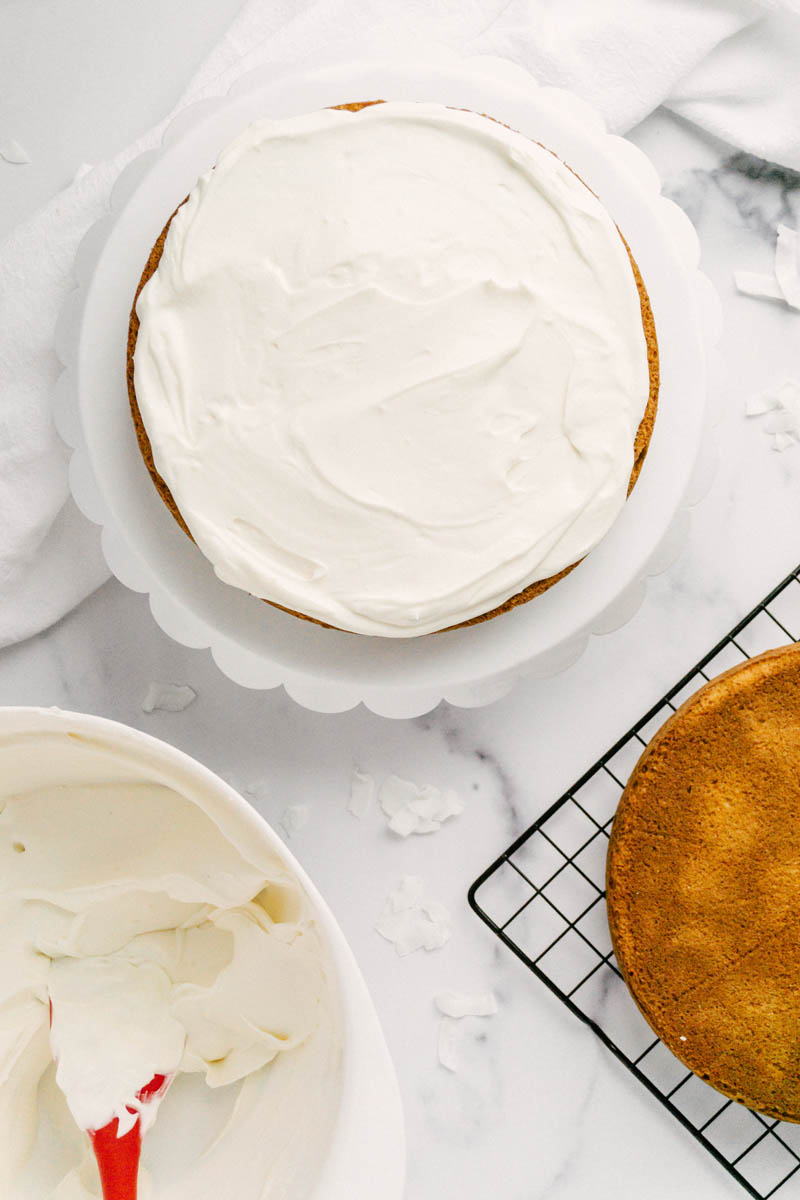
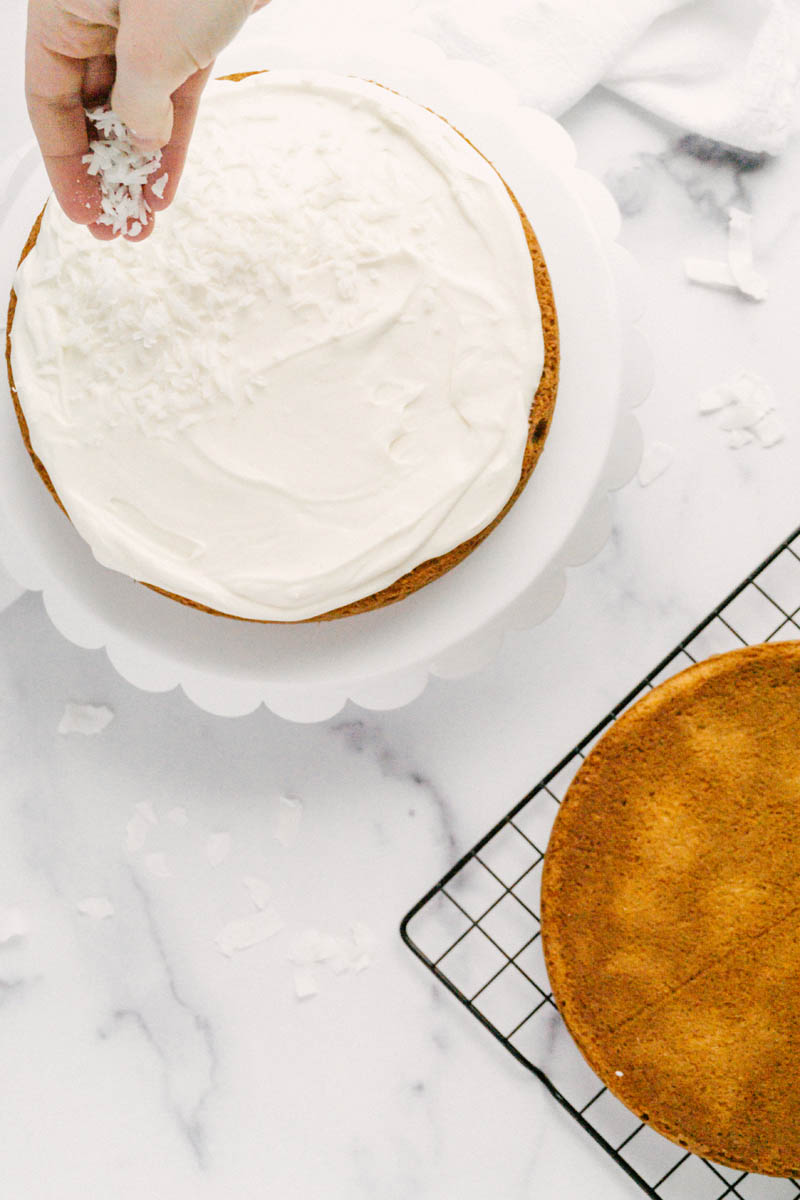
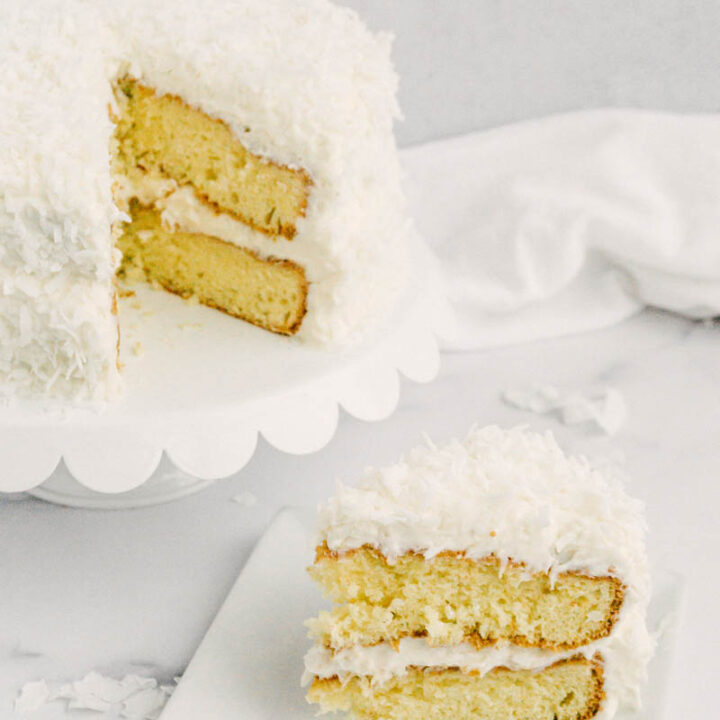
When I assembled the cake, I placed the first cake layer upside down on a cake stand. Top it with a generous layer of coconut cream and as many coconut flakes as your heart desires. Then, add the second cake layer, also upside down to give a nice flat top. Coat the top and sides with the remaining coconut cream. Finish the cake off with more coconut flakes.
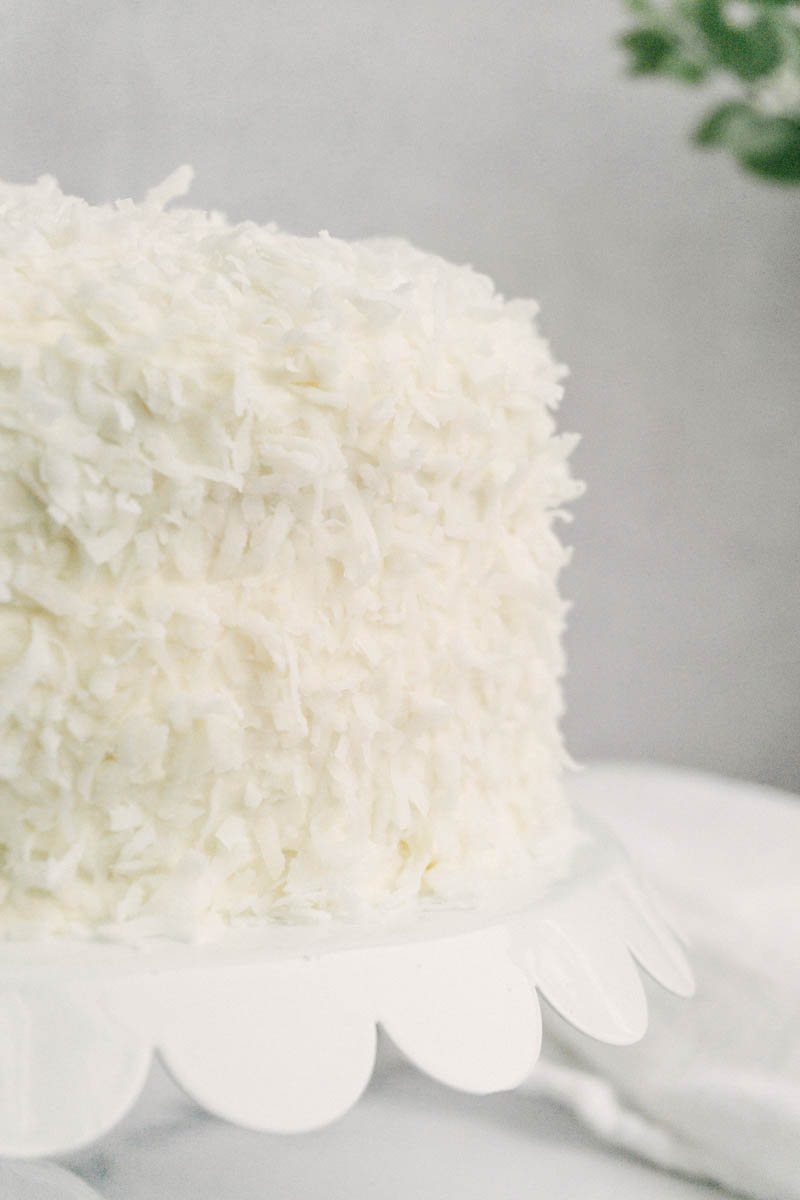
I only used about half of the amount of coconut called for, but you can use as much or as little as you’d like. You could also try toasting the coconut flakes before sprinkling them on the cake.
I hope you love this Sweet Coconut Cake. It brings sunshine to any gray day and is super simple to pull together. If you’re in a coconut mood, try our Coconut Lime shortbread! Leave a comment letting me know how it goes for you and leave a review so others know, too!
Sweet Coconut Cake
Yield: one 2-layer cake, 16 servings
Prep Time: 1 hour
Cook Time: 25 minutes
Additional Time: 3 hours
Total Time: 4 hours25 minutes
Rich coconut cake surrounded by velvety smooth coconut cream. This Sweet Coconut Cake is sophisticated enough for any special occasion but simple enough for a weekday bake.
Ingredients
Cake
1 box Duncan Hines white cake mix
1 (3.4 oz) package instant vanilla pudding
1 C (8 oz) full-fat coconut milk
3 eggs
¼ C (2 oz) vegetable oil
Coconut Pudding
1 C (8 oz) full fat coconut milk
¼ C + 1 ½ T (2.8 oz) granulated sugar
2 T cornstarch
⅛ tsp salt
1 egg yolk
1 T salted butter
1 tsp vanilla
Cream Cheese Whipped Cream
1 (8 oz) package cream cheese
½ C (3.5 oz) granulated sugar
1 tsp vanilla
1 ¾ C (14 oz) heavy cream
Topping
1 (14 oz) bag sweetened coconut flakes
Instructions
Make the Cake.
Preheat oven to 325*F.
Prepare two 9-inch round cake pans. Spray with non-stick spray. Line bottom with a circle of wax paper, then spray with non-stick spray again.
In a large mixing bowl, sift together cake mix and instant pudding mix. Add eggs, coconut milk, and vegetable oil. Using a hand mixer, mix for two minutes to combine.
Divide batter equally between two prepared pans.
Bake for 25 minutes, until middle of cake bounces back when touched. Let cool in the pan for 5 minutes then turn out onto wire cooling racks. Carefully peel the wax paper off and cool completely.
Make the Coconut Pudding.
In a small saucepan, mix coconut milk, sugar, cornstarch, salt, egg yolk, butter, and vanilla together. Whisk to combine. Then heat over medium.
Whisk continuously until mixture just starts to bubble. Remove from heat.
Place in a bowl and cover directly with plastic wrap to keep a skin from forming on top of pudding. Place in refrigerator and cool completely.
Make the Cream Cheese Whipped Cream.
Place cream cheese in a medium-sized mixing bowl. Use a hand mixer to beat cream cheese until completely smooth. Add sugar and vanilla and beat until smooth.
Scrape the bowl (don’t skip!) then add heavy cream. Mix for a bit, then stop and scrape the bowl again. Repeat once or twice, then continue to beat until stiff peaks form.
Assemble the Coconut Cake.
To make the Coconut Cream, carefully combine the whipped Cream Cheese Whipped Cream with the completely cool Coconut Pudding.
Place the first cake layer on a plate or cake stand. Add a generous amount of Coconut Cream, then a layer of coconut flakes.
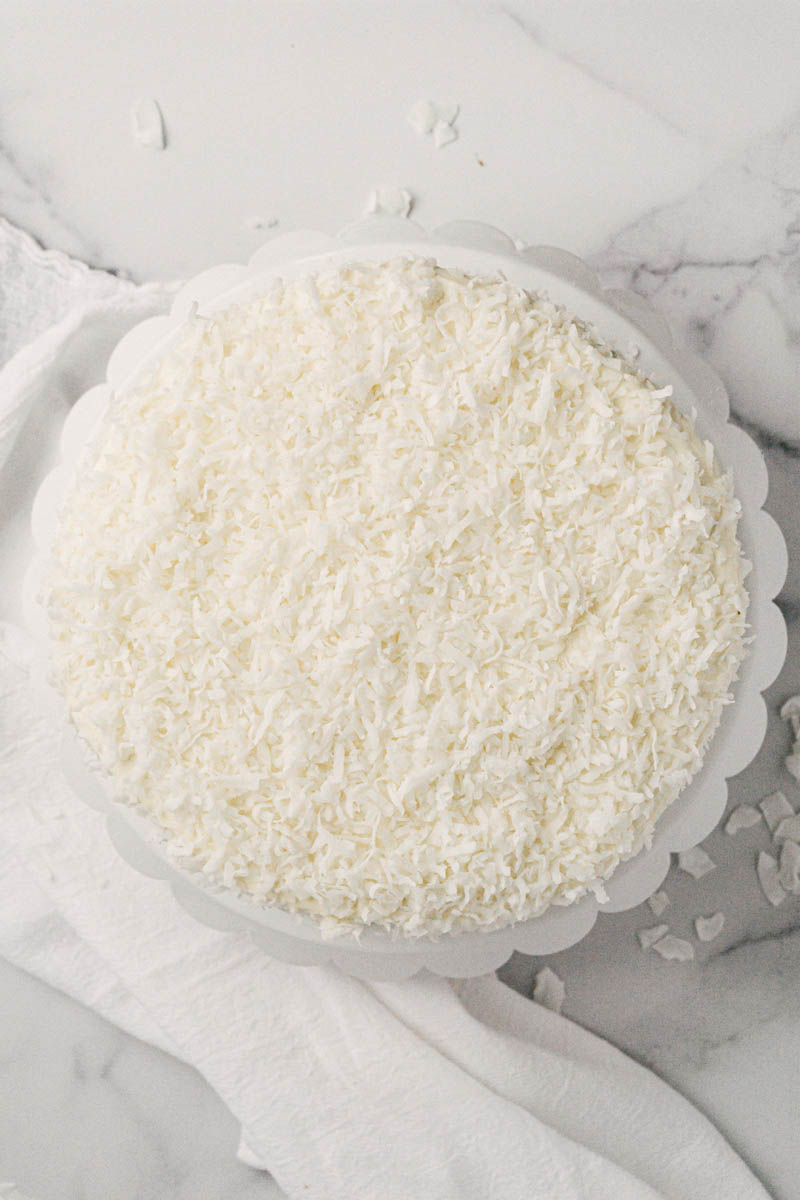
Place the second cake layer on top of the first. Cover the top and sides with the remaining Coconut Cream. Coat the top and sides with coconut flakes.
Store in the refrigerator. Take out 30 minutes before serving.
Notes
To mix coconut solids into the liquid, run unopened can under warm water for a few minutes then shake.
No need to soften the cream cheese for the coconut cream. It will whip up faster when all the ingredients are cold.
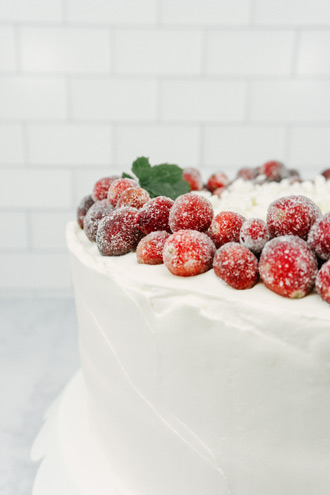
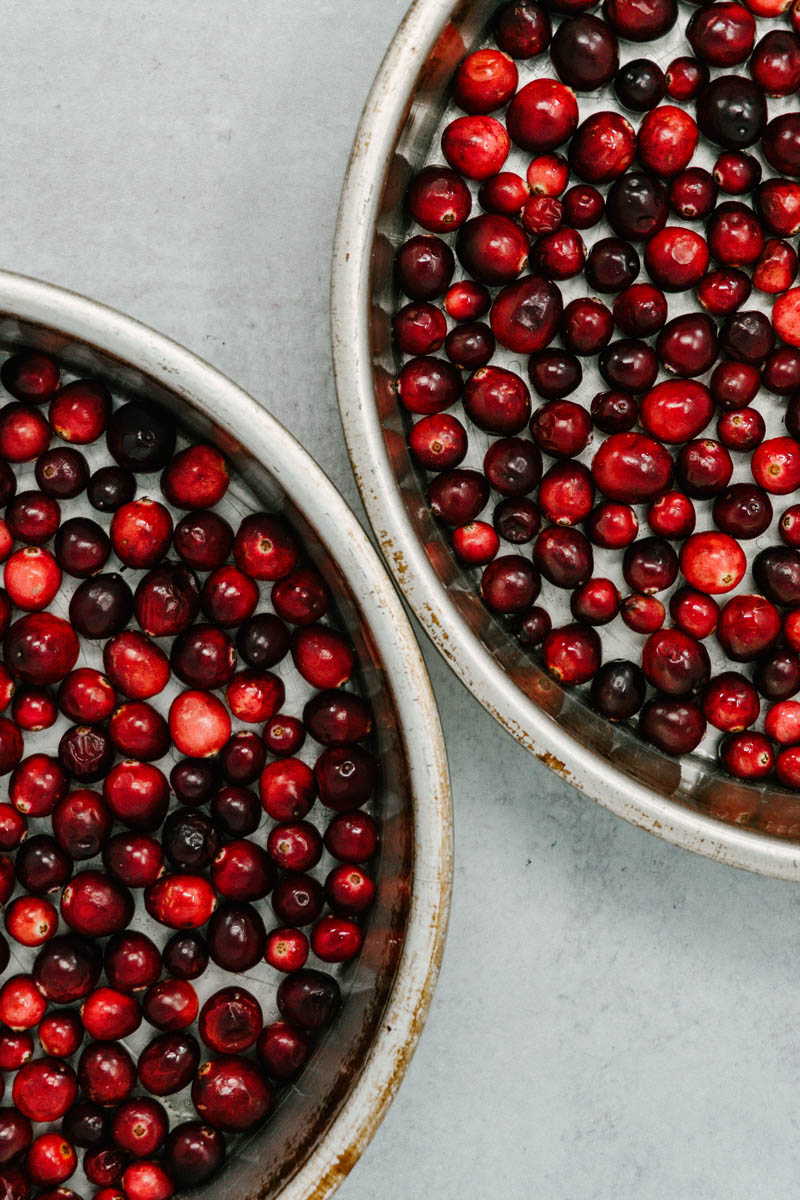
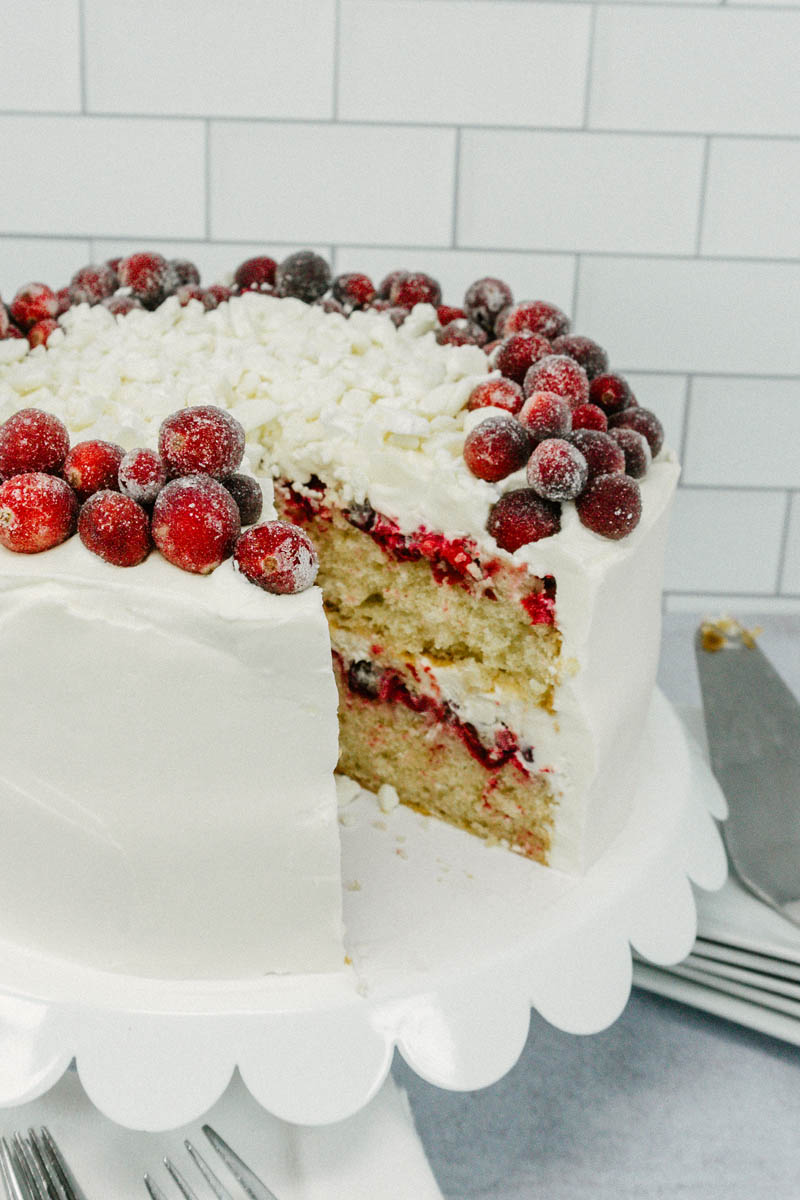
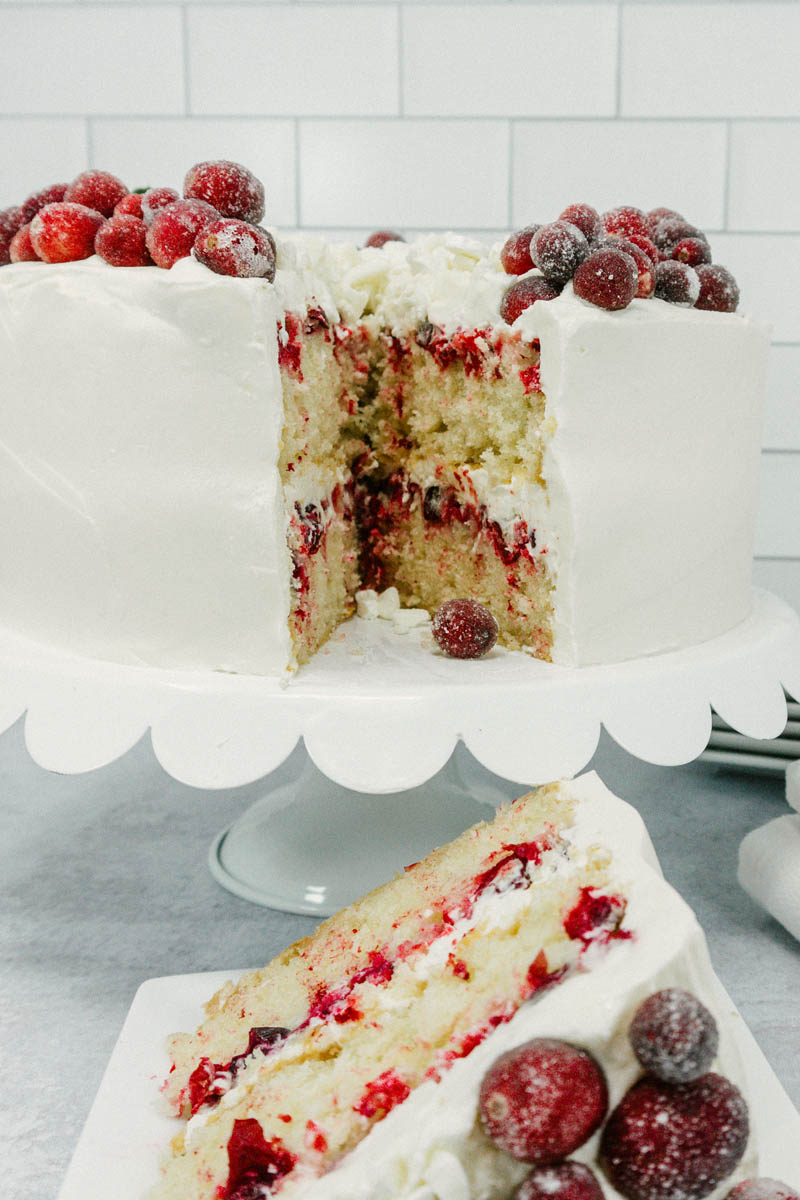
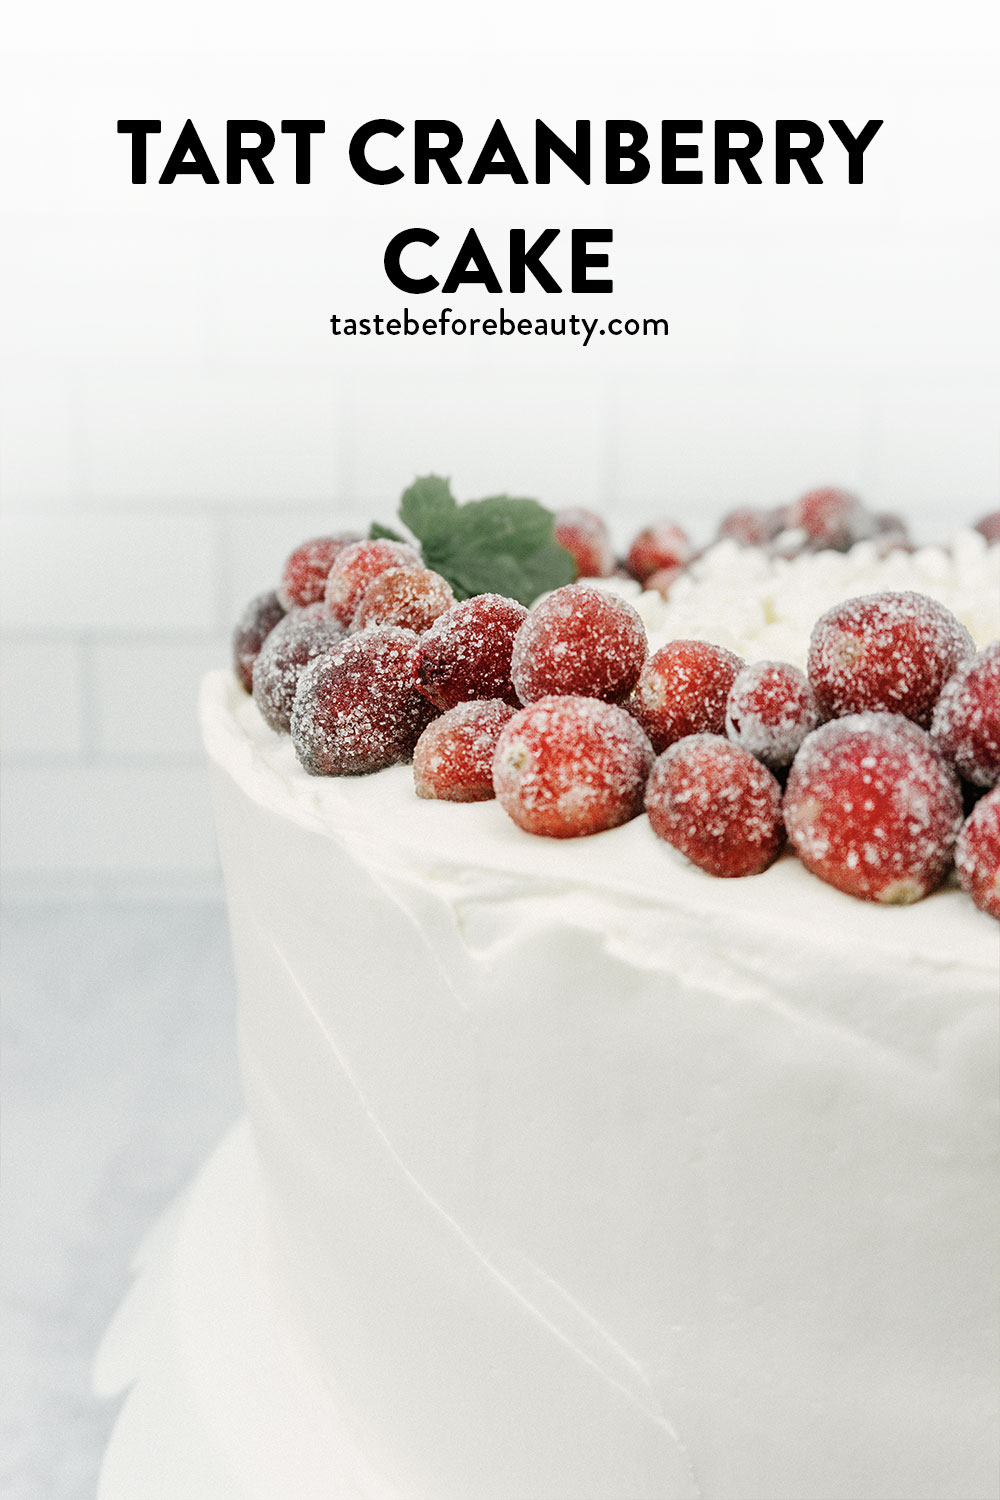
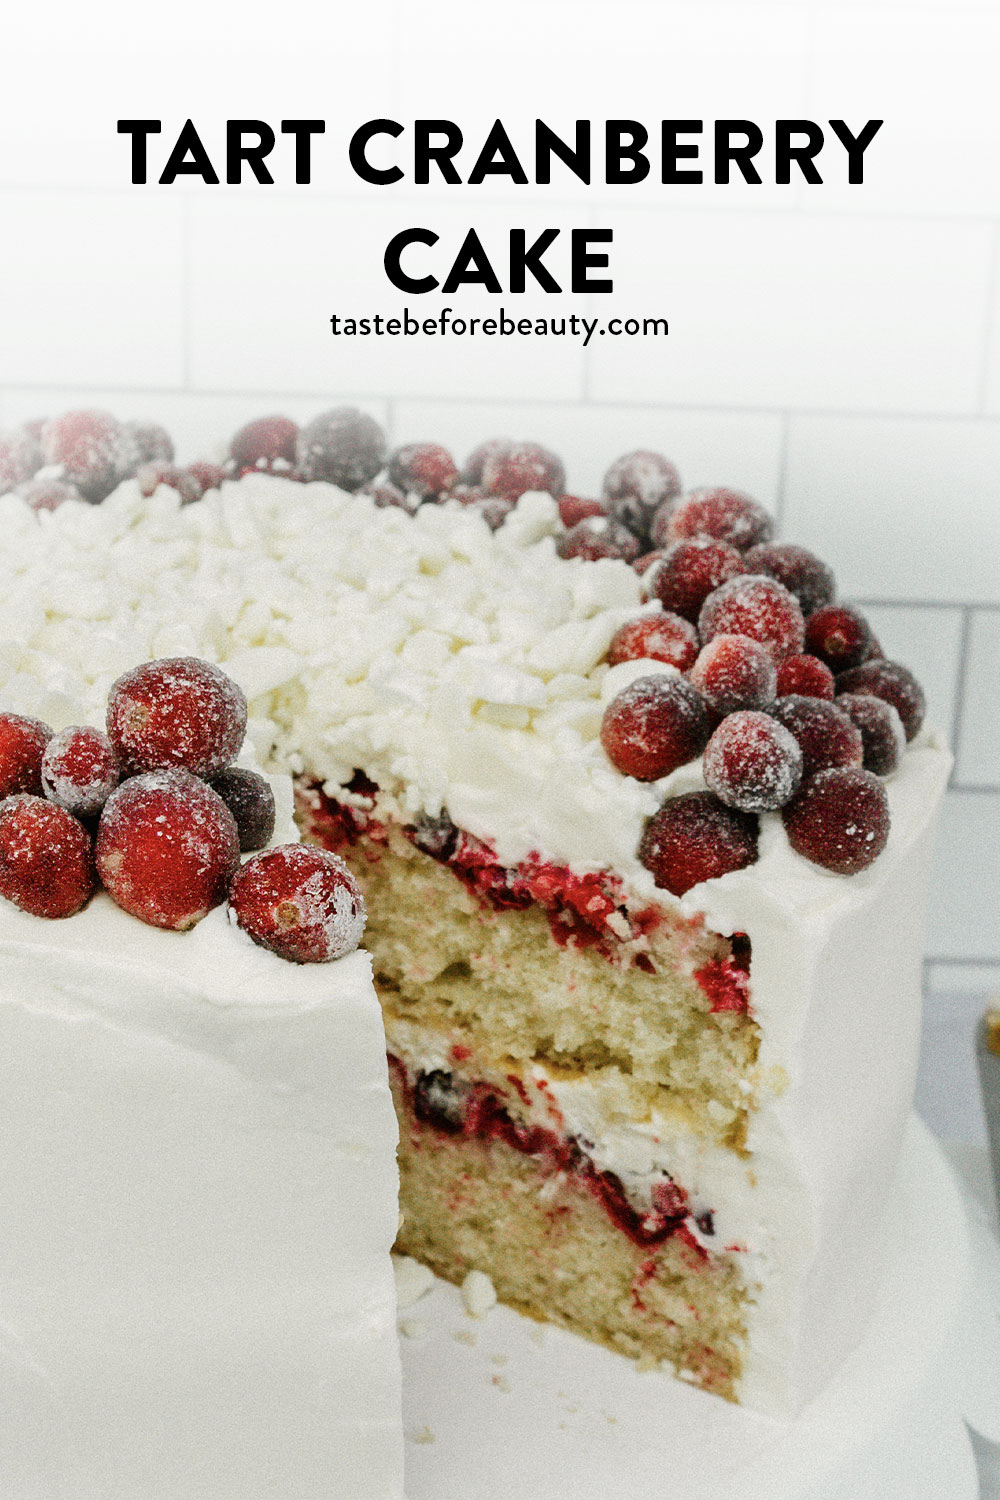
Tart, fresh cranberries nestled in a simple vanilla cake base and topped with a light, sweet cream frosting. It’s easy as cake!
Fresh cranberries are on every endcap at the grocery store right now. Adding them to a two-layer cake sounded like a great idea. The fresh cranberries create a beautiful tart, red layer without the work of making a jam. This Tart Cranberry Cake is a bright, light tasting contrast to all of the rich holiday foods so common to this time of year.
Finding the Perfect Vanilla Cake
Much of my summer was spent in the kitchen testing French vanilla cake. Who knew how difficult it could be? My counters have been covered with various cookbooks, print-outs of recipes, and plenty of flour. Creating the perfect Chocolate Chip Cookie took me 18 years. I’m beginning to think a basic French vanilla cake might also take the same amount of time.
So, I went back to the basics for this Tart Cranberry Cake. For years, a simple boxed cake mix, doctored up with buttermilk and instant pudding mix, was my shortcut to moist, flavorful cake. It bakes up with a fine crumb every time with no fuss.
May Your Frosting Be Merry and Light
I contemplated using a Vanilla Buttercream Frosting for this cake but it added a level of richness that took away from the fresh cranberries. The cranberries are the highlight of this cake and needed to stay that way. Using my Cream Cheese Whipped Cream added to the lightness of this cake and added a subtle sweetness.
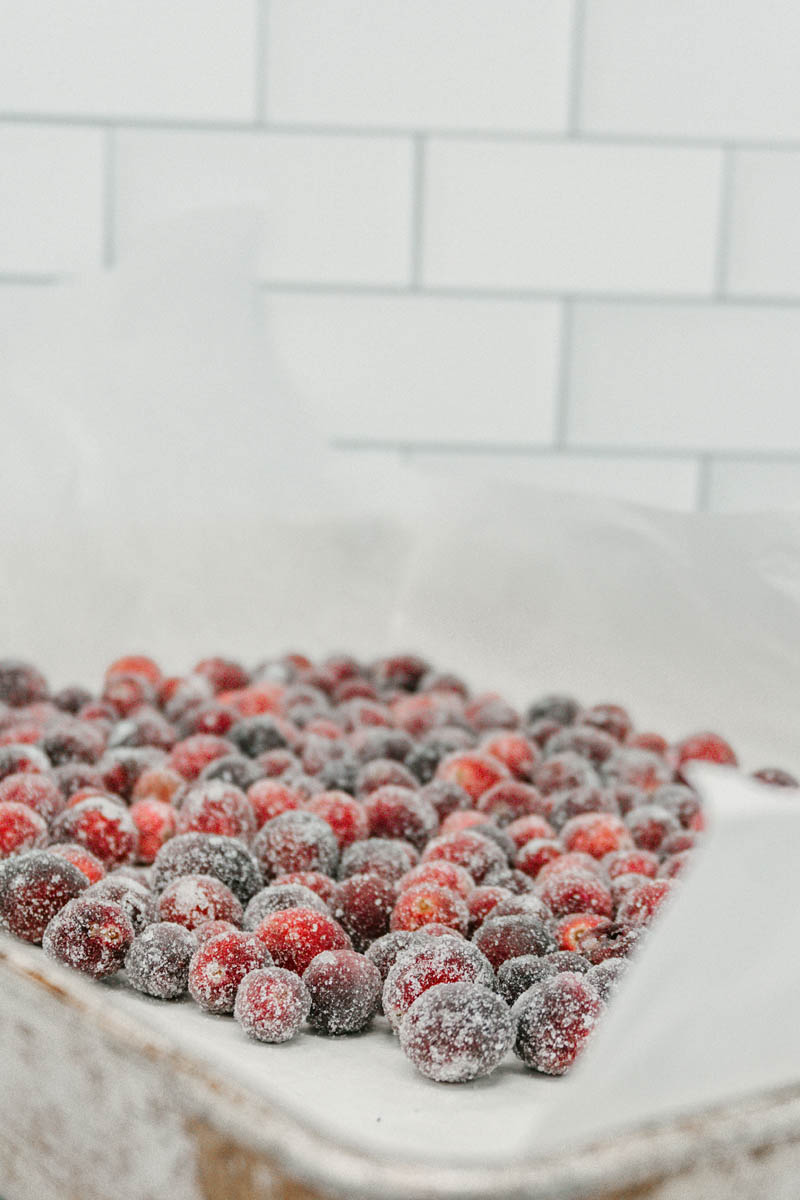
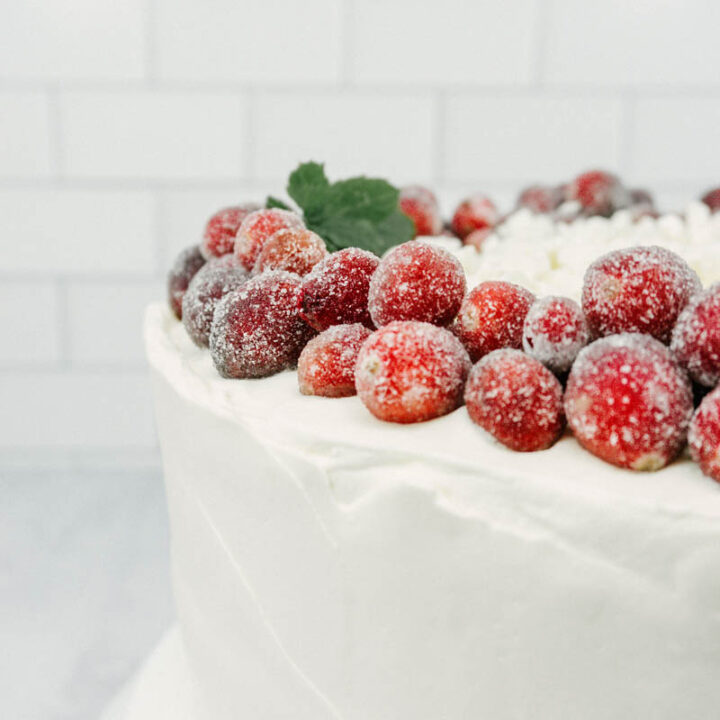
Making sugared cranberries is probably the easiest part of this recipe. Simply heat up corn syrup, coat the cranberries, and then roll in sugar. They will dry with a crunchy sugar coating and look like they took way more effort!
Sophisticated and Simple
Most of my desserts have been thoroughly tested for years. This one is a new creation. You’ll have to let me know what you think. I did share it with a friend and got a text later that day saying, “I feel like my afternoon just got a whole lot more sophisticated.”
Let us know if you feel the same way!
Products I Love to Use When Making the Tart Cranberry Cake
Tart, fresh cranberries are nestled in a simple vanilla cake base and topped with a light, sweet cream frosting. It’s easy as cake!
Ingredients
Sugared Cranberries
3 T Corn Syrup
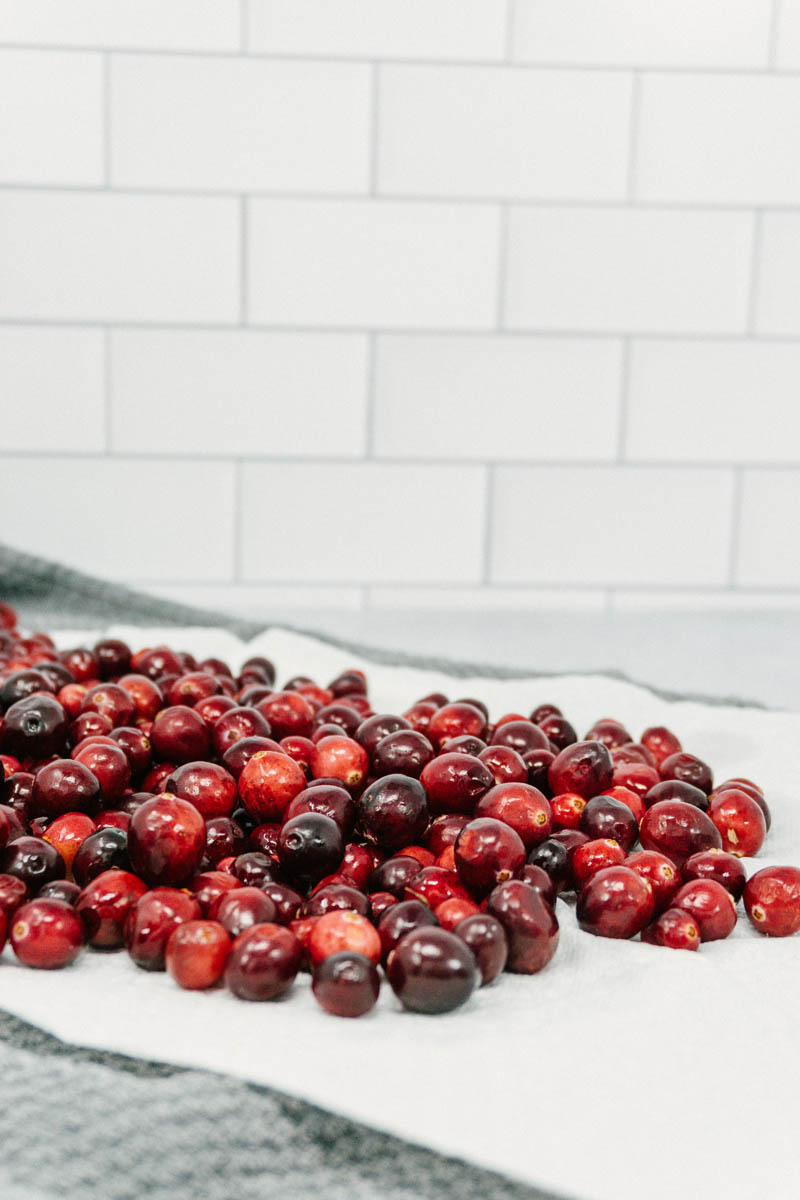
2 C (8 oz) fresh cranberries, rinsed and dried
¾ C (5.25 oz) superfine or regular white sugar
French Vanilla Cake
1 Duncan Hines French vanilla cake mix
1 (3.4 oz) box of instant vanilla pudding
4 large eggs
1 ¼ C (10 oz) buttermilk, or amount of liquid called for on back of box
½ C (3.5 oz) vegetable oil
4 C (16 oz) fresh cranberries, rinsed and dried
Cream Cheese Whipped Cream
Shattered White Chocolate
¾ C (4 oz) white chocolate wafers
Instructions
Make Sugared Cranberries.
Rinse and dry the cranberries.
Line a 9 x 13 pan with parchment paper. Pour half of the sugar into the bottom.
Place corn syrup in a medium-size bowl. Microwave just until the corn syrup is hot and begins to bubble. Immediately add the cranberries. Use a spatula to stir until coated.
Pour cranberries into prepared pan and press into a single layer on top of sugar. Sprinkle remaining sugar over berries. Shake pan until cranberries are completely coated in sugar.
Let dry for 1-2 hours before using.
Make the French Vanilla Cake.
Prepare two 9-inch round cake pans by spraying with non-stick spray, lining bottom with a circle of wax paper, then spraying with non-stick spray again.
Sift the cake mix and the pudding together. Add the eggs, buttermilk, and oil. Mix according to directions on the box.
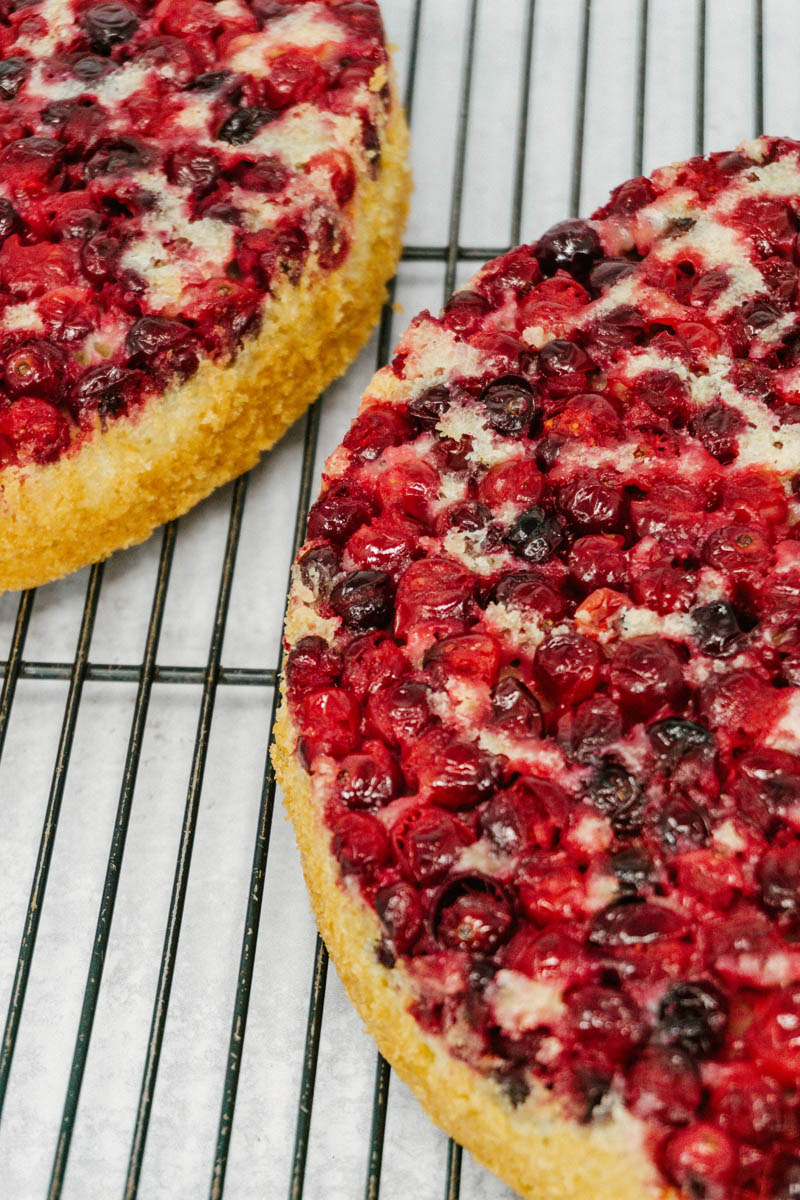
Arrange 2 C (8 oz) of cranberries in a single layer in the bottom of each cake pan.
Divide batter equally between two pans. Spread gently over the cranberries, taking care not to stir them off of the bottom.
Bake for 30 minutes or until you can touch the center of the cake and it bounces back. Let cool in the pan for 5 minutes. Turn out onto wire cooling racks and carefully peel the wax paper. Cool completely.
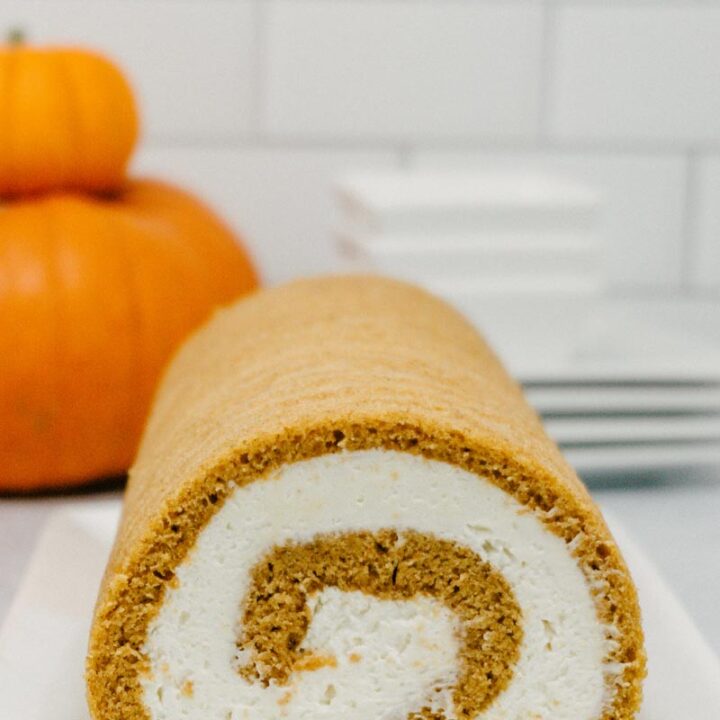
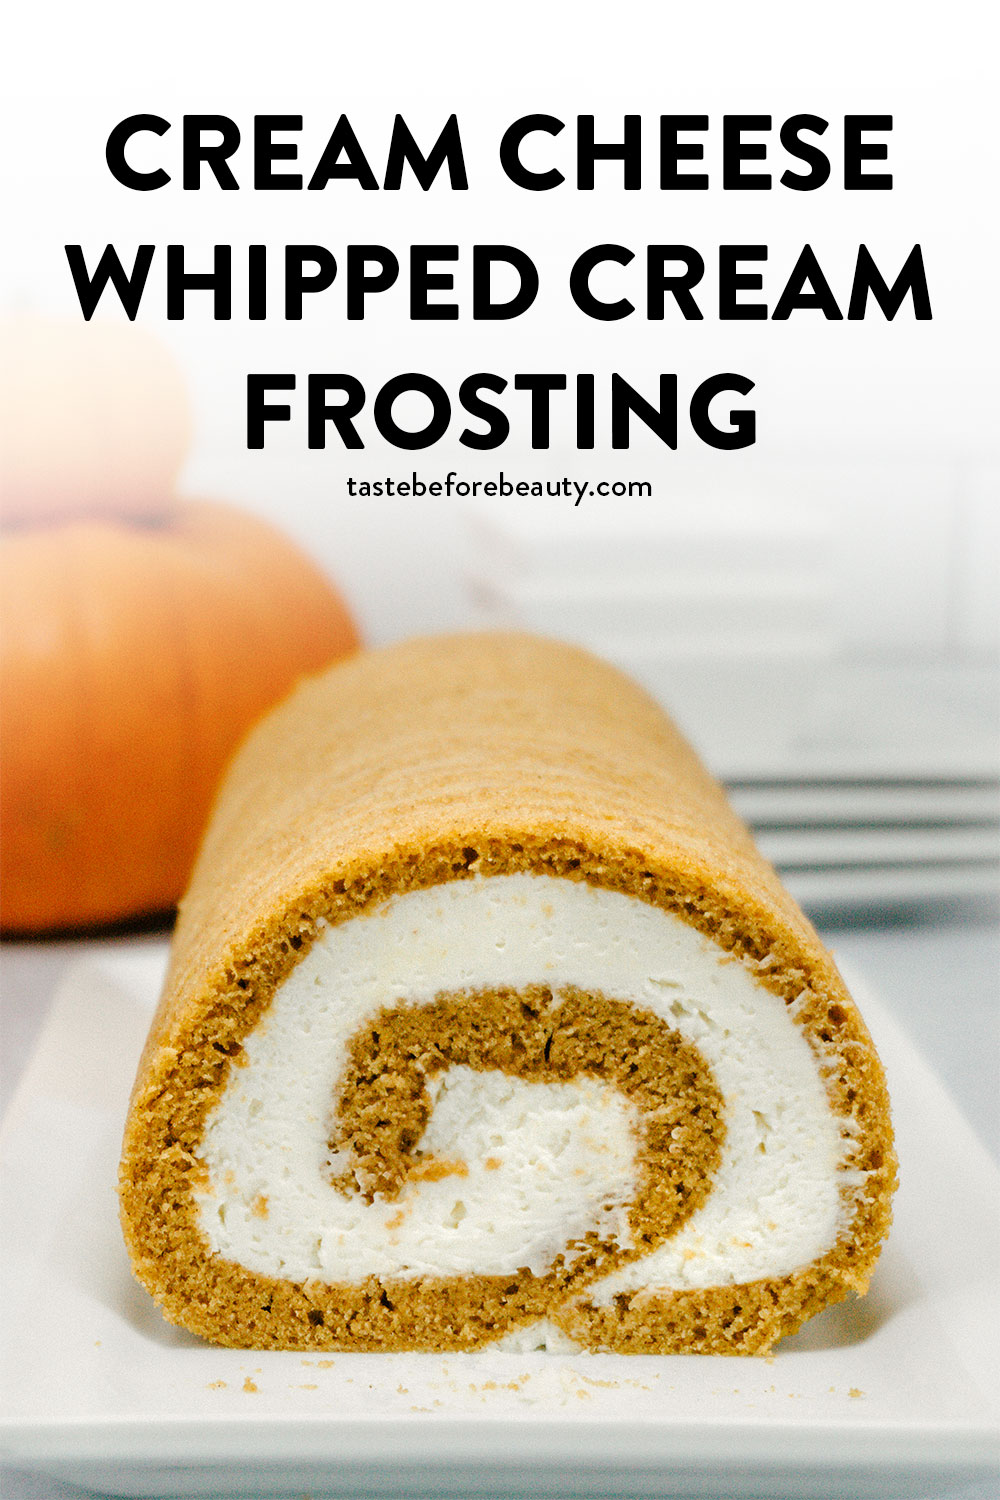
A faultless, stabilized multitasker. It’s a perfect filling and the most versatile “frosting” in my repertoire.
The words “stabilized whipped cream” always sound a little scary to me. It brings to mind that waxy, flavorless topping in the cake cabinet at the grocery store. I like to use whipped cream as a topping, frosting, or layer in many desserts, but was frustrated with its inability to last longer than an hour or two.
Researching
When I started researching options for how to make my own stabilized whipped cream, I saw recipes that called for cornstarch, xanthan gum, gelatin, and many other various stabilizing elements. There were recipes that claimed to stand up to 95*F temperatures in the summer. While that might be useful for cake decorating purposes, warm cream on a hot day just doesn’t appeal to me.
I really just wanted a light, creamy whipped cream that I could use in everyday baking. I stumbled upon a cream cheese whipped cream recipe in a food magazine years ago. I was skeptical at first because I didn’t want to add a cream cheese flavor to everything I use whipped cream for.
Something miraculous happened when I made it. The cream cheese flavor was light, adding only a slight tang and rounding out the flavor of the whipped cream. It gave incredible stability, allowing my piped decorations to last for days in the refrigerator. I LOVED it. I’ve tried this cream cheese whipped cream on so many desserts and I am so pleased every time. It compliments everything and overwhelms nothing.
Some Tips for the Cream Cheese Whipped Cream
To make it is so simple. You don’t even have to soften the cream cheese. In fact, it works best if all the ingredients are kept cold. All I use is an electric hand mixer, although you could use a stand mixer if you’d like. When I first began experimenting with this recipe, I found it would sometimes end up lumpy. The trick to avoiding this is to scrape the bowl with a rubber spatula 2-3 times as you’re beginning to mix the cream in. Don’t be tempted to skip this step.
Sometimes, if I want a lighter cream, I’ll use 2 cups (16 oz) of heavy cream. When I want more cream cheese flavor, I’ll cut back the cream to only 1 ½ cups (12 oz) of heavy cream. To add flavors to it, I’ve found it works best to avoid extracts and instead use zest, fruit, or spices. Some of my favorites are orange or lime zest.
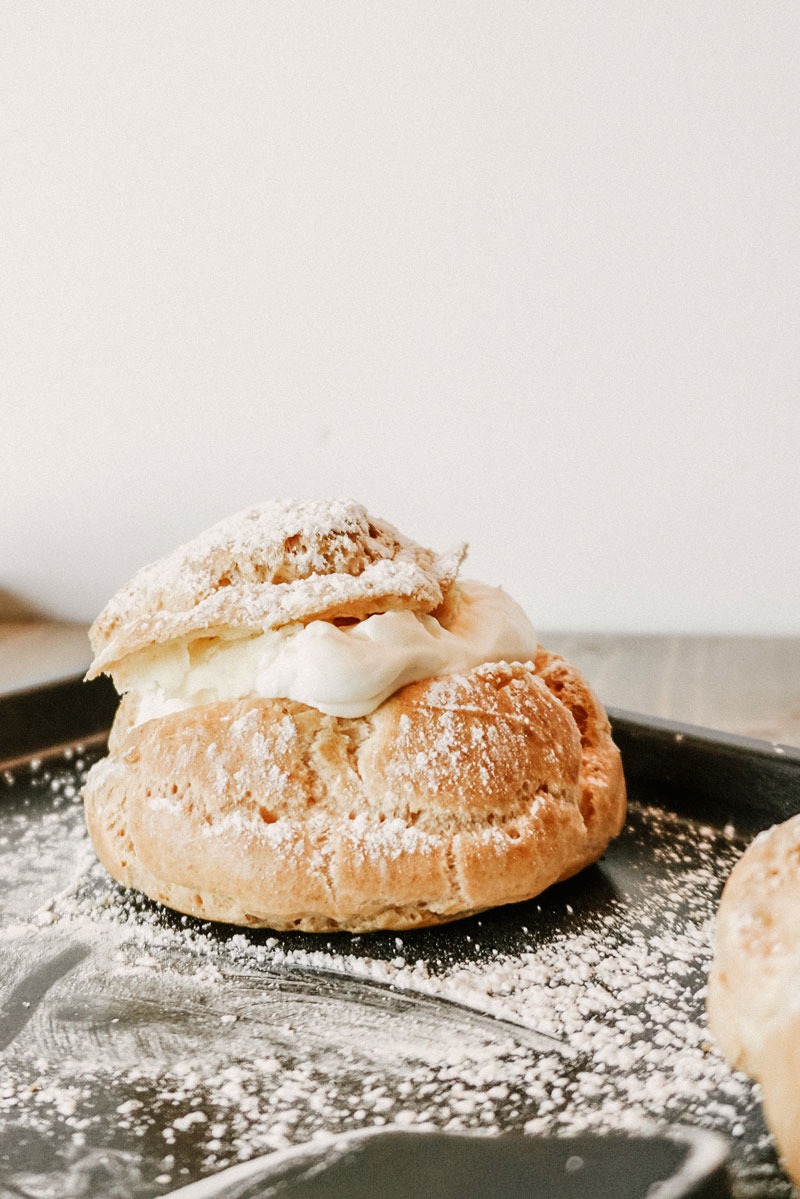
I absolutely love this cream cheese whipped cream. We often call it the Wonder Cream. I’ve used it in so many desserts, from frosting on a cake, to filling for a berry tart. I’ve piped it into a pavlova, used it to fill many cream puffs, and layered it in a trifle.
However you decide to use this, we would love to know. Tag us on social media or share in the comment section, and please remember to scrape your bowl!
Cream Cheese Whipped Cream
Yield: 25 ounces
A faultless, stabilized multitasker. It’s a perfect filling and the most versatile “frosting” in my repertoire.
Ingredients
1 (8 oz) package cream cheese
½ C (3.5 oz) white sugar
1 tsp vanilla
1 ¾ C (14 oz) heavy cream, cold
Instructions
In a medium-sized bowl, beat cream cheese until smooth.
Add sugar and vanilla and mix. Scrape bowl. I can’t say this enough.
Add heavy cream and mix for 30 seconds. Stop, scrape bowl, beat another 30 seconds, then stop and scrape bowl again.
Whip on high speed until pipeable and ready to spread. Pipe or spread onto your treat of choice. Store in the refrigerator.
Notes
Scrape the bowl at least 2-3 times before the cream begins to thicken. This will help incorporate the cream cheese evenly. Failing to scrape the bowl may result in unsightly chunks of cream cheese in the final product.