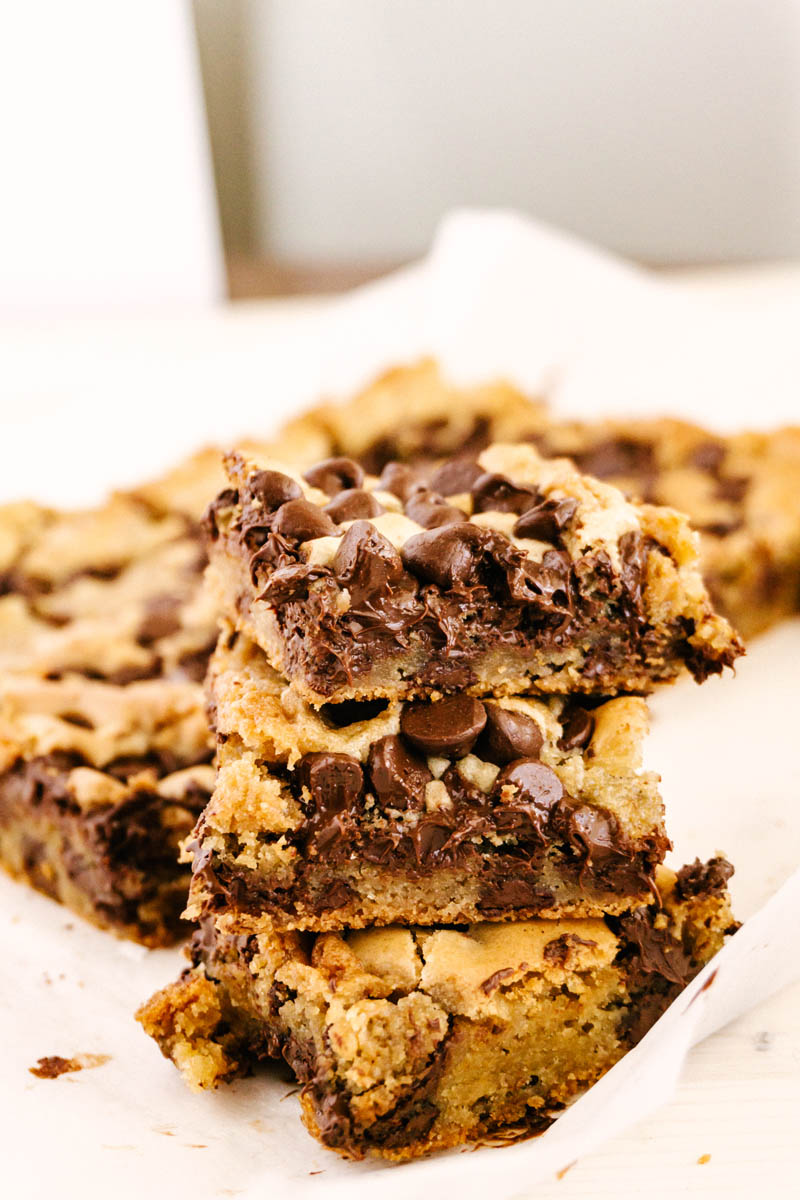
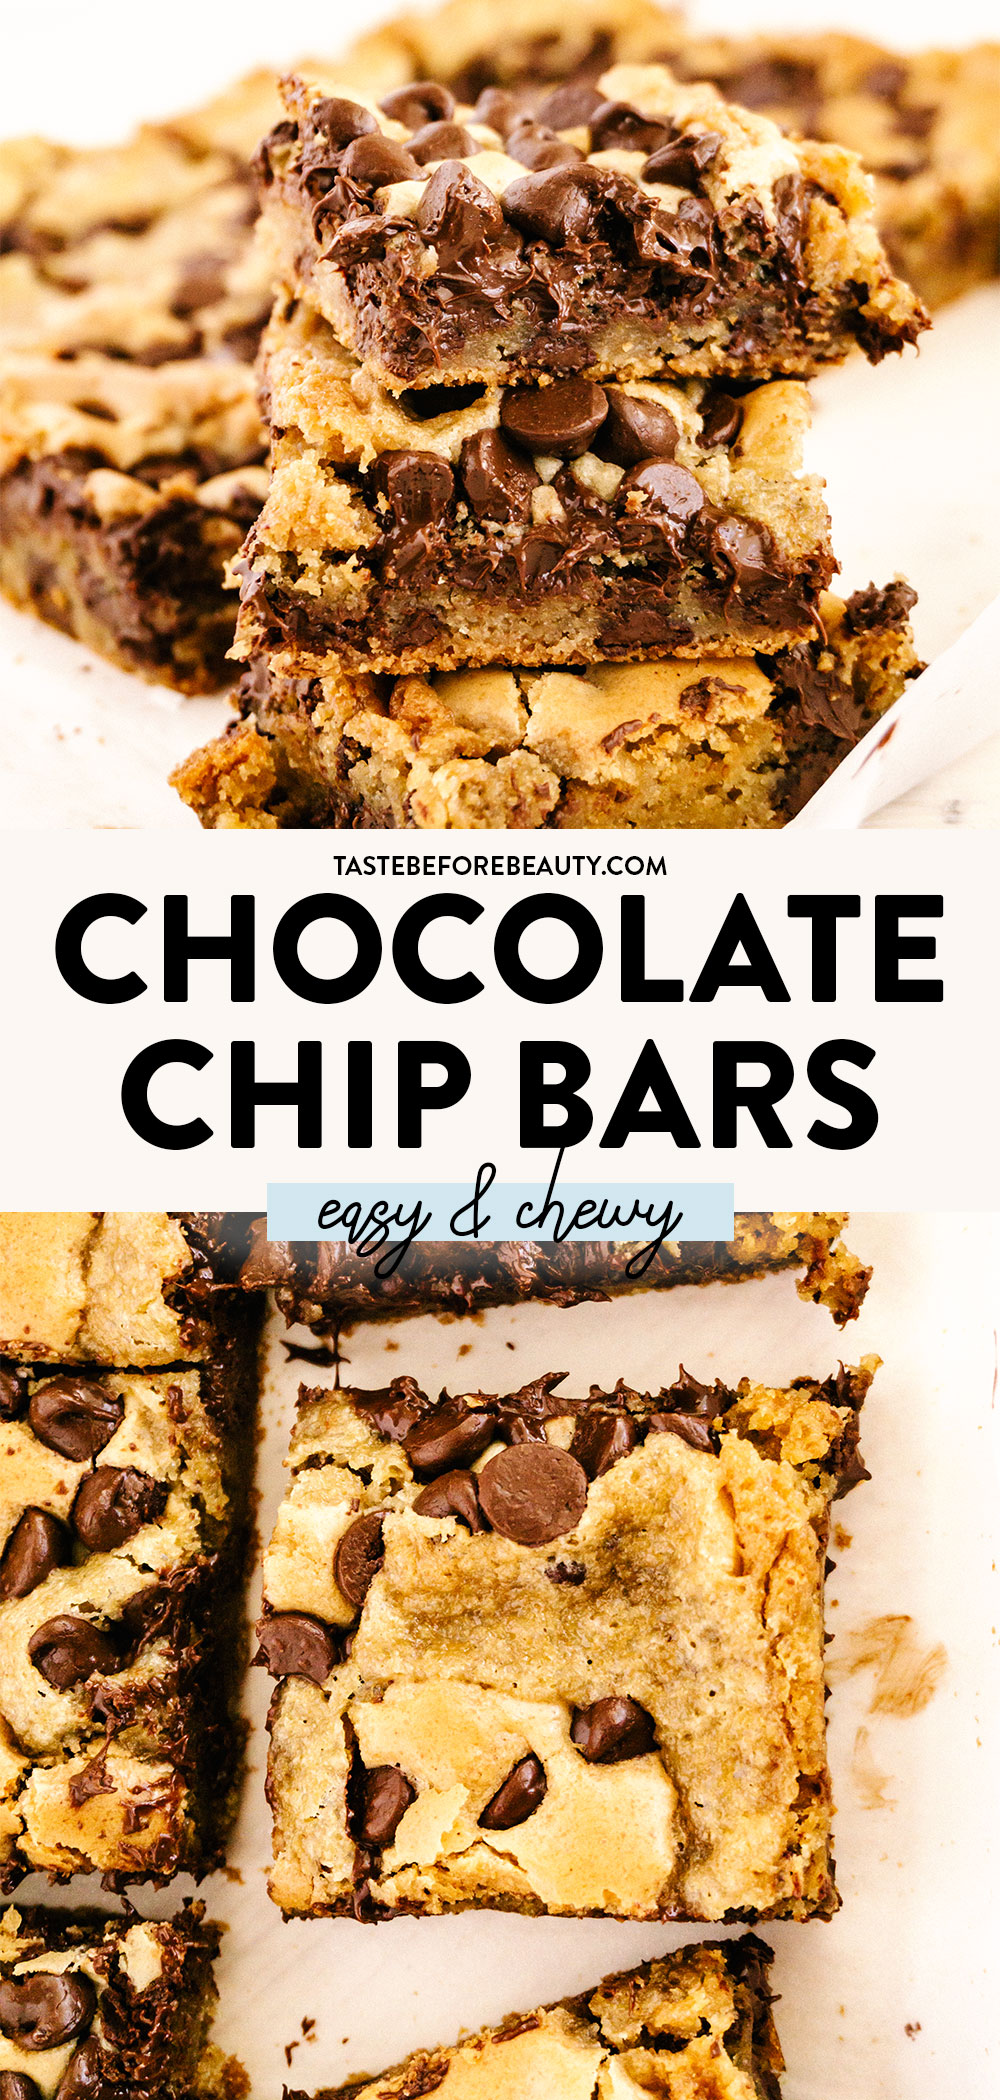
These chewy Chocolate Chip Bars are practically effortless. They come together in one bowl and cook up to the perfect gooey, chewy, chocolate chip-y goodness. One bite of these will have you rewriting The Golden Rule to “Bring unto others the Chocolate Chip Bar you want brought unto you.”
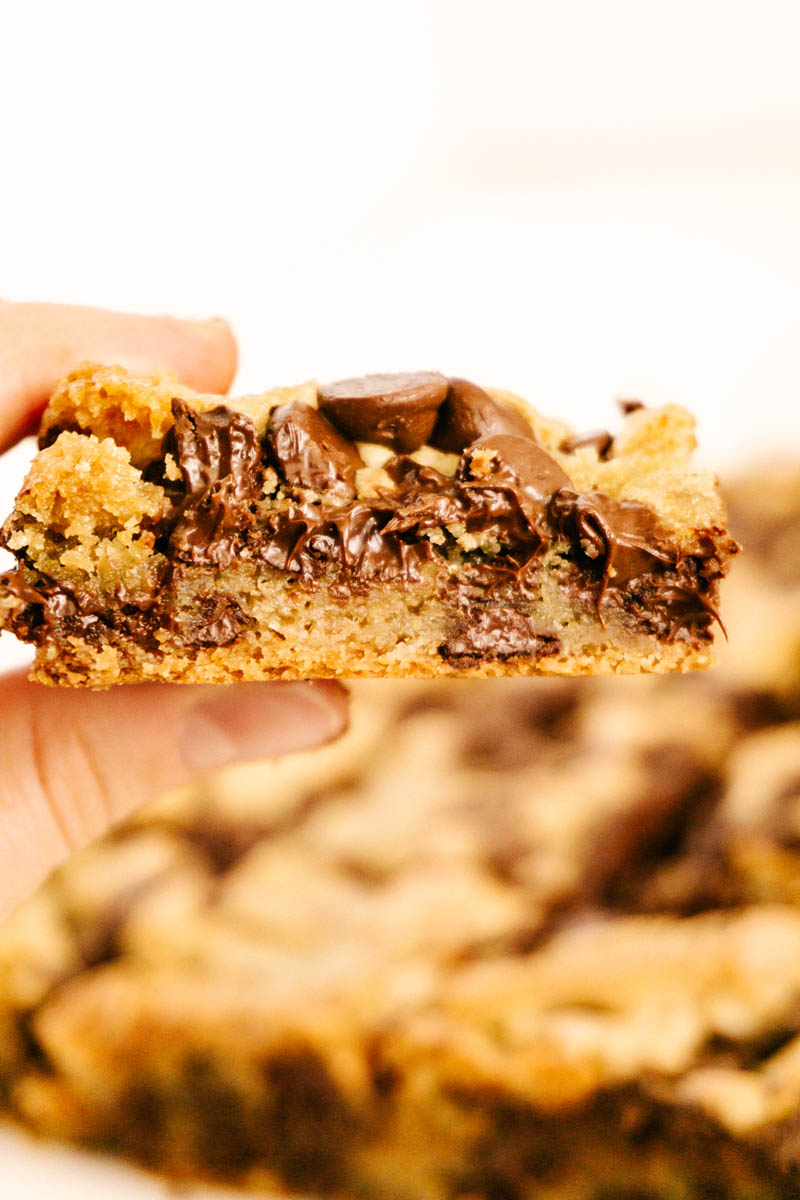
Too lazy to make chocolate chip cookies? Then this Chocolate Chip Bar recipe is for you! It takes out all the work and none of the flavor. These bars are chewy and rich, and not your average “cookie bar”. With a flavor so common to blondies, this chocolate chip bar is sure to hit that sweet spot!
These Chocolate Chip Bars are my go-to treat for any event because they are easy and delicious and any crowd will love them. They also freeze really well, so you can make a few batches ahead of time and stock up your freezer for any time you need a quick treat.
The Golden Rule
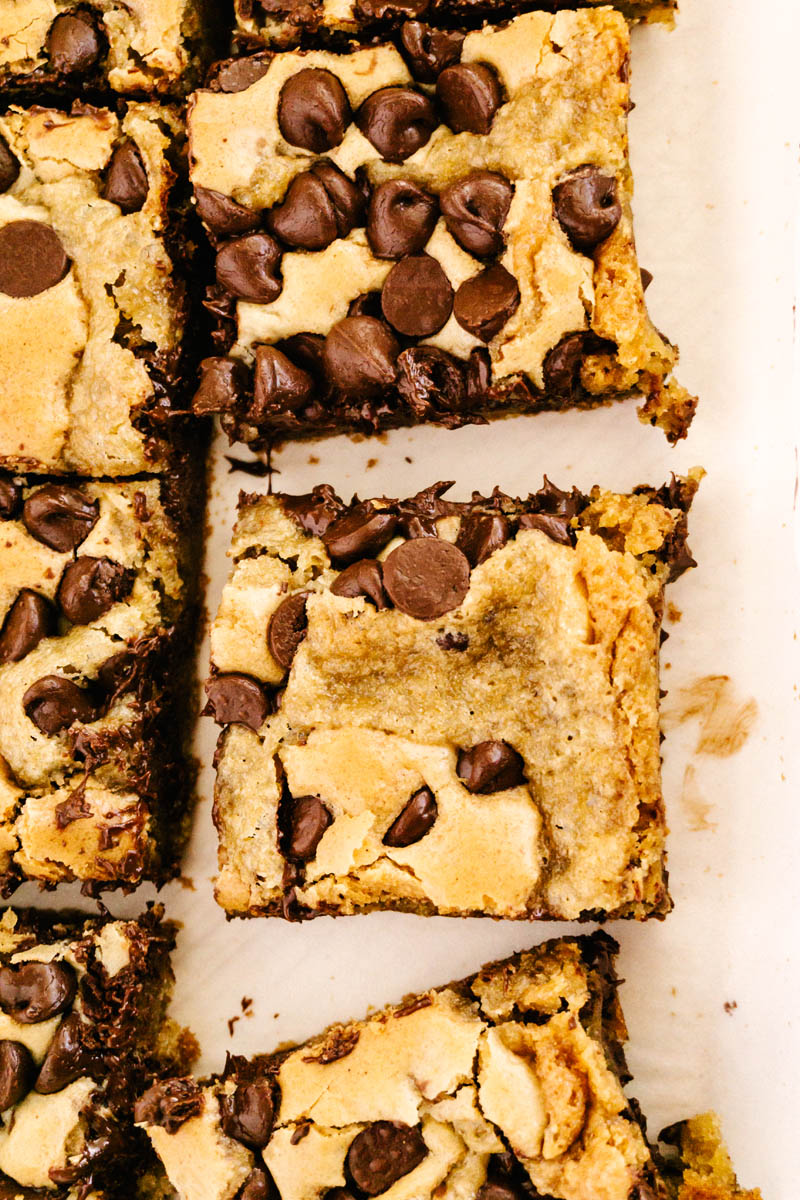
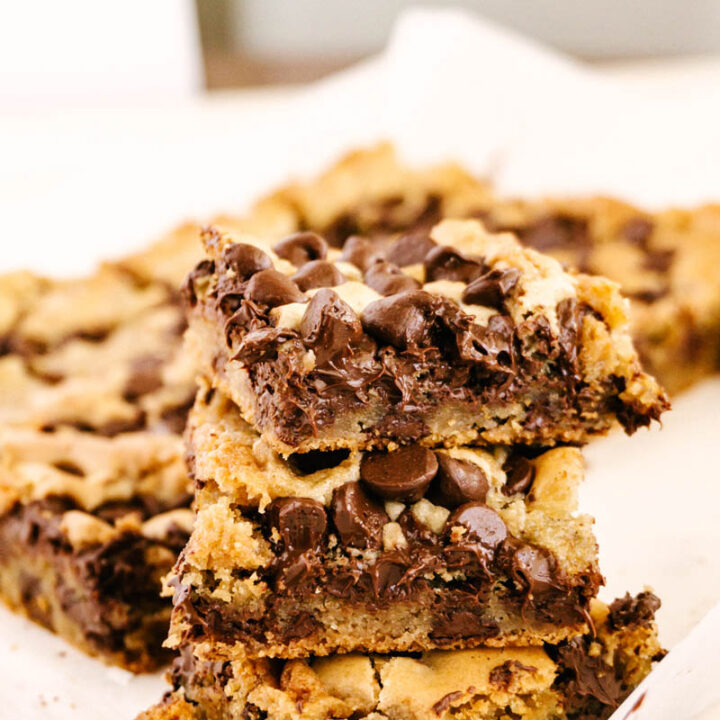
One of my favorite things about these cookies is the beautiful golden color they are after baking. I can never get my #1 Chocolate Chip Cookies to get as golden as these bars get, which makes these bars even more appealing!
You will feel like a champion every time you pull these out of the oven, not only because you mastered this recipe (it’s so easy, so you’re welcome), but because these golden bars will be a hit in your home, apartment, workplace, party, or your secret dessert stash no one else knows about.
Customize Them
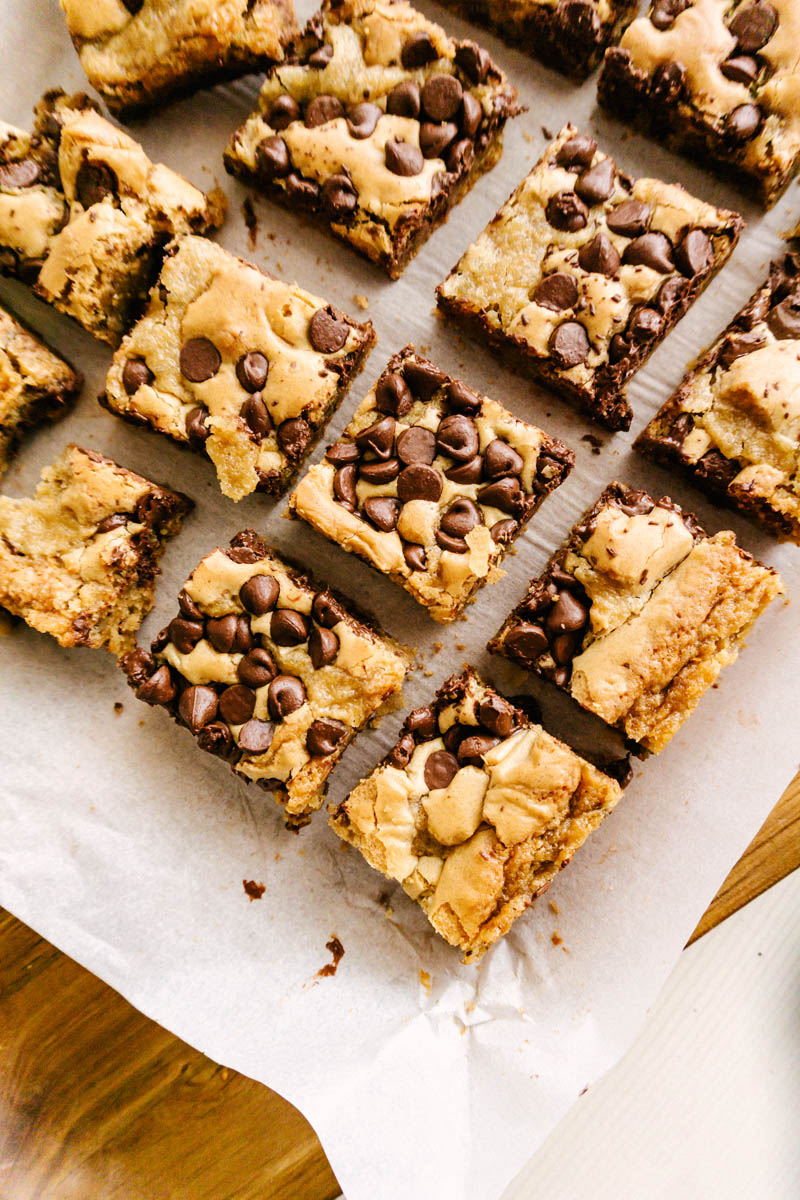
When I was in elementary school my mom made these for me to bring to my class to share on my birthday. She wrote “Happy Birthday” on the top of the bars with frosting and I enjoyed sharing them with all my friends. If it is the Fourth of July, throw in some red, white, and blue M&M’s, or red and green ones for Christmas! Throw in some sprinkles for a fun blast of color for a party, or even some mini chocolate chips! Make these bars your own and snap a picture for us to see!
Make sure you tag us in your photos on Facebook, Instagram, and Pinterest @tastebeforebeauty. Leave a comment and a review too when you try them!
Looking for more delicious, easy recipes? Try these:
These chewy Chocolate Chip Bars are practically effortless. They come together in one bowl and cook up to the perfect gooey, chewy, chocolate chip-y goodness. One bite of these will have you rewriting The Golden Rule to “Bring unto others the Chocolate Chip Bar you want brought unto you.”
Ingredients
¾ C (6 oz) salted butter, melted
1 C (8 oz) light brown sugar
1 C (7 oz) white sugar
3 large eggs
2 tsp vanilla
1 tsp salt
1 tsp baking powder
2 C (9 oz) all-purpose flour
2 C (12 oz) semi-sweet chocolate chips, divided
Instructions
Preheat oven to 350*F.
Cream together butter and sugars until sugar is mostly dissolved. Add remaining ingredients and half of the semi-sweet chocolate chips.
Line a 10x10 pan with parchment paper. Pour batter into pan and top with remaining 1 C (6 oz) semi-sweet chocolate chips.
Bake for 25-30 minutes, or until the top and edges turn a rich gold color. Remove from the oven and let cool before cutting into bars.
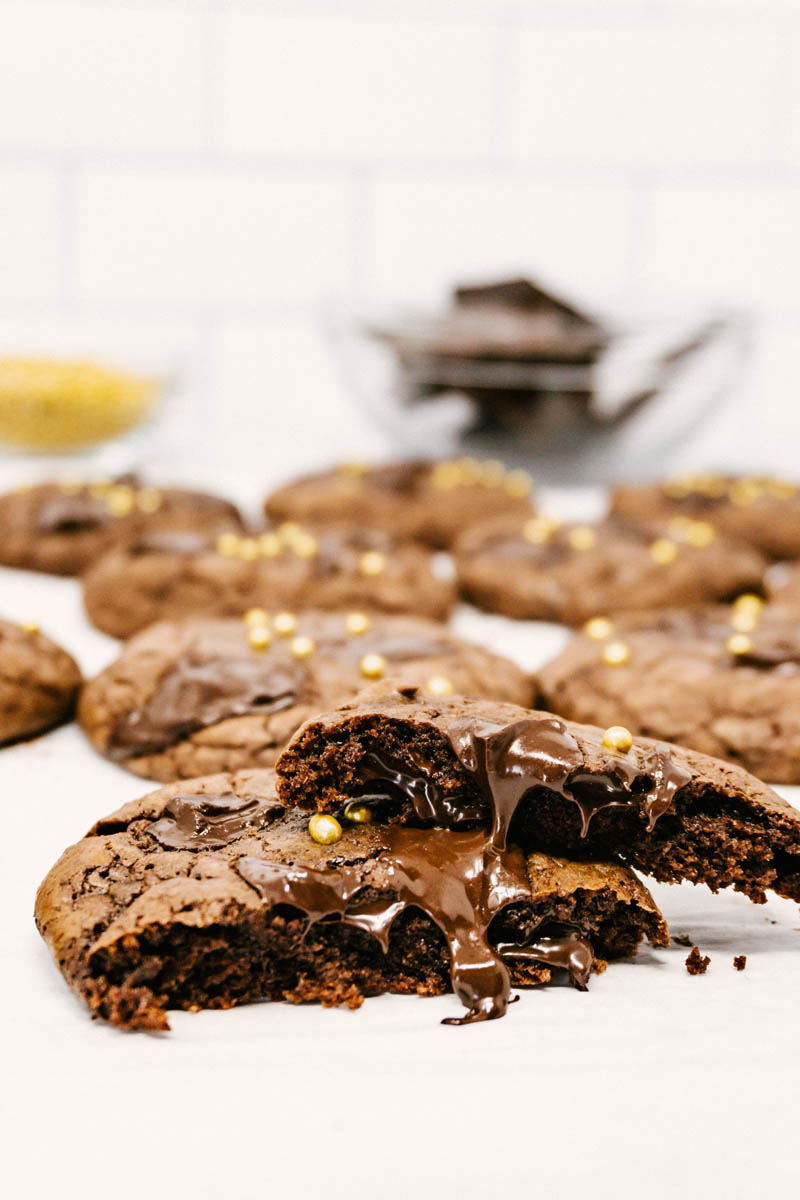
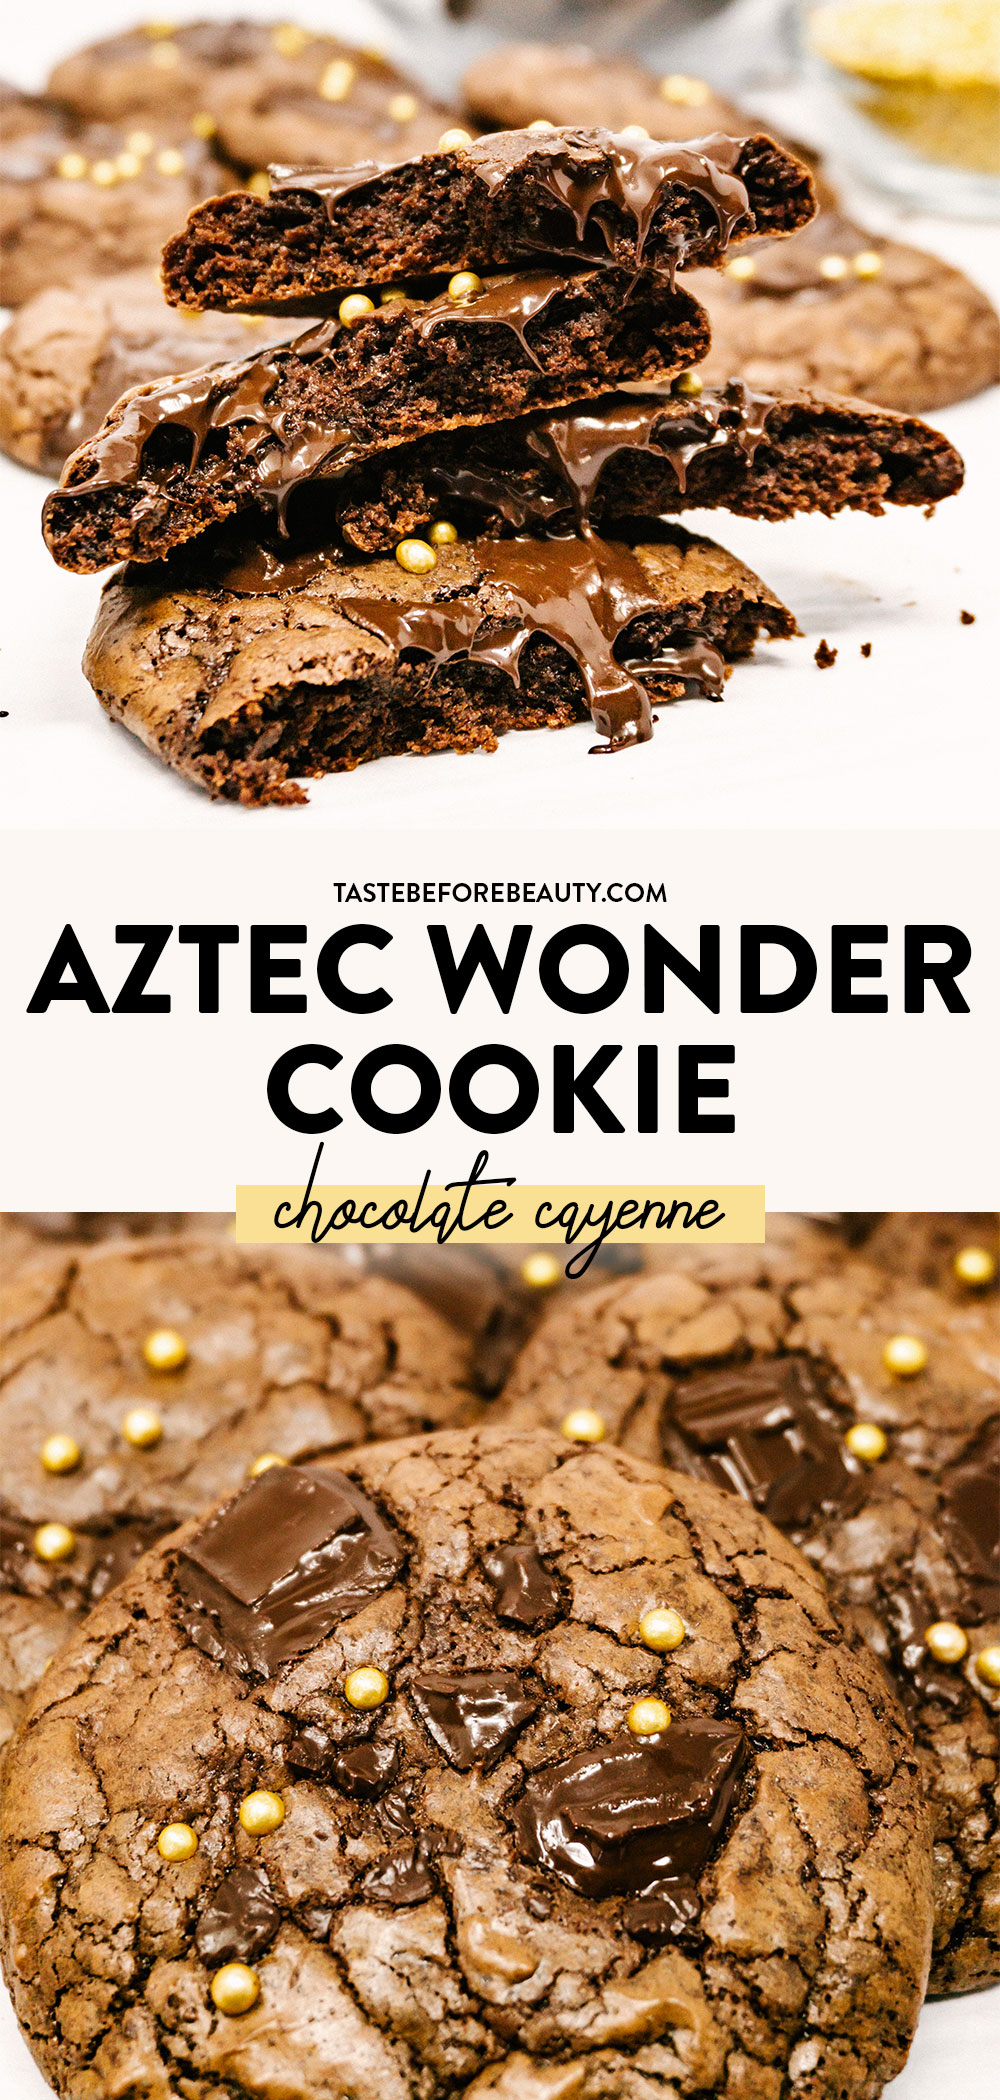
This Aztec Wonder is a fudgy, rich chocolate cookie with the perfect amount of cinnamon and cayenne. Chocolate and spice come together in the most superb way you never knew you needed in a cookie. It’s the perfect chocolate cayenne cookie!
This Aztec Wonder Cookie is one of my original cookie shop recipes. It came about on a day when I wondered why there was such a trend to add cayenne pepper to anything chocolate. I thought maybe if there was a market for it, then I probably should figure out how to use it.
It was nearing Cinco de Mayo and felt like an appropriate addition for the spicy Mexican themed meals I was making at home, in addition to the Creamy Flan I like to make. I lived in Arizona for a portion of my life and learned to love Mexican food like enchiladas, homemade tortillas, and chilis. My husband’s grandfather owned a ranch in New Mexico where they grew green chilis and cotton. Cinco de Mayo in our family means there will be great food.
A Gold Mine
After I had closed the cookie shop, I was thinking about selling my cookie shop name with all the secret recipes. The name of the cookie shop was Missy’s Ugly Cookies. We tried to make great looking food that also tasted good. That’s why the name of this website is “Taste Before Beauty.”
I met with a business broker to discuss my options. They came to my home to meet with me and I threw together some cookies, which is my norm. I made the Chocolate Wonder (stay tuned for the recipe in a future post. If you can’t wait to make a chocolatey cookie, check out the Double Chocolate Chip Cookie), which is a rich, fudgy chocolate cookie – every bit the wonder the name claims. She took one bite, looked at me, and said, “Do you have any idea the gold mine you’re sitting on here?”
The Spice of Life
I took the Chocolate Wonder Cookie base I made for this business woman, (we opted not to sell – I was at a time in my life I needed to have time for my children and I wasn’t ready to share the recipes yet), and spiced it up with some cayenne and cinnamon.
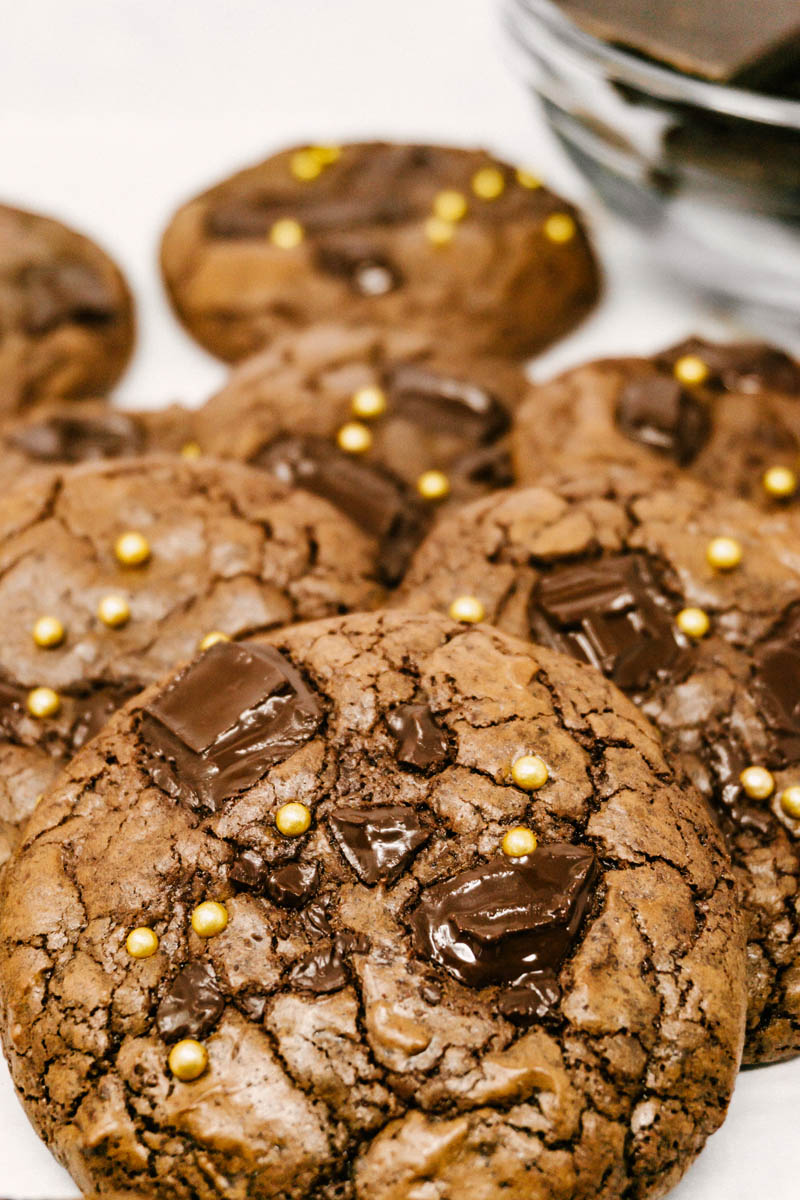
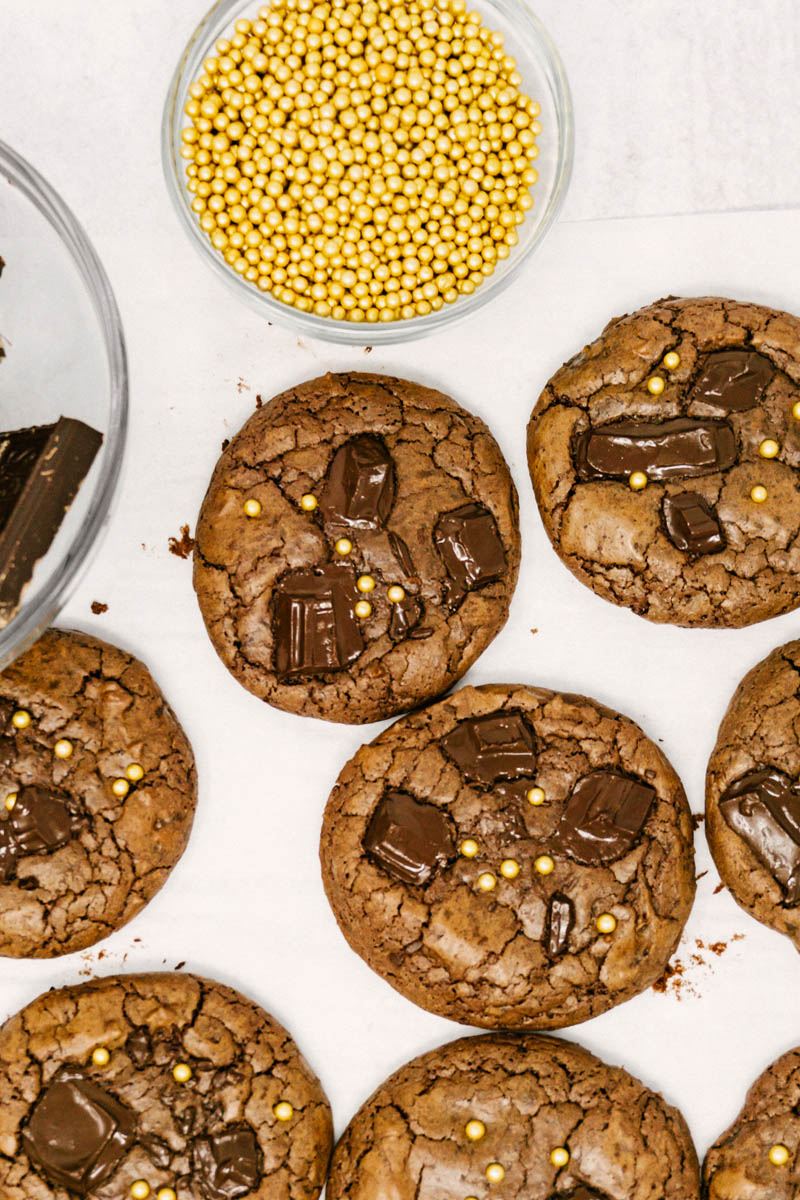
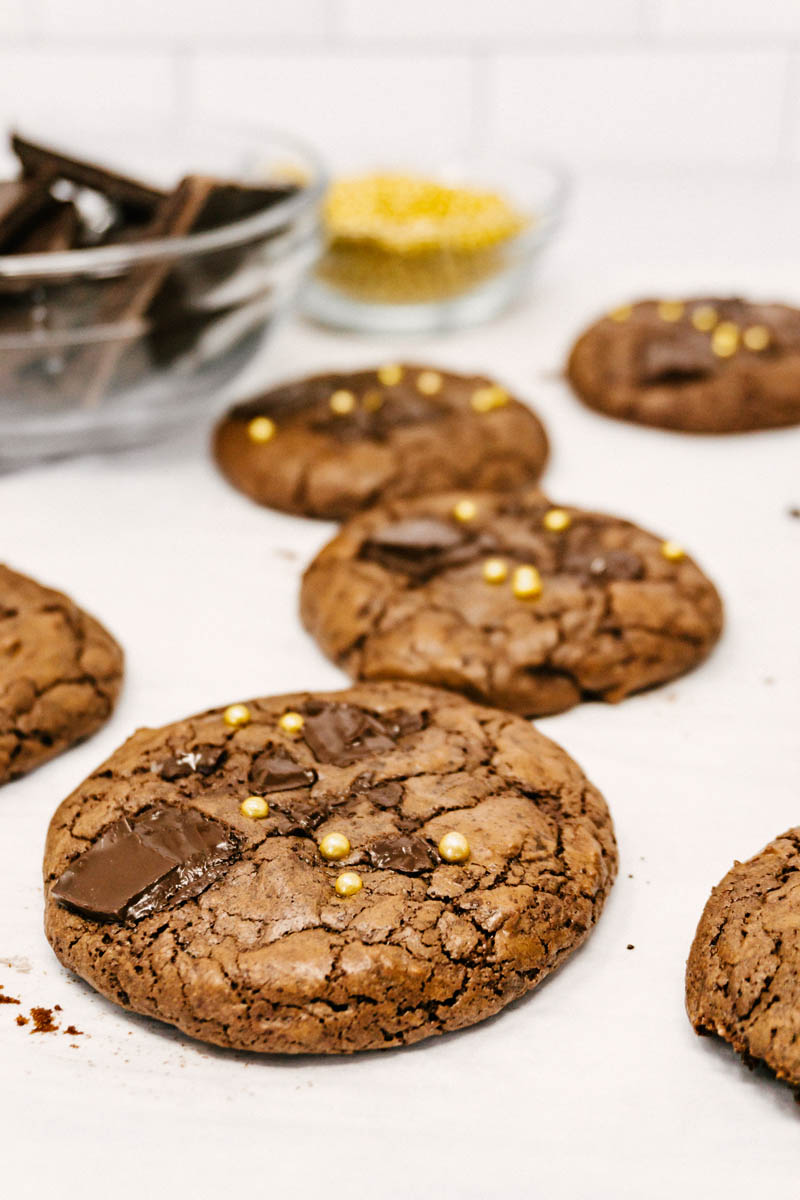
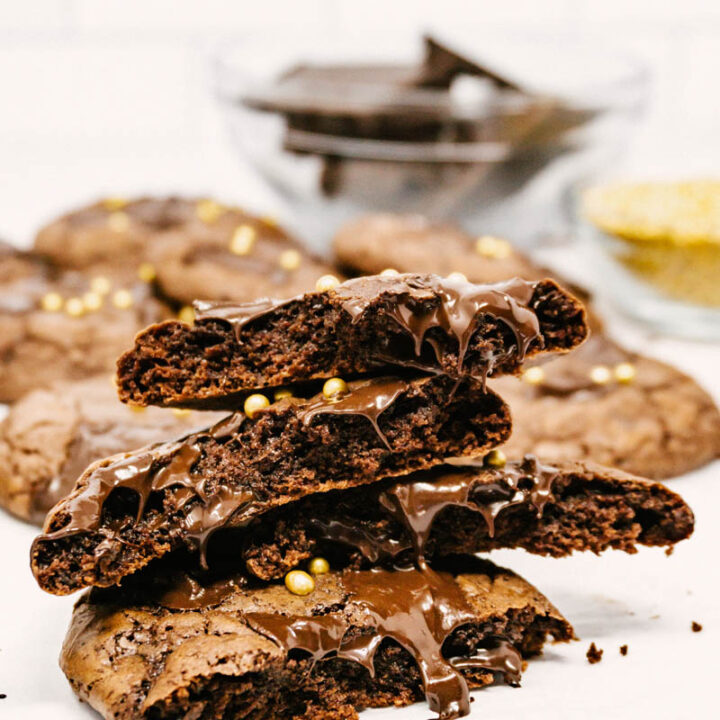
The Aztec Wonder is simply a spicy twist on my original Chocolate Wonder, which is where the name came from. The Aztecs would put chili in their chocolate. Since they are also historically known for their gold, and I needed a way to differentiate the cookies when I sold them in the shop, I added some gold to the top. It gives it a fancy flair that begs you to try a bite. They are perfect for the delicious chocolate cayenne cookie!
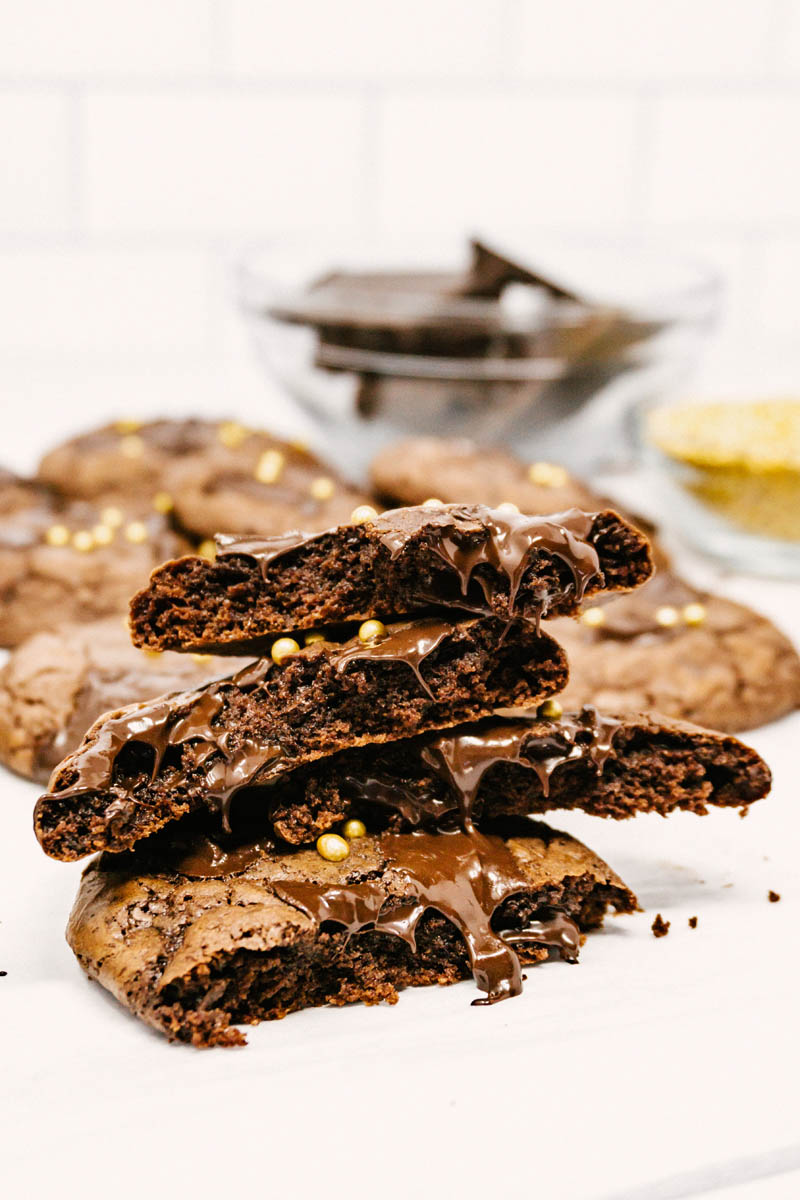
It’s an interesting cookie because the cinnamon doesn’t overwhelm the cookie, nor does the cayenne. The fudgy cocoa cookie is so full of flavors that all compliment each other perfectly. When you take a bite of this Aztec Wonder, the chocolate cayenne cookie and the dark chocolate chunks hit your tastebuds delightfully. Suddenly, you get a warm sensation in the back of your throat to round out the flavor. That’s all the spicier this cookie gets.
Recipe Tips for the Aztec Wonder Chocolate Cayenne Cookie
I prefer to use a chopped dark chocolate bar in the Aztec Wonder. I chop it roughly so there are big chunks of chocolate throughout the cookie. This helps it look extra decadent. My favorite kinds of chocolate to use are Wilbur Bronze Medal chocolate or Hershey’s Special Dark chocolate.
You could also use 60% dark chocolate chips if that’s what you have. Ghirardelli Bittersweet Baking Chips are my favorite. The rich chocolate dough pairs better with the dark chocolate, but if all you have is semi-sweet then throw those in! The trick to making this chocolate cayenne cookie look complete is adding a few chunks of reserved chocolate to the top of the cookie before baking.
Just remember, this chocolate cayenne cookie is best when it is underbaked a bit. Cocoa has this divine quality that helps balance the moisture in a baked good. So, as a chocolate cookie cools, it can become dry. If you bake it a bit less, the cookie will still finish setting up as it cools and you’ll have the happiness of a fudgy brownie in cookie form.
The Best Compliment
When we were still running the cookie shop, a patron came in one day. She had traveled two hours because her friend couldn’t stop talking about the Aztec Wonder. This woman drove all that way to purchase it for her friend’s birthday and see the shop. That was the best compliment – that I had been successful enough in properly spicing the cookie that someone would travel two hours for it.
I sincerely hope you love this chocolate cayenne cookie. It’s incredibly chocolatey, with the perfect balance of spicy cinnamon and cayenne. Leave a comment letting me know how it goes!
Aztec Wonder Cookie
Yield: 36 cookies
Prep Time: 25 minutes
Cook Time: 20 minutes
Additional Time: 15 minutes
Total Time: 1 hour
This Aztec Wonder is a fudgy, rich chocolate cookie with the perfect amount of cinnamon and cayenne. Chocolate and spice come together in the most superb way you never knew you needed in a cookie.
Ingredients
¼ C (2 oz) salted butter
¼ C (2.2 oz) vegetable oil
2 ⅛ C (15 oz) white sugar
¾ C (3 oz) cocoa powder
4 large eggs
2 tsp vanilla
1 tsp salt
2 tsp baking powder
1 tsp ground cayenne pepper (for extra spice add an extra tsp)
1 tsp ground cinnamon
2 C (9 oz) all-purpose flour
2 C (12 oz) chopped dark chocolate, divided
2 T gold nonpareils (optional)
Instructions
Preheat oven to 375*F. Line baking sheets with parchment paper.
Using a stand mixer, cream butter and sugar.
Add oil and cocoa, then eggs and vanilla.
Mix in the dry ingredients. Reserve 1/2 C (3 oz) chopped chocolate. The dough will be wet and sticky.
Using a #30 cookie dough scoop (2 ½ T), drop dough onto parchment-lined cookie sheet 2 inches apart. Place a few pieces of chopped chocolate on top of dough balls and sprinkle with golden nonpareils. Bake 6-8 minutes just until cookies are set and do not look raw in the cracks.
Notes
The dough will be very sticky and wet looking, almost like a brownie batter. As long as you have measured the ingredients correctly, it will bake up properly.
Do not overbake these. Pull them out of the oven when the cracks appear partially shiny and no longer totally raw. The ingredient cocoa will help the cookie to continue setting up as it cools. If they are dry and not fudgy inside, they have been overbaked.
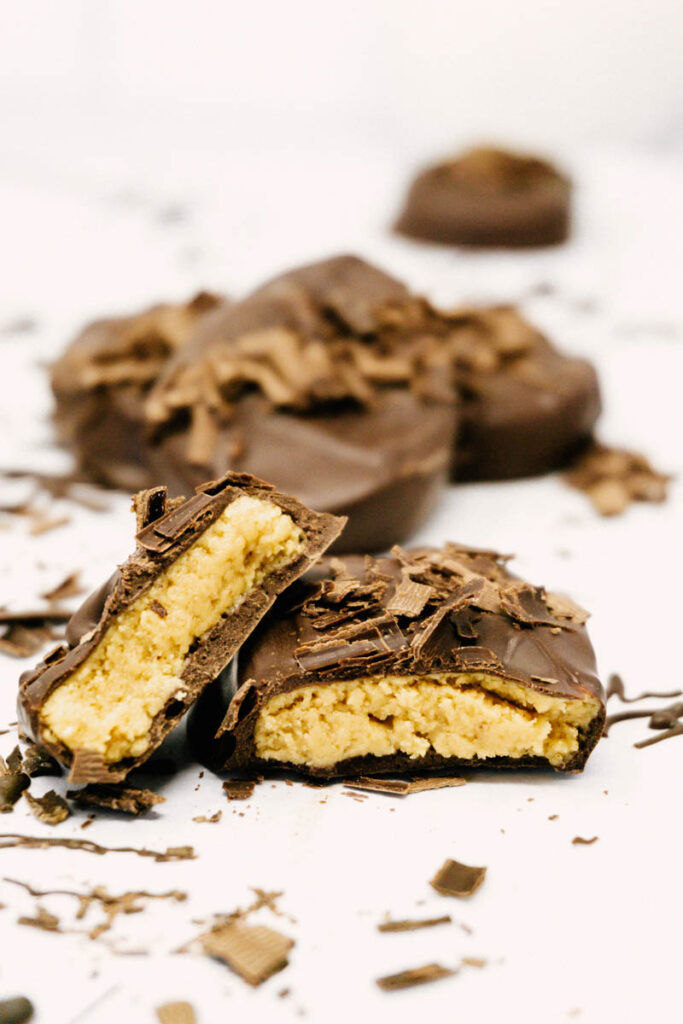
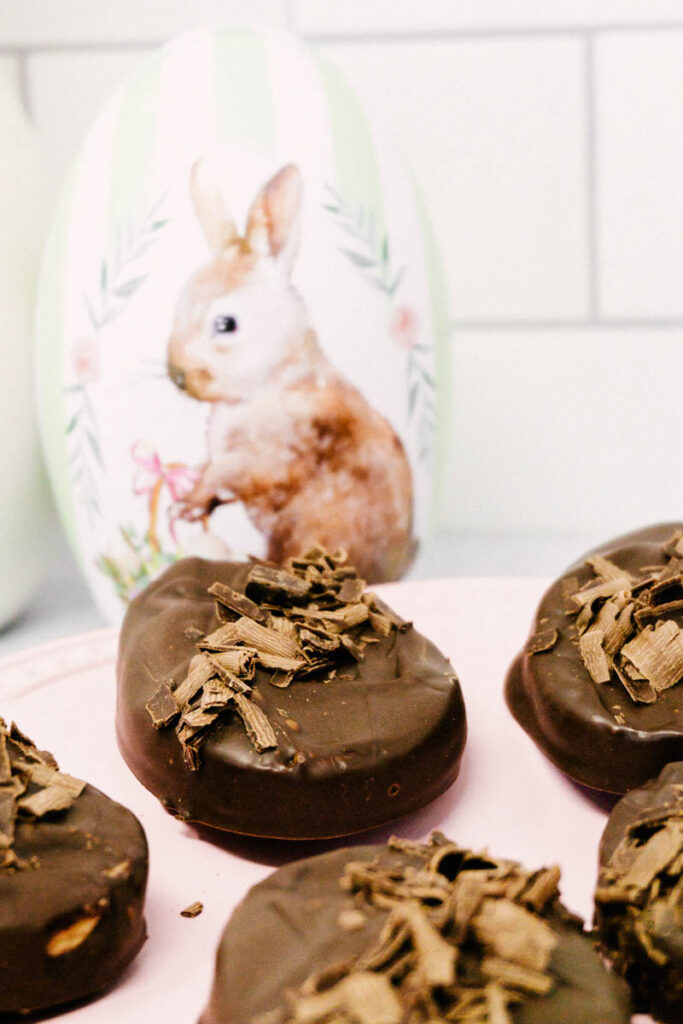
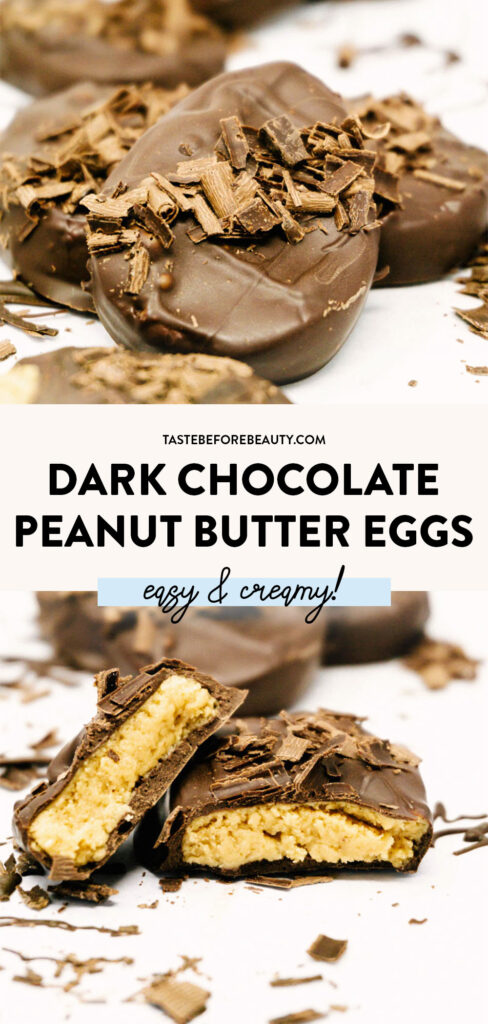
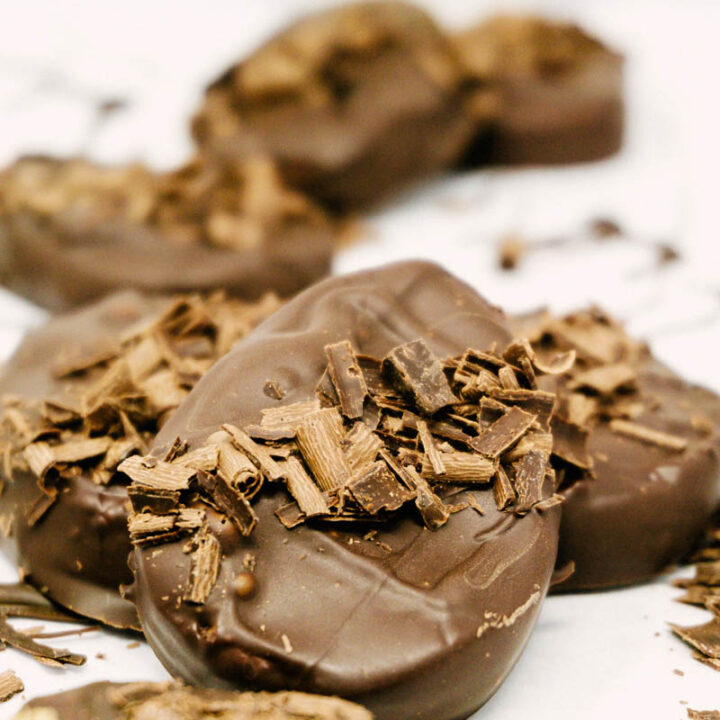
Chocolate peanut butter eggs always hit the spot. These Dark Chocolate Peanut Butter Eggs are our homemade, so-much-better version. With creamy peanut butter inside and a smooth dark chocolate coating, you’ll love every melt-in-your-mouth bite!
One of the best parts of every holiday is the limited edition Reese’s Peanut Butter-shaped cups. These are a little like those but a lot better. The peanut butter filling in these Dark Chocolate Peanut Butter Eggs is creamy and smooth and the chocolate is the perfect bittersweet compliment. With no wrappers to hide as evidence, you can eat a whole batch yourself and no one will ever know!
Multi-Use Peanut Butter Ball Magic
Whew – these Dark Chocolate Peanut Butter Eggs took me hours to get right. Don’t laugh. I love my peanut butter ball mix. We use it to top Peanut Butter Chocolate Rice Crispy treats, to blend into my Pennsylvania Tango cookie, on top of Peanut Butter Brownies, and other ways that I’m excited to share with you in the future.
This peanut butter ball mixture is one I just can’t stop sneaking tastes of. It’s a multi-use magical mix! You’ll see what I mean once you make it.
Tempering the Dark Chocolate
Chocolate is made with cocoa butter. To get that shiny, hard coating, it needs to be tempered. Tempering chocolate can be a scary endeavor if you’ve never tried it before. With a little practice and a good digital food thermometer, you’ll be a pro in no time.
I use dark chocolate for these Dark Chocolate Peanut Butter Eggs. To temper dark chocolate, melt it until it reaches 100-110*F. Then, add unmelted chocolate and stir to melt until the chocolate reaches 84-91*F. As long as you keep it in this range while dipping the peanut butter eggs, it will create a beautiful, shiny coating.
If you just can’t bear the thought of tempering chocolate, you can buy chocolate coating wafers (usually from a craft store). It doesn’t need tempering to create the chocolate shell, but it won’t taste as good.
Don’t be tempted to try milk chocolate. These Dark Chocolate Peanut Butter Eggs are definitely meant to be made with dark chocolate. Chocolate flavors are no more interchangeable in a recipe than using almond instead of vanilla extract. It really does matter.
Taste AND Beauty
In the cookie shop, I would roll out peanut butter ball mix and layer it on top of mini semi-sweet chocolate chips (I give my blessing to use semi-sweet chocolate if you don’t want to temper dark chocolate). Then I would top it with more mini chocolate chips and cut it in a seasonal shape. Wrapped up cute, these flew off the shelves.
I thought I would do the same for this website but the photos were terrible. After hours of frustration and tears, multiple FaceTime calls to Kailey who lives 1,800 miles away, and some input from Kenzie, I was back to the drawing board.
Peanut butter balls, squares, or mini shapes are great for serving purposes. I know our motto is Taste Before Beauty, but we eat with our eyes too. I was on a mission to create something that would look as delicious as these Dark Chocolate Peanut Butter Eggs taste. I like dipping chocolates, but I had never dipped these amazing peanut butter balls in chocolate.
Ingredient Tips
Because I had just had foot surgery, my sweet husband ran to the store for me to pick up a pound of Hershey’s Special Dark Chocolate bars. It’s my favorite to use for tempering and dipping because it’s easy to find, isn’t expensive, and tastes good.
I prefer to use margarine in this recipe. It beats in smoothly and imparts a better flavor. Like I have shared before don’t hate margarine. It can be very useful. In my opinion, I think Blue Bonnet Margarine is still on the market because it’s useful in the baking world. Of course, you can use butter, just use softened salted butter.
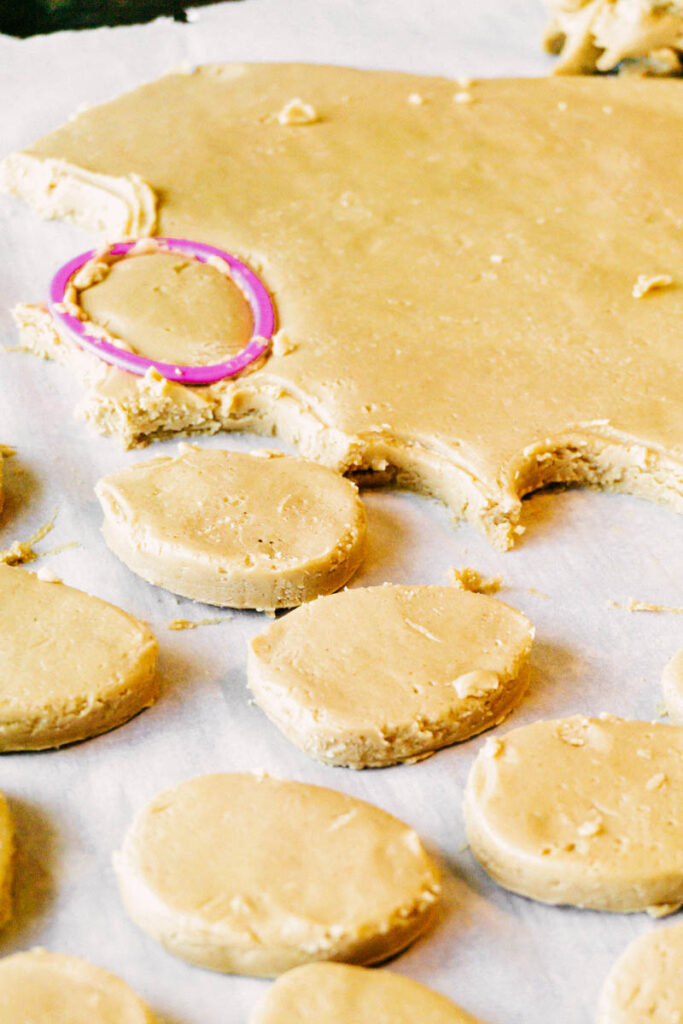
When you make these, keep in mind that the peanut butter mix will be a little soft. The soft peanut butter mix ensures that it is super creamy on the tongue. I found the greatest success in keeping it chilled until right before I cut and dip it. Using a small cookie cutter will make it easier to dip the eggs in chocolate.
Making It Pretty
While I was tempering the chocolate I was wondering how I could make these pretty and felt some easy inspiration. Days are too short for fancy sometimes, and truthfully, I am more of a baking flavor artist. Taking the time to make food look extra fancy isn’t something I want to do so piping fine filigree onto these peanut butter eggs was out of the question.
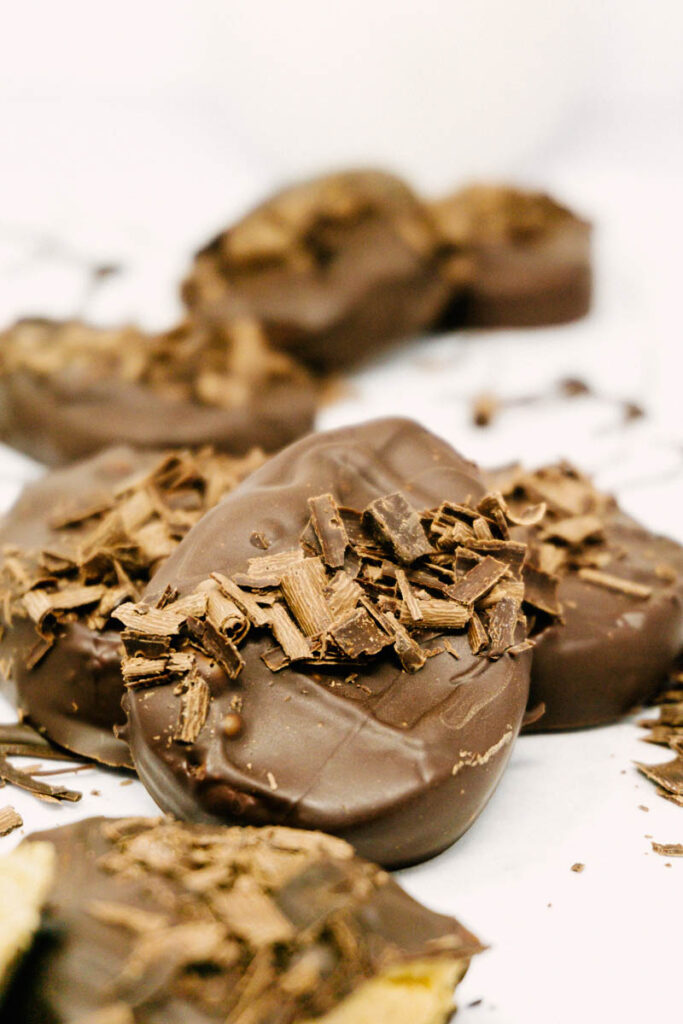
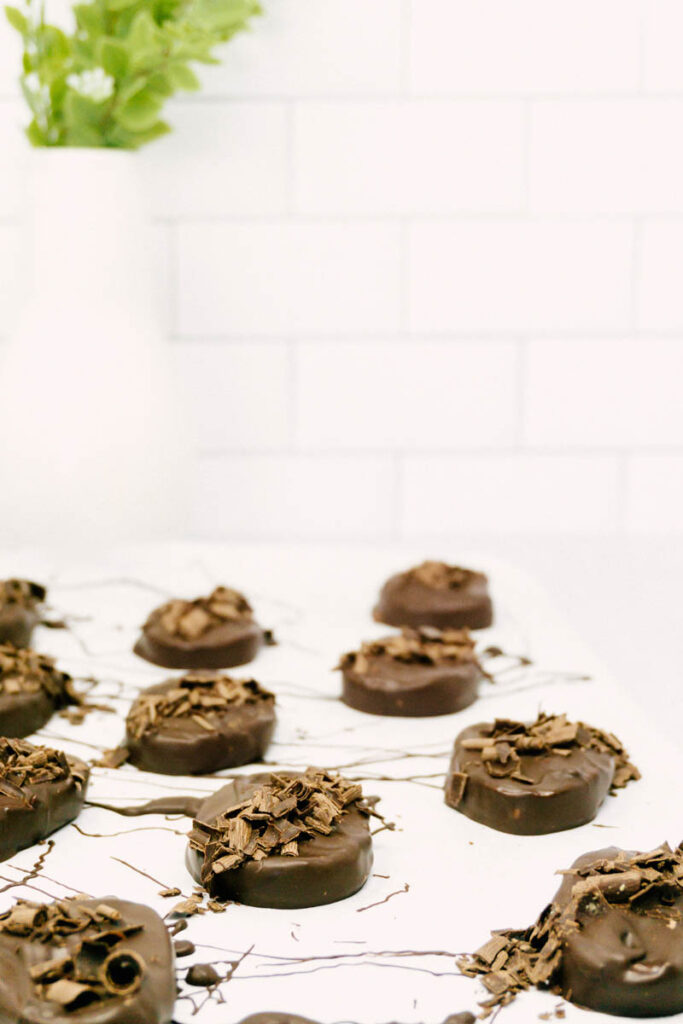
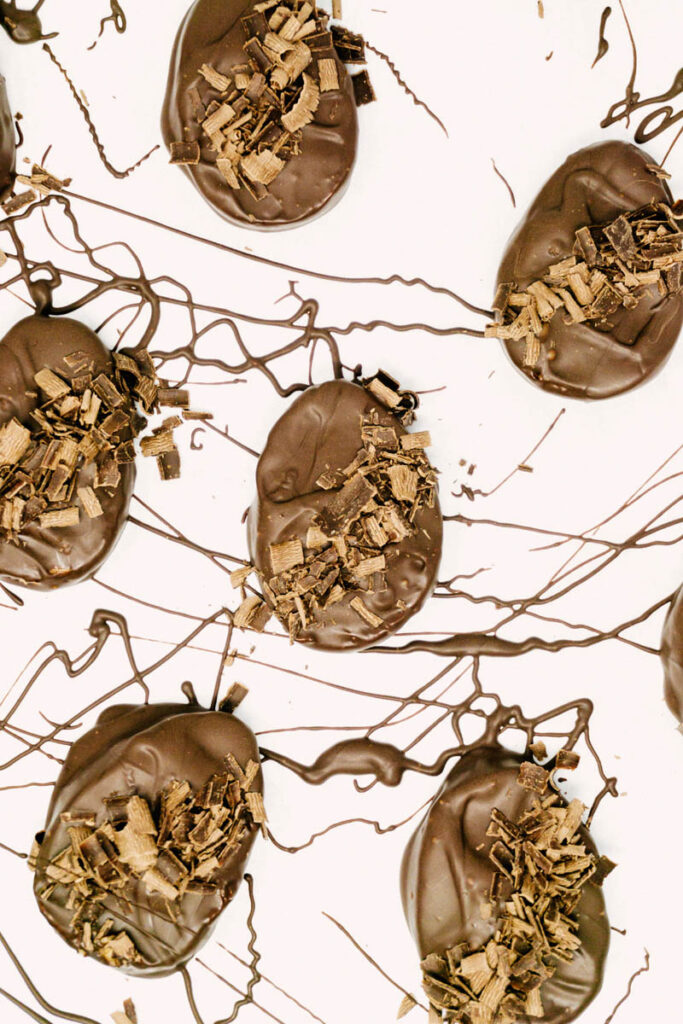
It dawned on me that I could shave some chocolate and use that as a decoration on the egg. With one hand I dipped the peanut butter egg, and with the other hand added some shaved chocolate. It was just right and they are DELICIOUS!
Show us the photos of how your Dark Chocolate Peanut Butter Eggs turn out. You can tag us on Facebook, Instagram, or Pinterest @tastebeforebeauty. Leave a review below, too, if you can!
Dark Chocolate Peanut Butter Eggs
Yield: 16 eggs
Prep Time: 30 minutes
Additional Time: 1 hour
Total Time: 1 hour30 minutes
Chocolate peanut butter eggs always hit the spot. These Dark Chocolate Peanut Butter Eggs are our homemade, so-much-better version. With creamy peanut butter inside and a smooth dark chocolate coating, you’ll love every melt-in-your-mouth bite!
Ingredients
¼ C (2 oz or ½ stick) margarine or butter
1 ¼ + 2 T (6.2 oz) powdered sugar
1 C (11 oz) creamy peanut butter
1 lb dark chocolate bar or dark chocolate coating
Instructions
Mix the margarine, powdered sugar, and peanut butter with a mixer until smooth.
On a piece of parchment paper on a cookie sheet, place the peanut butter mix. Place a piece of wax paper on top. Roll out the peanut butter to a ¼ inch layer. Refrigerate to firm up before cutting into shapes.
Using a carrot peeler, shave 3 oz (¼ C) of the chocolate bar into shavings. Set aside for decorating.
Chop ⅓ of the remaining chocolate and set aside. Break or chop the rest of the chocolate bar into small pieces and put in a medium-size microwave-safe bowl. Melt carefully in the microwave, stirring occasionally until melted to 100-110*F. Add the reserved, unmelted chocolate and stir into the melted chocolate bar until all is melted and the temperature has cooled and reaches 84-91*F. Keep at 84-91*F while dipping.
Cut the peanut butter eggs with a small egg-shaped cookie cutter. Use a thin spatula or fingers to lift the peanut butter egg and place in melted chocolate. Flip to coat fully in chocolate. Carefully place upside down on additional wax paper. Immediately add a few chocolate shavings with clean hand. Set aside until chocolate is set. Repeat for each egg.
If you don’t want to temper chocolate, you can purchase dark chocolate bark or dark chocolate coating that is pre-tempered. You can also skip dipping the eggs and use mini chocolate chips. Before spreading the peanut butter mixture on the parchment paper, spread a layer of mini chocolate chips. Roll the peanut butter mixture out over top. Top with more mini chocolate chips. Cut into 1-inch squares to serve.
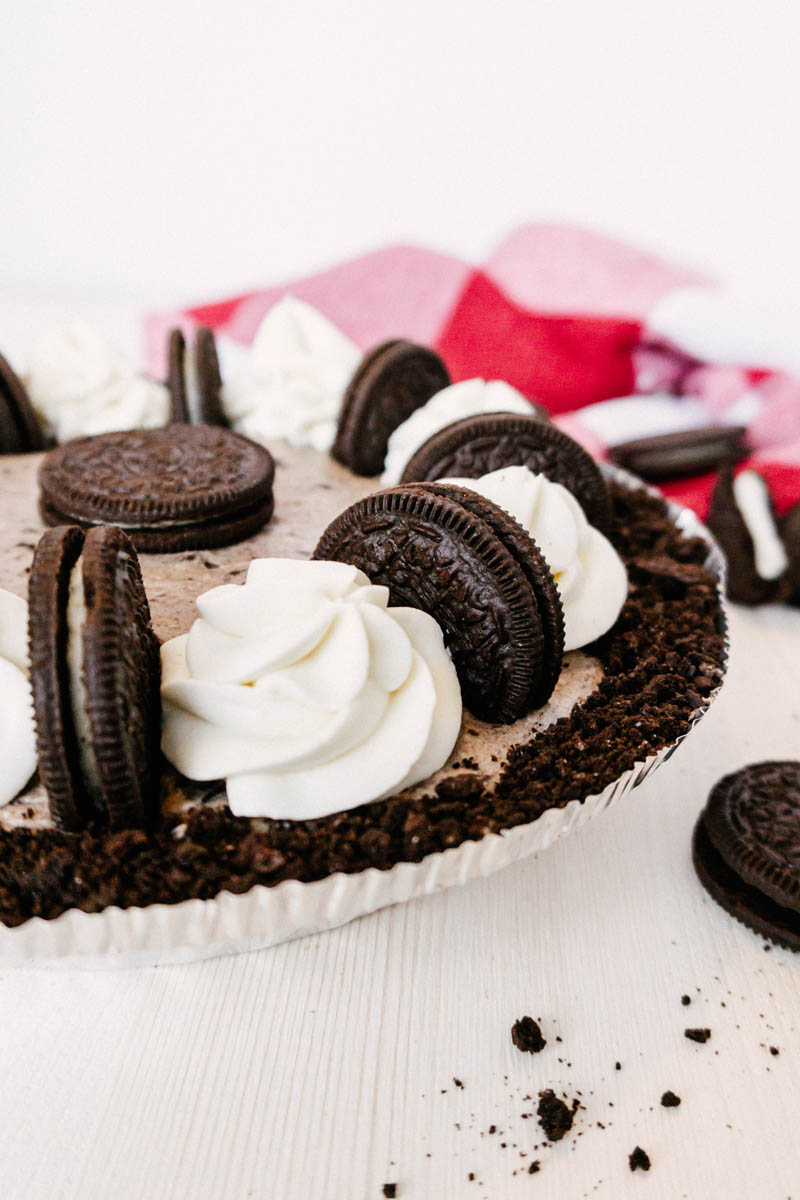
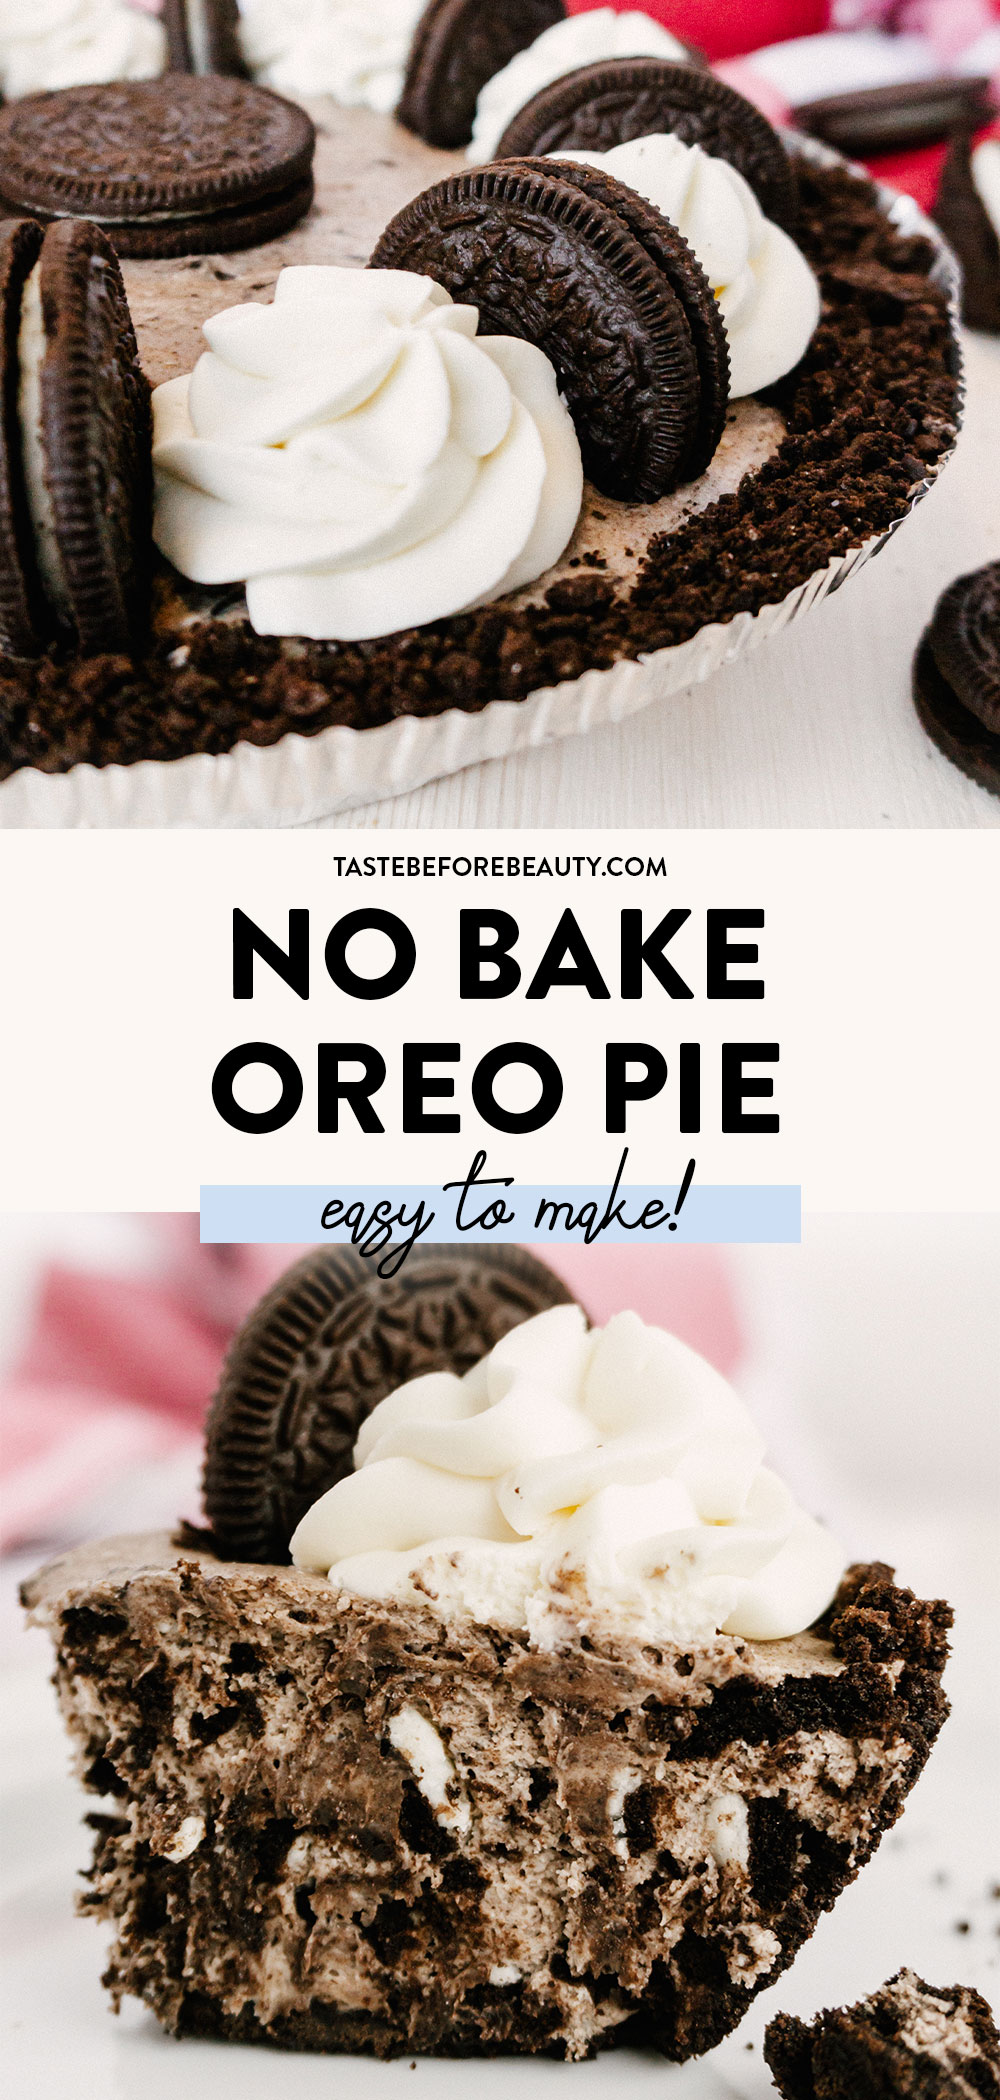
Have a hungry sweet tooth? With only six ingredients and no baking required, this Oreo pie is a no-brainer!
I LOVE this Oreo pie! It is a cold and creamy pie that satisfies that hungry sweet tooth. I used to request this for my birthday treat growing up, and now that I am married my husband requests it for our anniversary!
Store-Bought Oreo Crust
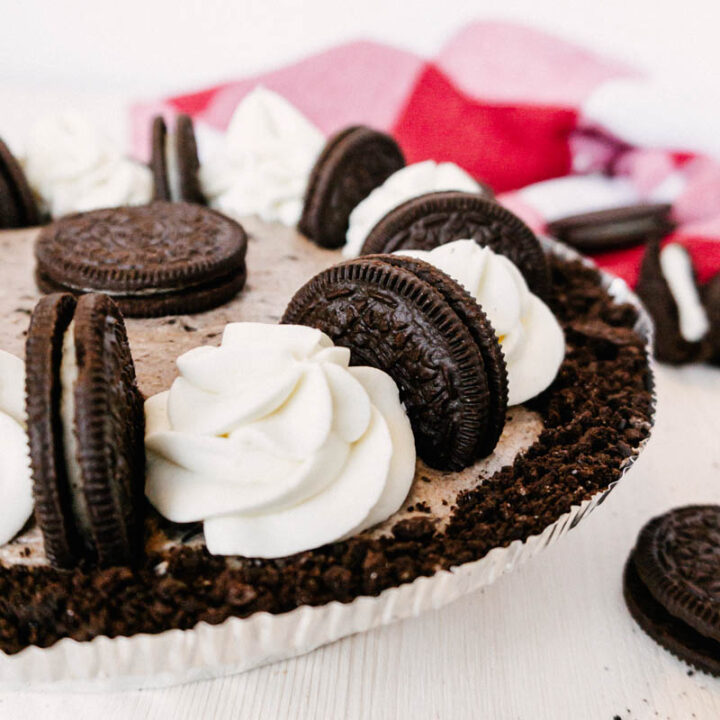
I don’t make my Oreo pie crust from scratch. While it’s easy and I can make it with any chocolate cream-filled cookie, I prefer to buy a premade Oreo pie crust. It saves time and they are readily available in the baking aisle at the grocery store. Reserve a few Oreo crumbs to place around the edge to make the crust look decadent and less “store purchased”.
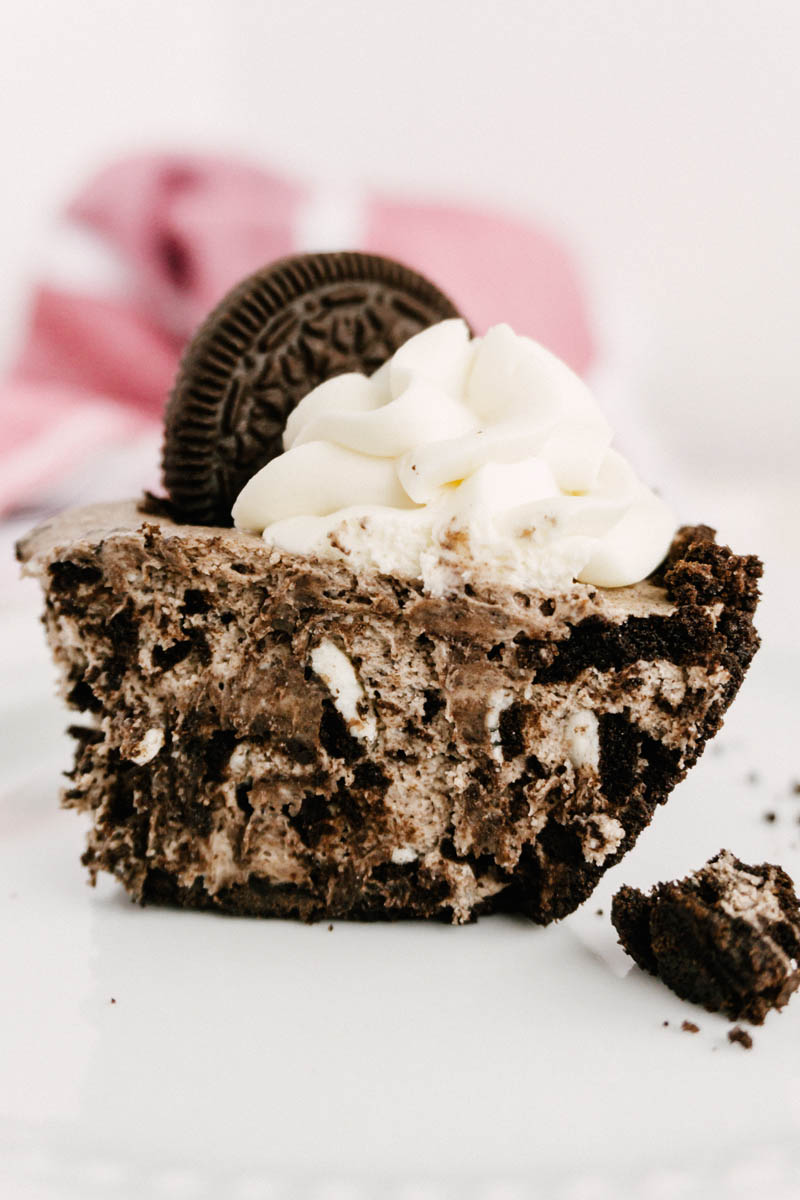
Crushing and Adding in Oreos
When crushing the Oreos that are to be mixed in with the cream make sure not to crush them into dust. If they are too fine, your pie won’t have those desirable “big Oreo pieces” we all want when eating cookies and cream ice cream. I only spend 10-20 seconds crushing the cookies.
You can also adjust the number of Oreos in this pie. I have an Oreo-loving family so I load up this pie with at least 2 heaping cups of crushed cookies. However, if you’d like more cream than cookie flavor, feel free to mix in fewer cookies. Generic-brand cookies work great too if your budget is tight.
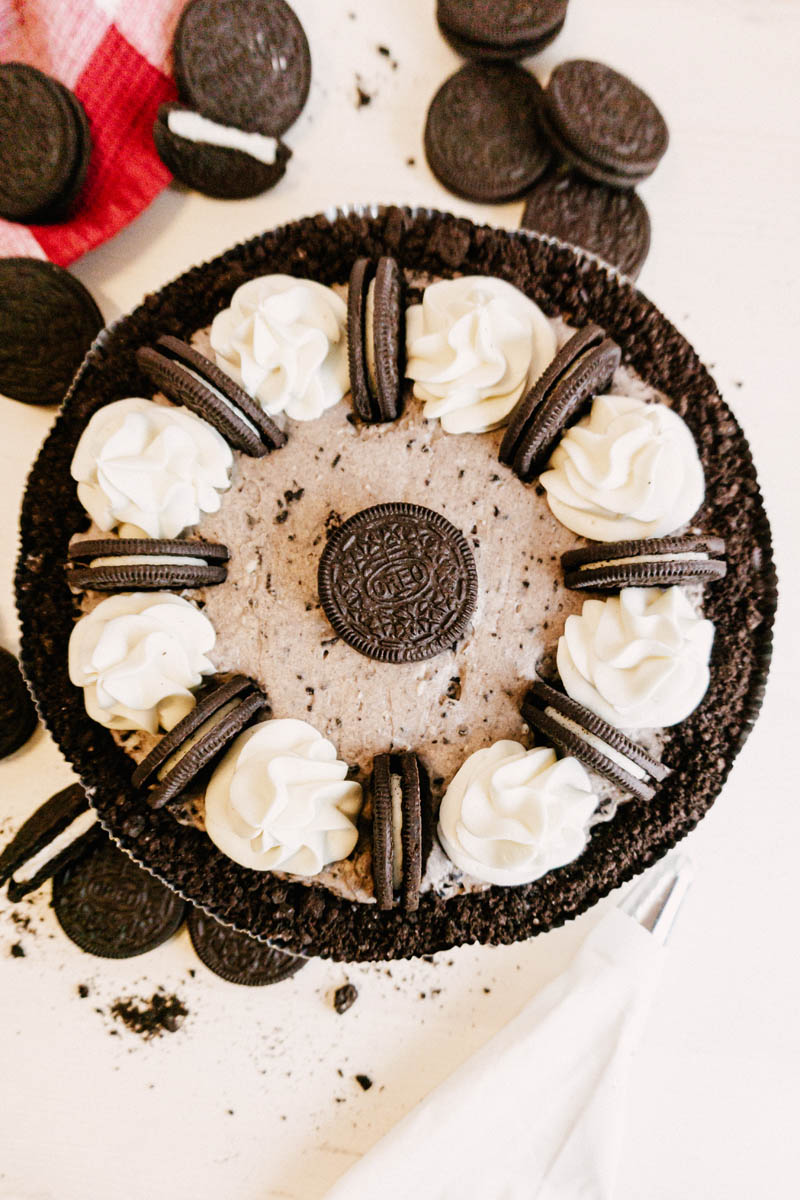
Oreo Pie Decorating Tips
The remaining cream used to decorate can be piped on, or it can be spread as an even layer over the top of the whole pie and sprinkled with extra Oreo crumbs. It is up to you how you will decorate. I don’t spend very long on decorating though because I know it will be gobbled up quickly.
This might become your new favorite pie. Maybe your family members will request it for their birthdays or special occasions. It’s a super sweet deal because this takes less time to make than a Rich Chocolate Cake or even a quick batch of #1 Chocolate Chip Cookies! Leave us a comment letting us know if you like to load your pie up with Oreos, and leave a rating if you’d like, too.
No Bake Oreo Pie
Yield: one pie, 6-8 servings
Prep Time: 20 minutes
Additional Time: 6 hours
Total Time: 6 hours20 minutes
Have a hungry sweet tooth? With only six ingredients and no baking required, this Oreo pie is a no-brainer!
Ingredients
Oreo Cookies & Crust
12-24 Oreos, crushed
Store-bought Oreo pie crust
Cream Cheese Whipped Cream
1 (8 oz) package cream cheese
½ C (3.5 oz) white sugar
1 tsp vanilla
1 ¾ C (14 oz) heavy cream, cold
Instructions
Make the Cream Cheese Whipped Cream.
In a medium-sized bowl, beat cream cheese until smooth.
Add sugar and vanilla and mix. Scrape bowl. I can’t say this enough.
Add heavy cream and mix for 30 seconds. Stop, scrape bowl, beat another 30 seconds, then stop and scrape bowl again.
Whip on high speed until stiff peaks form.
Assemble Oreo Pie.
Set aside 1 ½ C (8.3 oz) of the Cream Cheese Whipped Cream in a separate bowl. This will be used to decorate the top of the pie.
Mix 12-24 roughly crushed Oreos into the remaining cream.
Place Oreo cream into your homemade or store-bought Oreo pie shell and spread to the edges.
Using the reserved Cream Cheese Whipped Cream, decorate the top of your pie. I like to pipe around the edges and place extra Oreos on top.
Chill in the refrigerator for at least six hours, but it is best if served the next day. Keeps well in the refrigerator for 5-7 days.
Notes
Crush Oreos in a zip-top bag using a rolling pin or hammer, or even your hands.
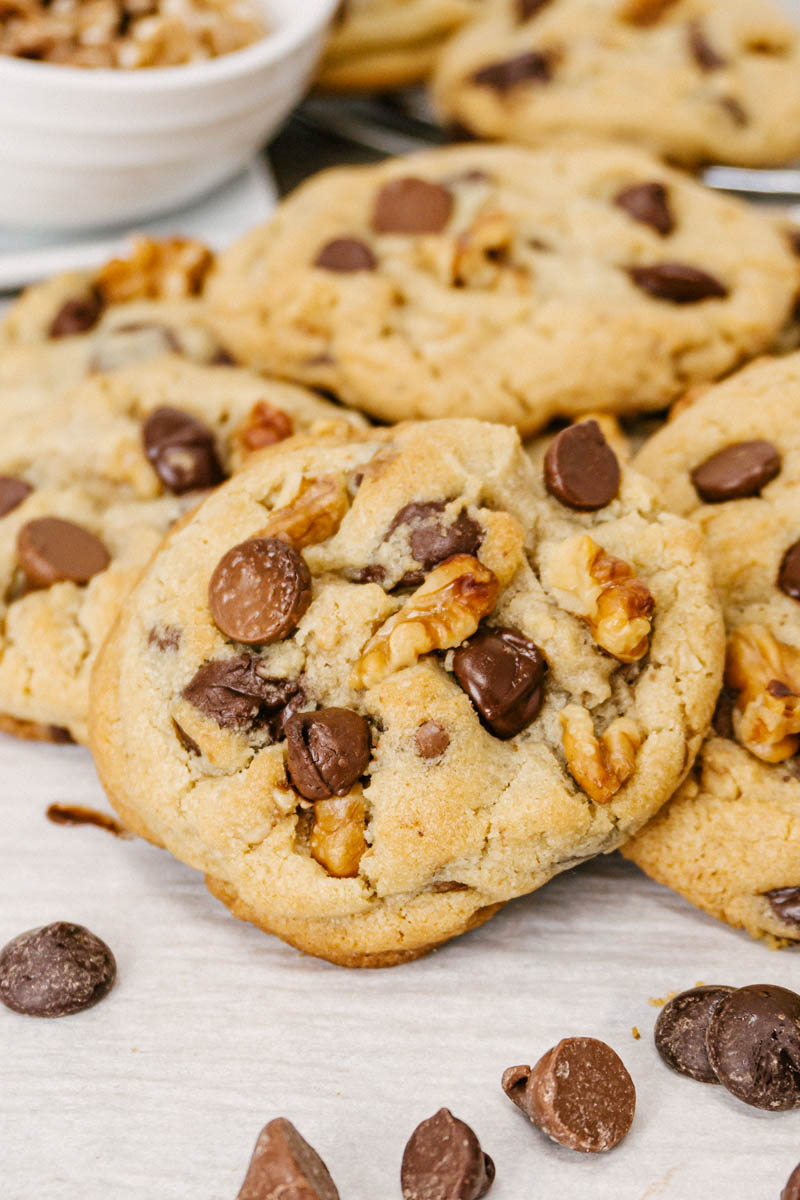
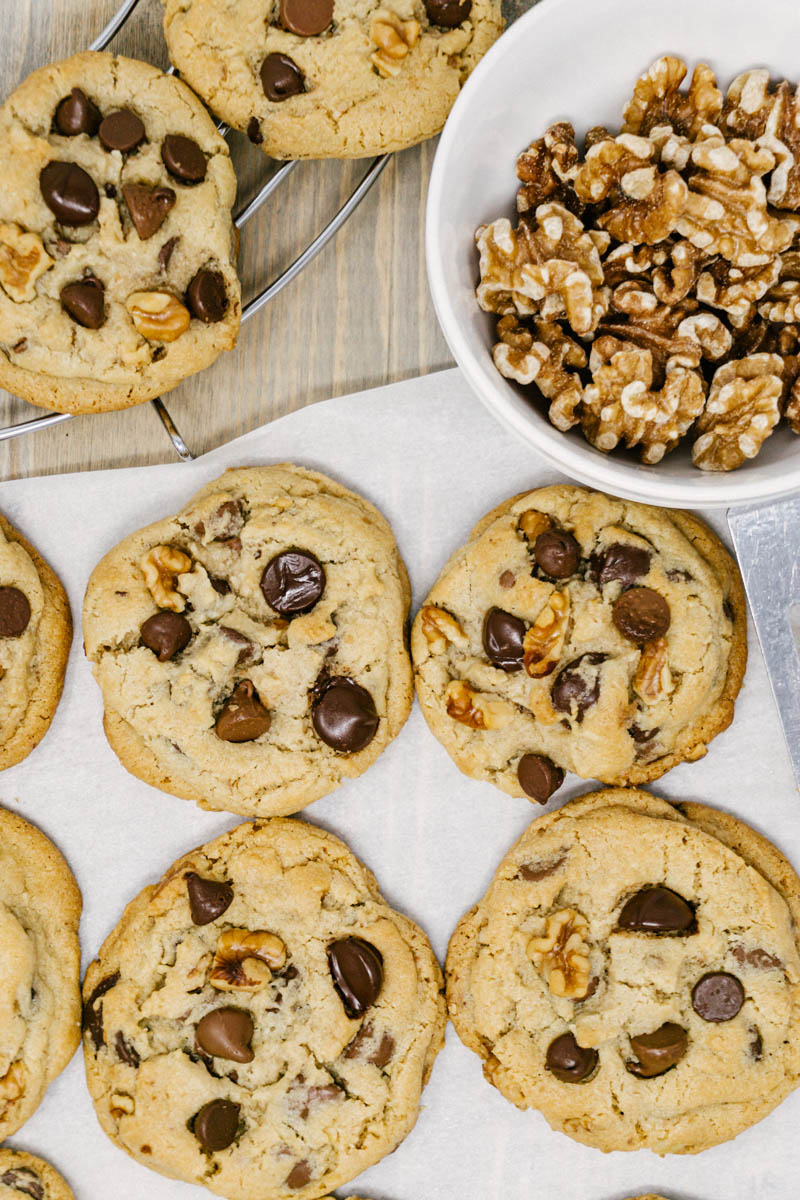
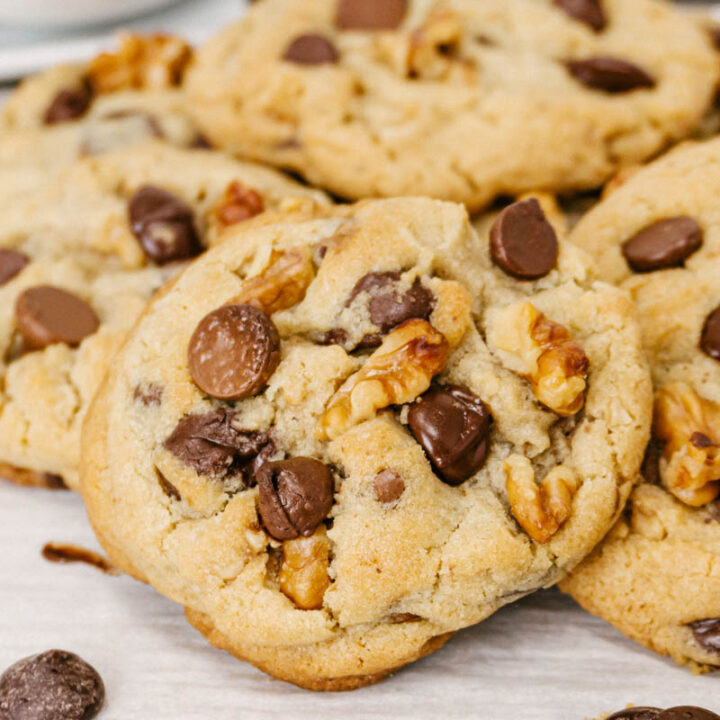
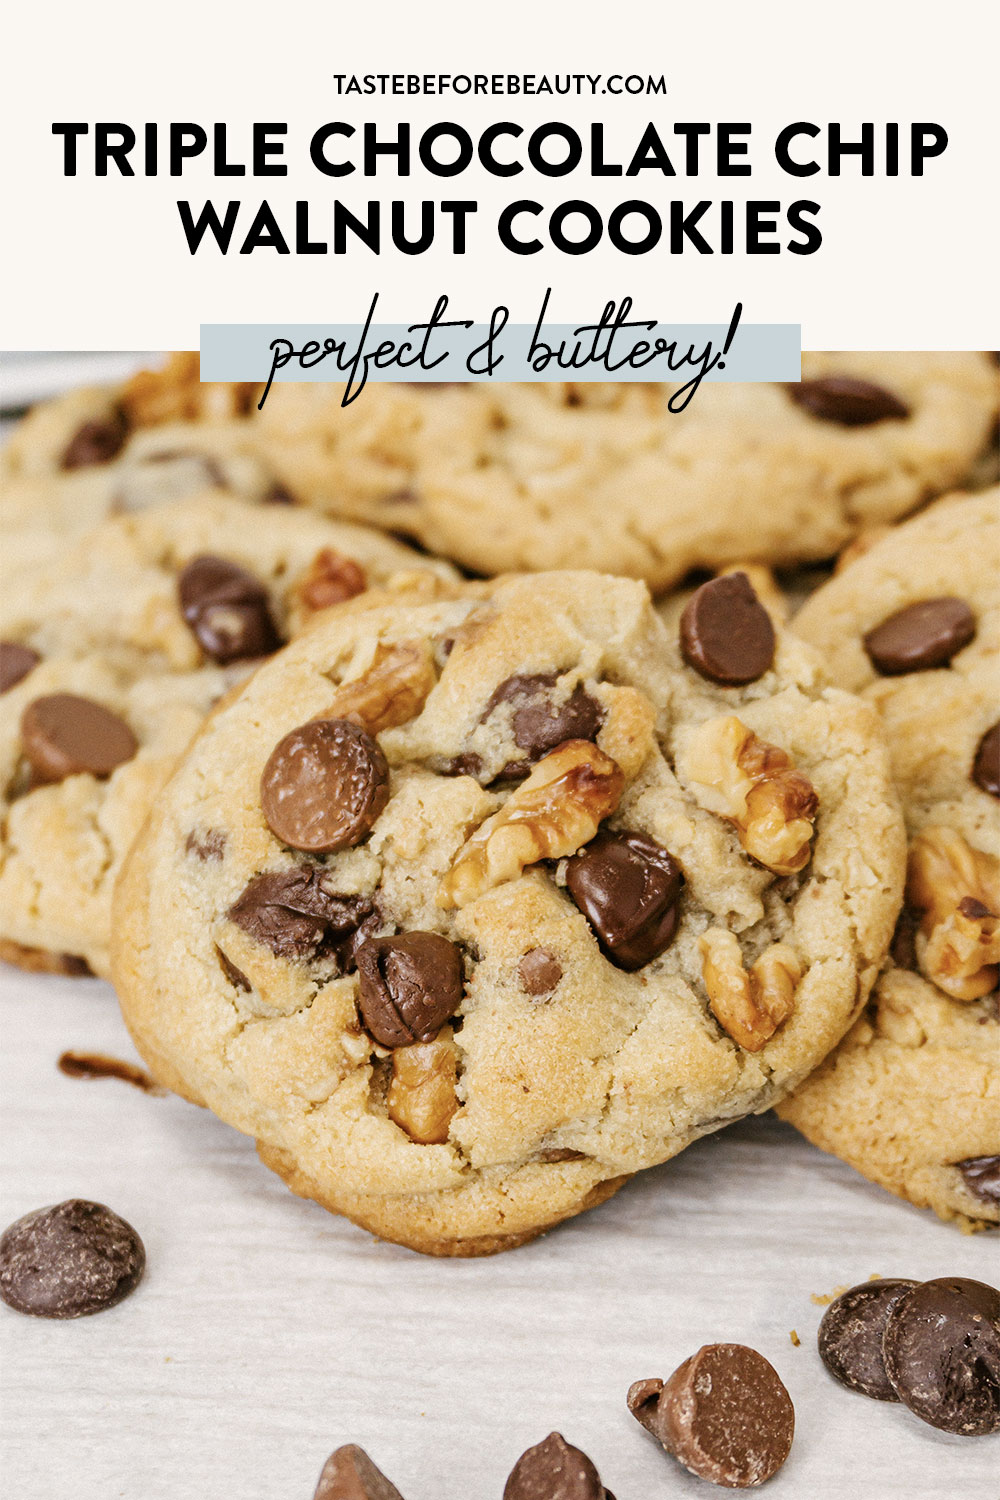
Walnut, three types of melty chocolate chips, and your patiently waiting self. You “walnut” regret making these perfect, buttery chocolate chip cookies.
I wanted a really great chocolate chip walnut cookie recipe. I started with my #1 Chocolate Chip Cookie recipe, made some minor adjustments, and knew I was headed in the right direction. With three types of melty chocolate chips and toasted walnuts, how can you go wrong?
Triple Chocolate Chip Walnut Cookie In a Nutshell
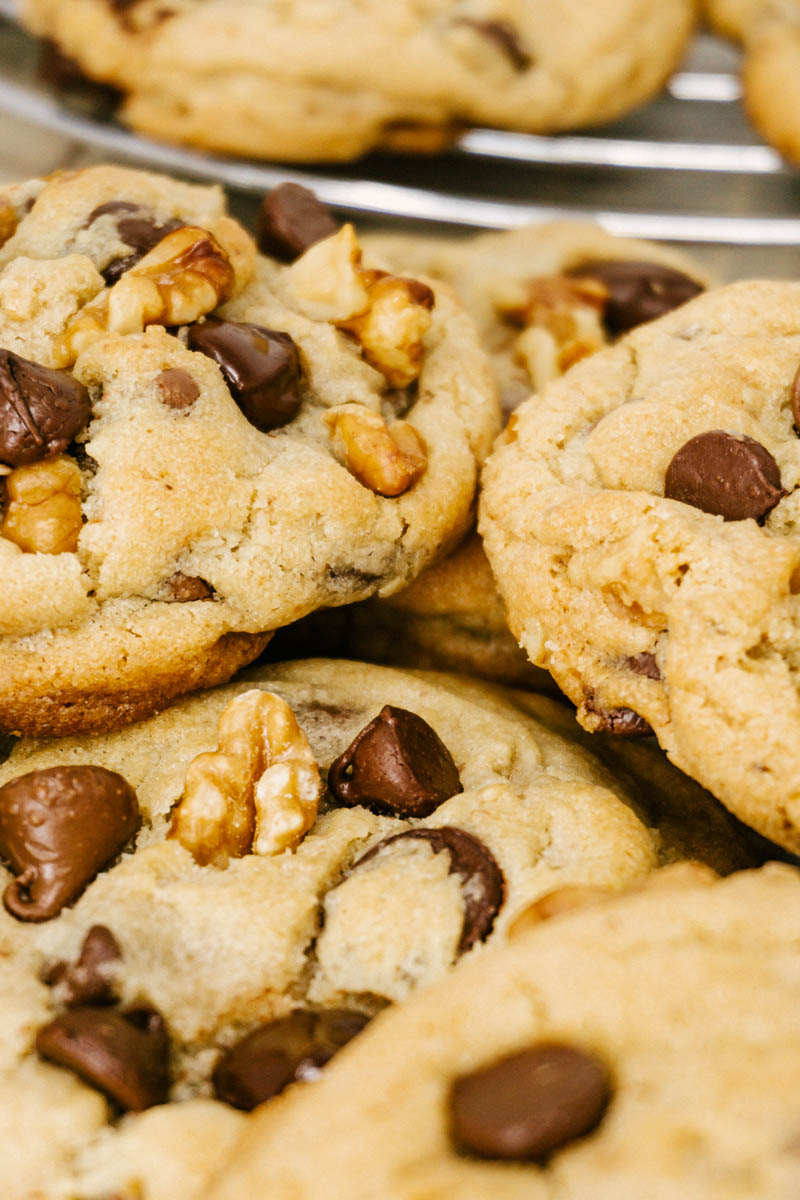
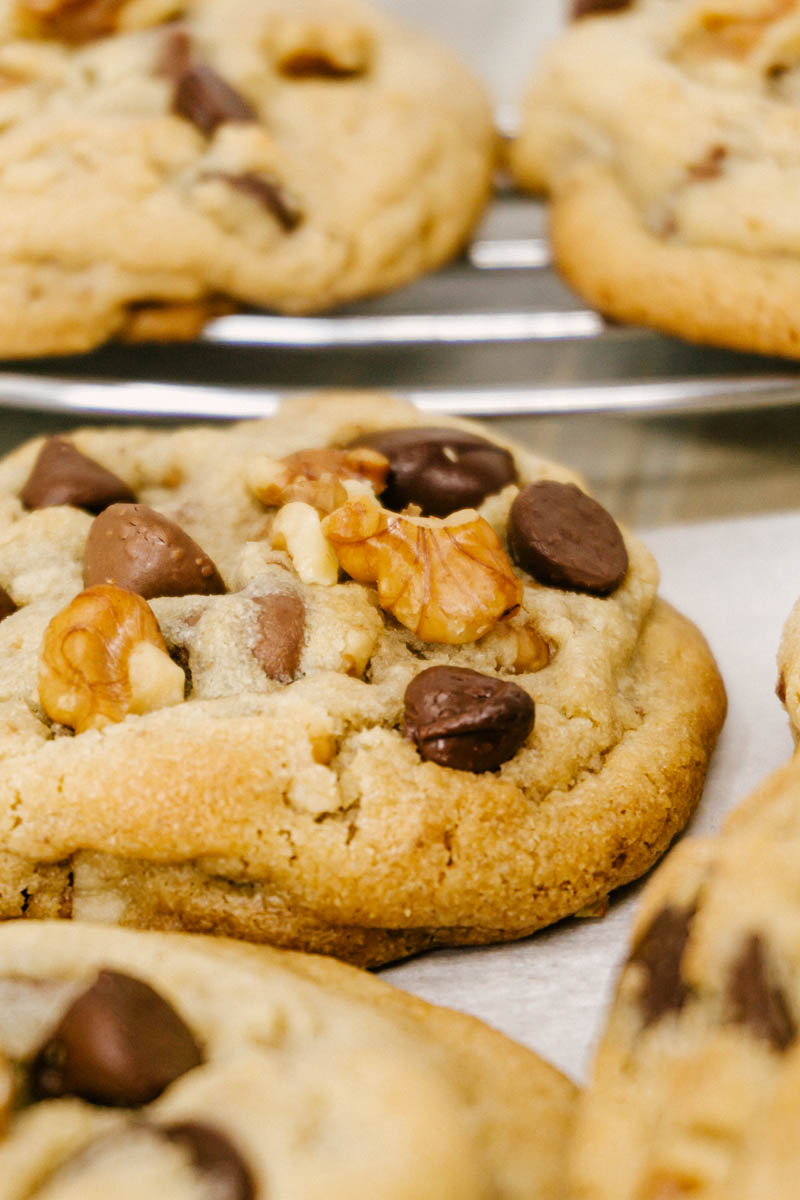
Toasting the walnuts adds a wonderful depth of flavor to these delicious cookies. The toasted walnuts will be a bit crisp when they cool and it adds a delightful texture. It also dials up the walnut flavor to a toasty, nutty bite of magic.
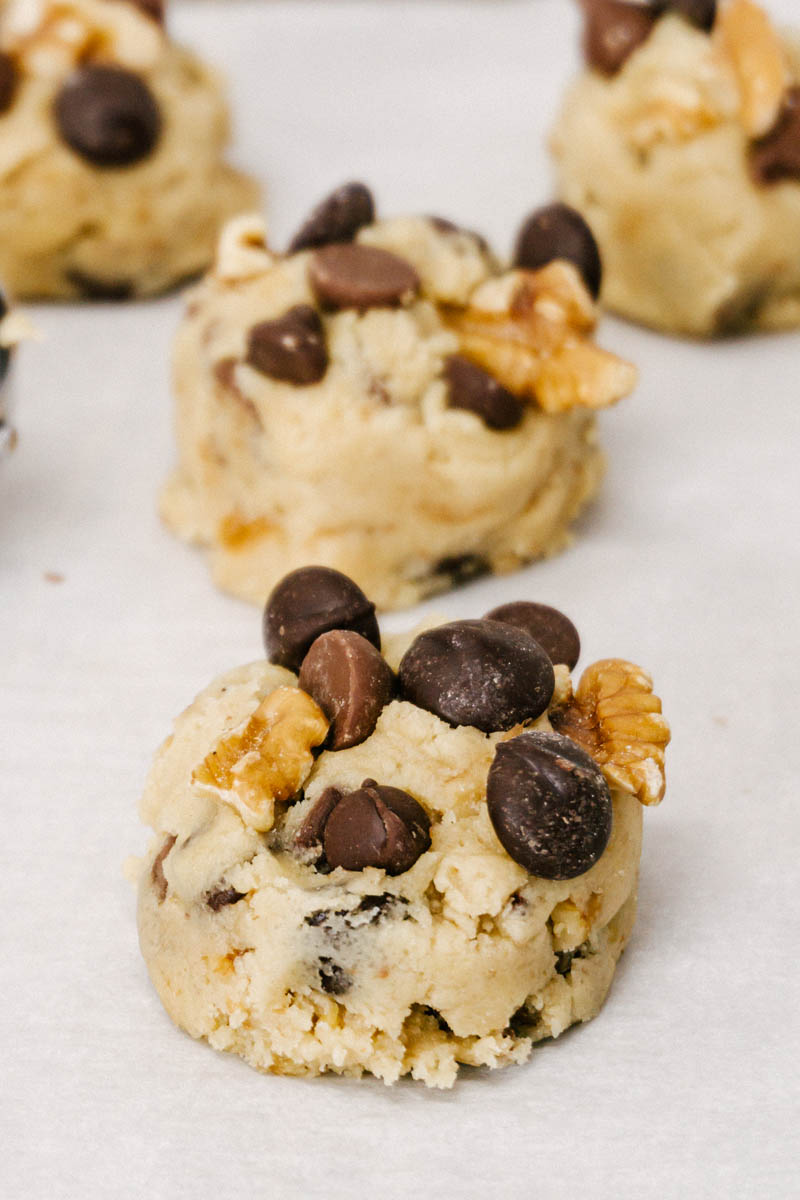
When you “roughly chop” the walnuts after toasting, I like to leave them in fairly large chunks. You want big pieces of walnut throughout so their flavor and crispy toasted texture can shine. Plus, larger pieces of walnut look so tempting when you use them to top the cookie before baking.
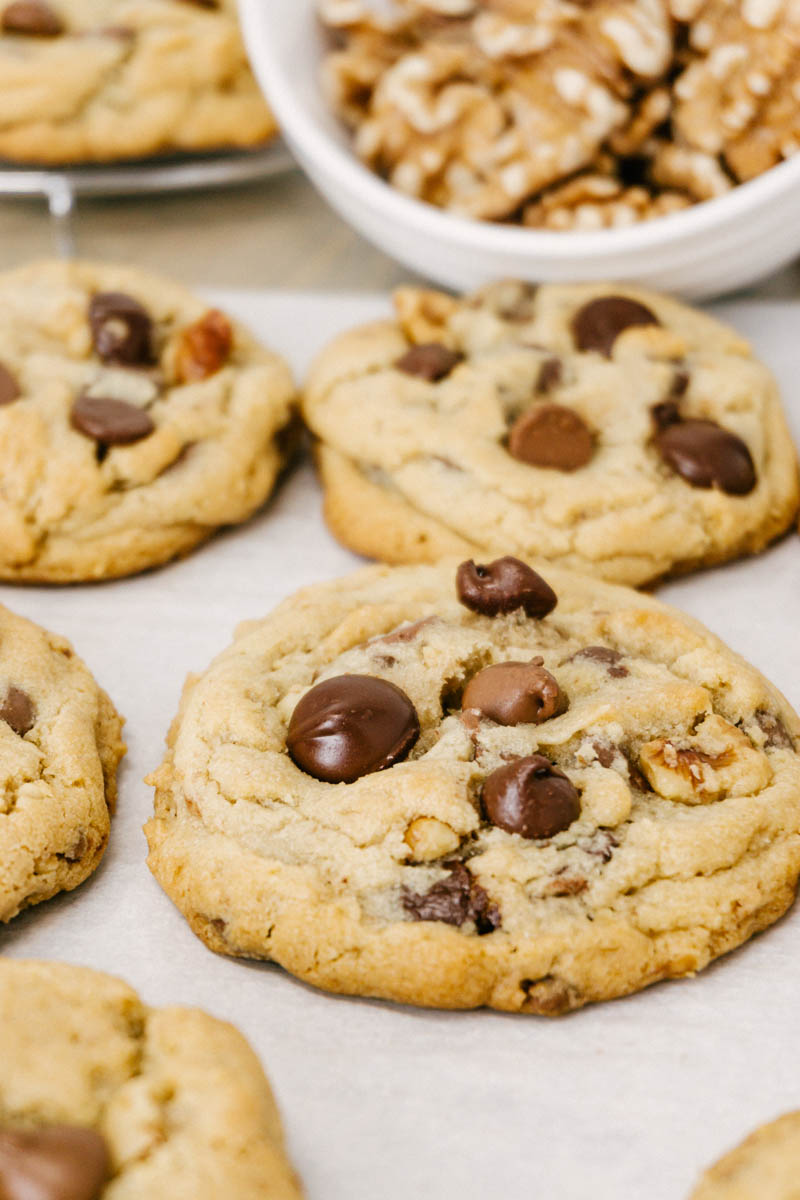
Topping each cookie with some extra chocolate chips and walnuts before baking gives you a window into what is inside the cookie. It makes the cookie look more decadent and gives it a professional quality look. It is especially helpful if you take these to a buffet, bake sale, or church gathering. Everyone can see exactly what types of chocolate and nuts are inside the cookie and, trust me, will be more likely to pick up one (or two) to try. All that will be left are crumbs!
Recipe Tips
This Triple Chocolate Chip Walnut Cookie recipe makes a big batch of cookies. It contains 1 ½ lbs of chocolate and 2 ½ cups of walnuts. If you have a sturdy stand mixer, I recommend using that. If you don’t, use a hand mixer to cream the butter, shortening, and sugar, but you’ll probably need to use your hands or a big wooden spoon to finish mixing the flour, chocolate, and walnuts in. (Don’t own a stand mixer? It’s one of the most worthwhile kitchen investments. I recommend this one.)
These cookies are extra loaded with chocolate chips and walnuts so they don’t spread as far in the oven as other cookies. Be careful not to overbake them. The edges should be just lightly golden and the interior will be moist, buttery, and packed full of deliciousness.
Nuts for Nuts
One more tip before I leave with you with the most delicious recipe: I buy most nuts (walnuts, almonds, pecans, etc.) in bulk. I used to have trouble using the whole bag before they would go rancid, due to the high fat content in nuts. Storing them in the freezer is the perfect way to extend any nut’s shelf-life.
If you are nuts for chocolate and walnuts, try our Fudge Walnut Brownies. They are fudgy, perfectly balanced, and full of walnuts and chocolate.
Leave a comment or a review and let us know what you think of these Triple Chocolate Chip Walnut cookies. Pin this recipe on Pinterest or share on Instagram, too, if you’re feeling extra nuts!
Triple Chocolate Chip Walnut Cookie
Yield: 36 cookies
Prep Time: 20 minutes
Cook Time: 10 minutes
Additional Time: 30 minutes
Total Time: 1 hour
Walnut, three types of melty chocolate chips, and your patiently waiting self. You walnut regret making these perfect, buttery chocolate chip cookies.
Ingredients
1 C (8 oz) salted butter
½ C (3.4 oz) shortening
1 C (7 oz) white sugar
1 C (8 oz) light brown sugar
2 large eggs + 1 egg yolk
1 T vanilla
1 tsp baking powder
2 tsp baking soda
1 ½ tsp salt
4 C (18 oz) all-purpose flour
1 ½ C (9 oz) semi-sweet chocolate chips, divided
1 ½ C (9 oz) milk chocolate chips, divided
1 C (6 oz) bittersweet chocolate chips, divided
2 ½ C (9 oz) shelled walnuts, lightly toasted, divided
Instructions
Preheat oven to 375*F. Line baking sheets with parchment paper.
Toast walnuts on a cookie sheet in the oven for 5-6 minutes. Let cool, then roughly chop. Set aside.
In the bowl of a stand mixer, cream butter, shortening, and sugars. Add eggs and vanilla. Mix well.
Add the dry ingredients. Add chocolate chips and walnuts to the dough, setting aside ⅓ C (2 oz) of each type of chocolate chip and ½ C (2 oz) of walnuts for topping. Mix until combined.
Using a #30 (2 ½ T) cookie dough scoop, place dough a few inches apart on a parchment-lined cookie sheet. Top dough with 4-5 reserved chocolate chips and a few pieces of walnut. Bake for 7-9 minutes or until the edges are lightly browned.
Cool completely before storing. Store in an airtight container. Will stay fresh in the fridge for one week, and up to 3 months in the freezer.