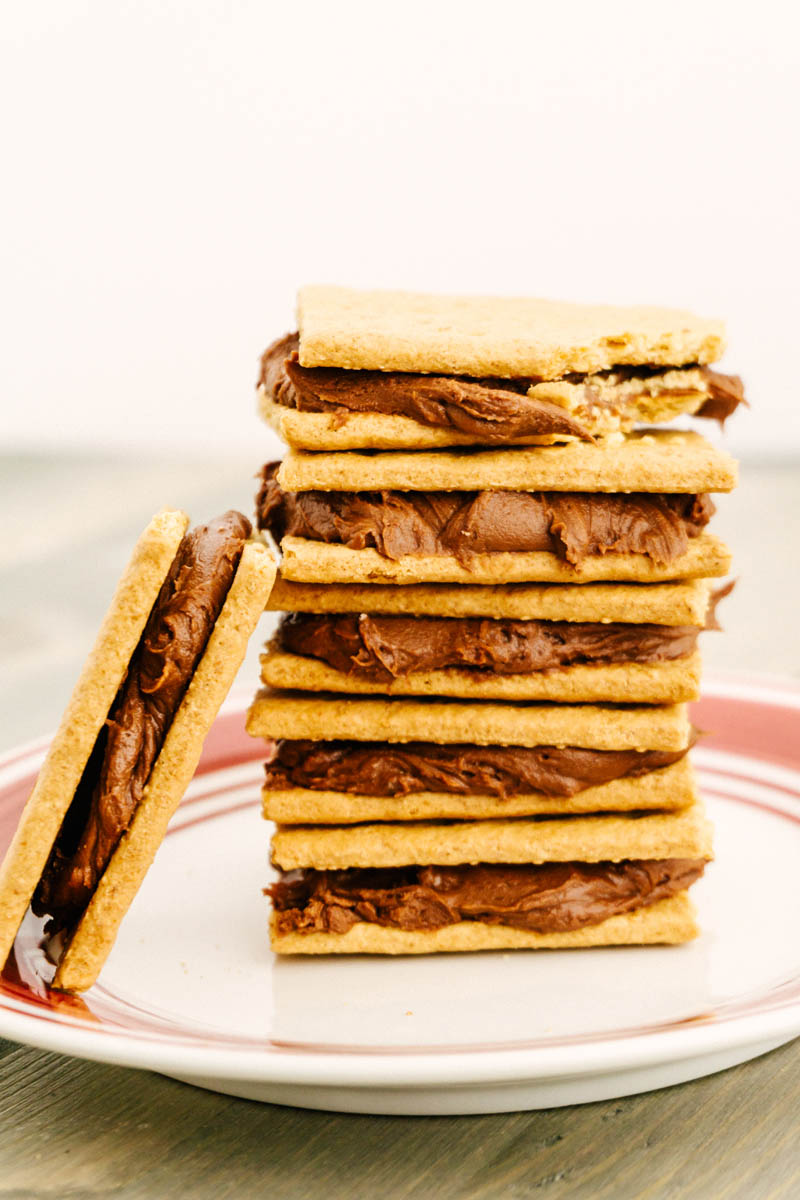
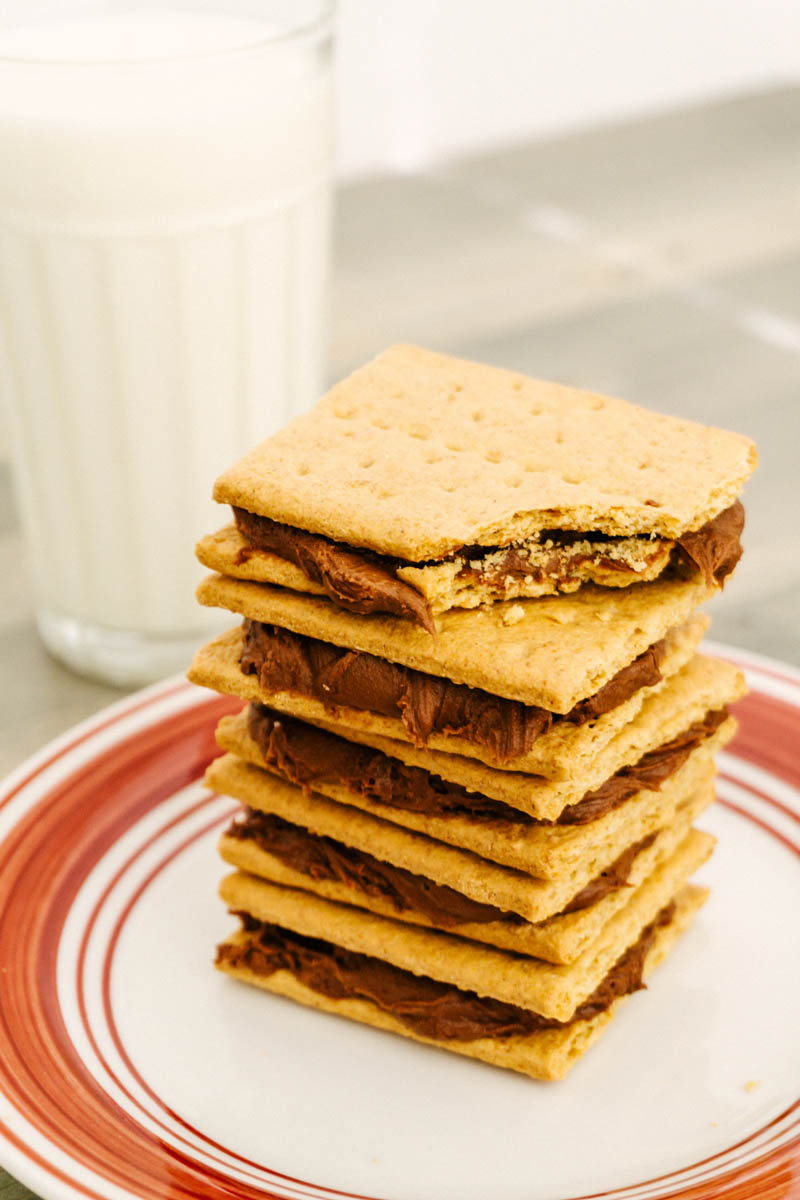
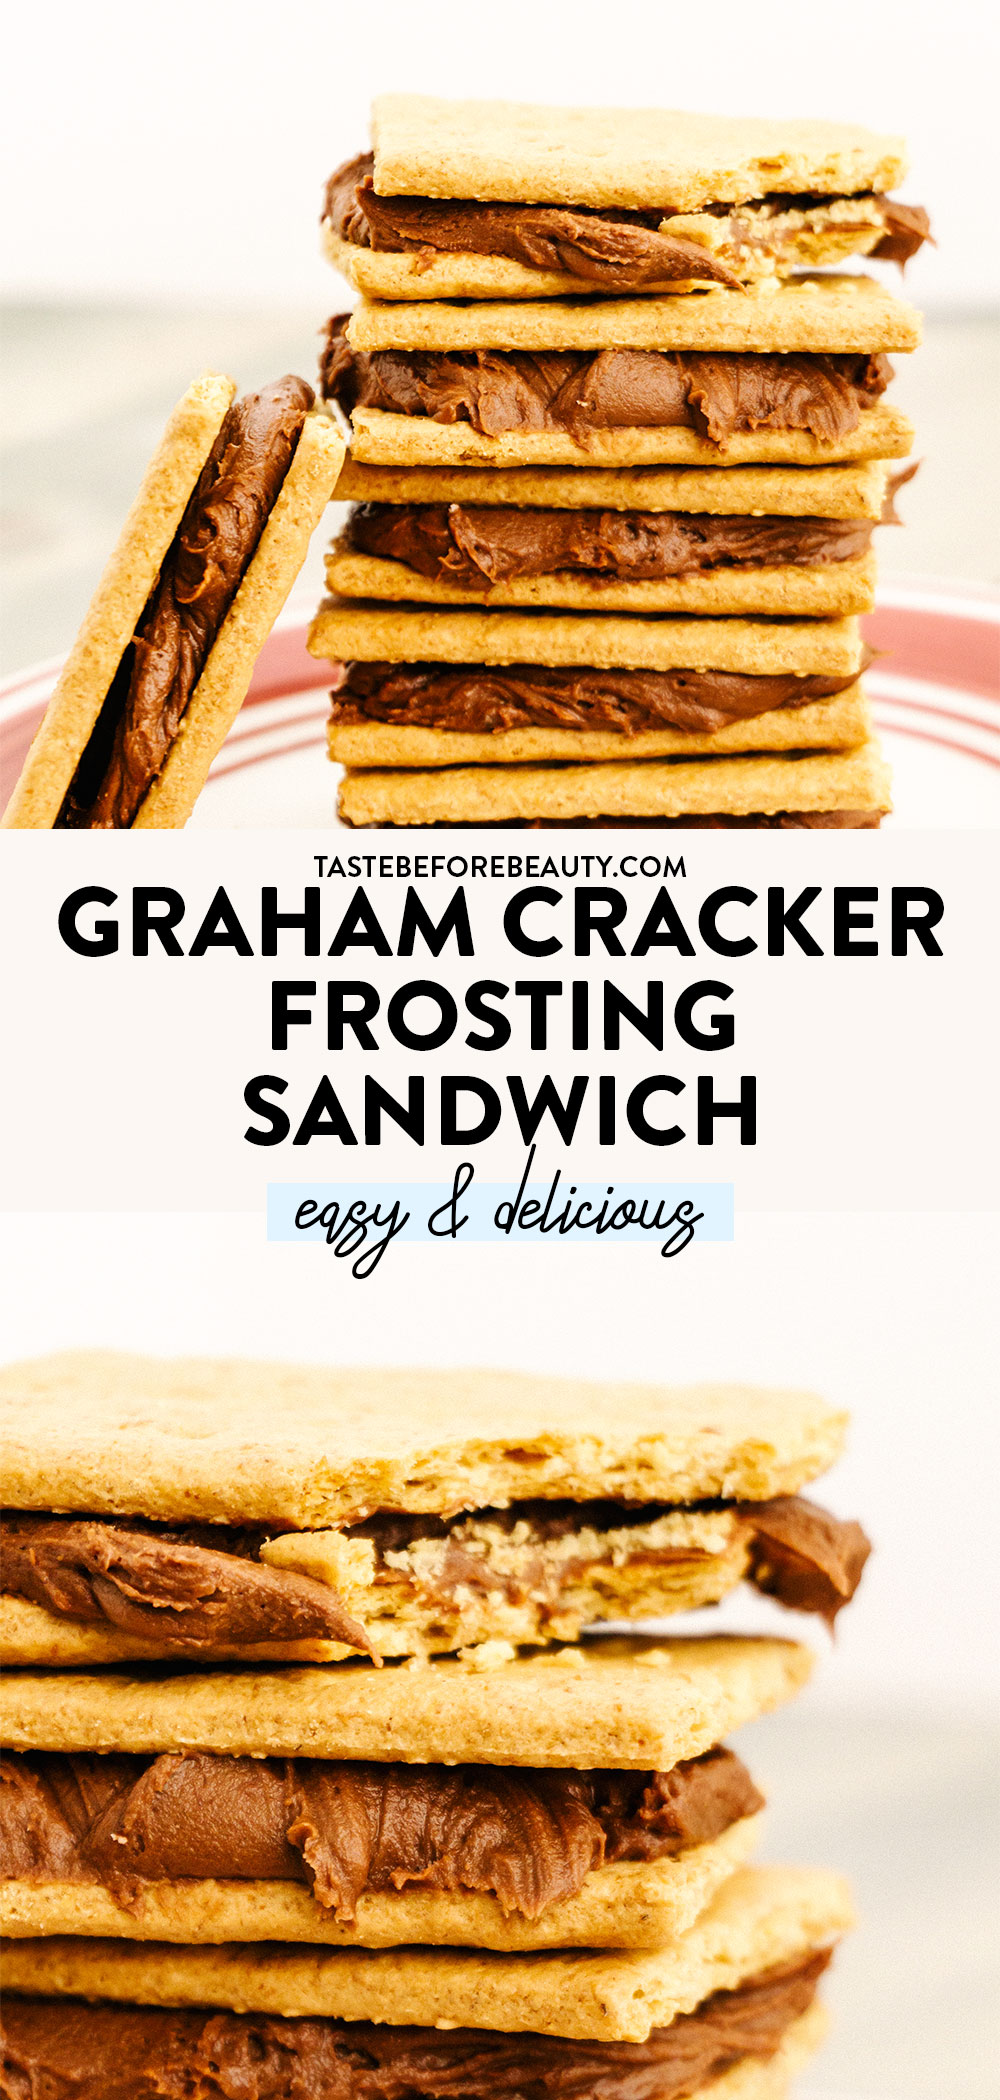
Talk about classics! This Graham Cracker Frosting Sandwich brings me back to my elementary school days when I’d open up my lunch box to find one of these and I’d look up to see my friends would be drooling. With delicious graham crackers and creamy Buttercream Frosting, these are a timeless classic enjoyed by all!
The Best Solution for Leftover Frosting
Don’t toss that leftover frosting! Grab some graham crackers and sandwich that good stuff in between them. That’s my kind of lazy day treat! These are so easy you really have no reason not to make them!
We have so many desserts that call for Buttercream Frosting from Frosted Marshmallow Brownies to Black Forest Cake. Somehow I always end up with extra frosting. I don’t have enough freezer space for all of the leftover frosting to be stored so I make a batch of these Graham Cracker Frosting Sandwiches and they’re gone within a few days!
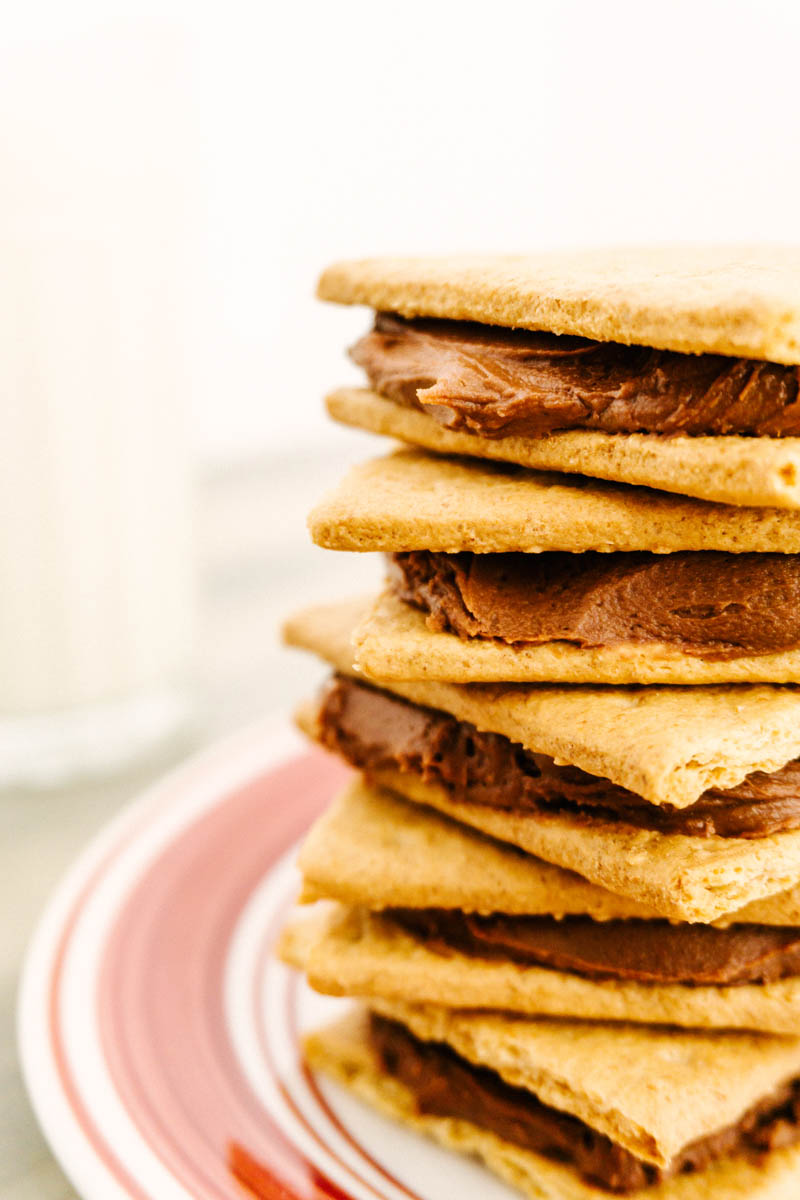
This Graham Cracker Frosting Sandwich is one of my favorites and a lunchtime favorite! I always loved opening up my lunchbox to one of these. They really are best three to five days later. The softer the graham cracker gets the better. I leave mine in a ziplock bag on the counter and they only last a few days.
Recipe Ingredients
Graham Crackers: Use generic or name brand for this recipe!
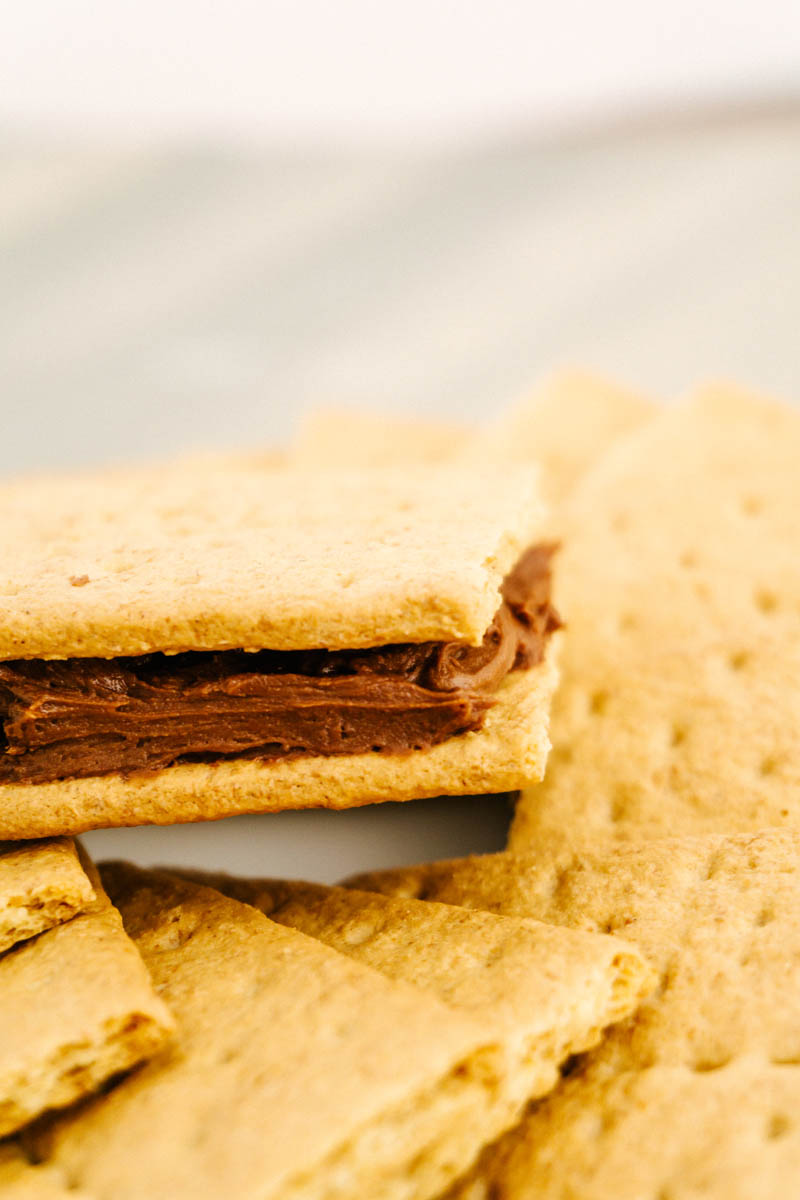
Break your graham crackers in half. Do this carefully or the frosting will squish out of the smaller half of the sandwich.
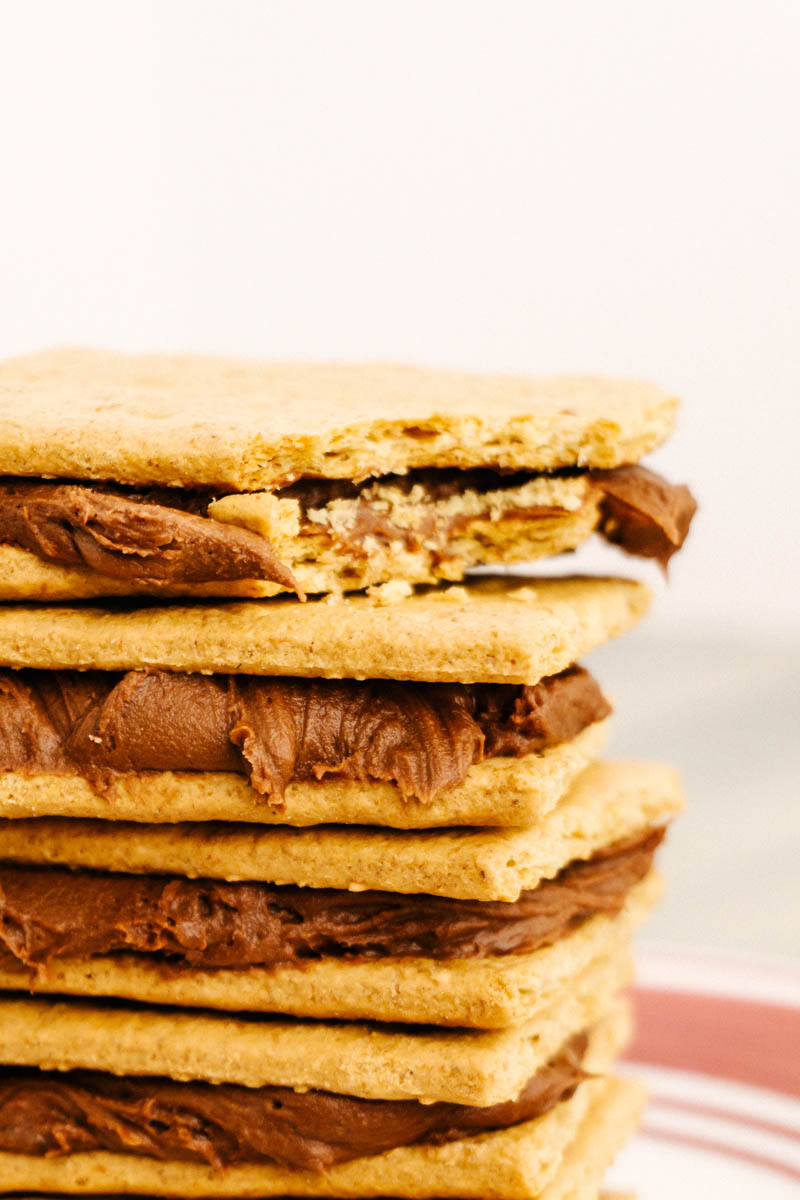
Add frosting. Use as much or as little as you like!
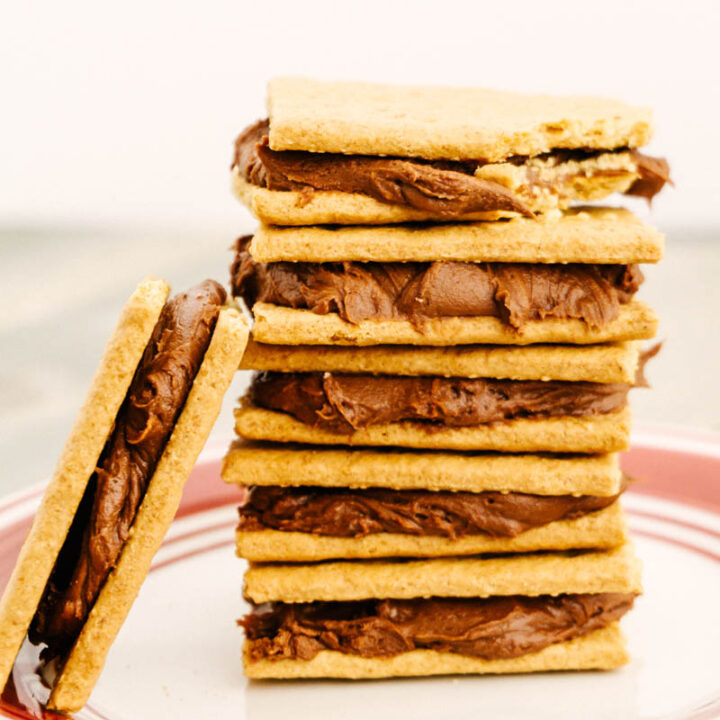
Now comes the hardest part: waiting 3-5 days for the graham crackers to soften up and the flavors to meld. Of course, you can eat these Graham Cracker Frosting Sandwiches right away, but I promise they taste best after they’ve had a few days to sit.
This is probably one of the easiest and tastiest desserts to make. Let us know how long they last on your counter!
Looking for more delicious easy recipes? Try these:
Yield: 24ish - depending on how much frosting you like in between your graham crackers
Prep Time: 10 minutes
Additional Time: 5 minutes
Total Time: 15 minutes
Talk about classics! This Graham Cracker Frosting Sandwich brings me back to my elementary school days when I’d open up my lunch box to find one of these and I’d look up to see my friends would be drooling. With delicious graham crackers and creamy Buttercream Frosting, these are a timeless classic enjoyed by all!
Ingredients
Chocolate Buttercream Frosting
1 C (16 oz) salted butter, room temperature
1 C (3.6 oz) cocoa
7 C (32 oz) powdered sugar
2 tsp vanilla
7 T + 3 T milk
Instructions
Make the Frosting:
Soften the butter, but do not melt. Beat butter with a mixer until it is smooth.
Add cocoa and powdered sugar. Beat butter, cocoa, and powdered sugar until combined and mixture looks dry and uniform. Scrape bowl.
Add vanilla and 7 T of milk. Beat until frosting is light, creamy, and soft.
If frosting is too thick, add up to 3 additional tablespoons of milk.
Sandwich Frosting between Graham Crackers:
Carefully break each graham cracker sheet into two pieces and spread 1-2 T of frosting between graham crackers.
Best if eaten 3-5 days later. This allows time for the graham crackers to soften and absorb some flavor from the frosting.
Lasts for one to two weeks in an airtight container at room temperature or stored in refrigerator. Can also be frozen.
Notes
When adding powdered sugar and cocoa, we highly recommend covering your mixer. Use a clean tea towel or a shield if your mixer came with one, or spend the next decade cleaning powdered sugar and cocoa dust from every surface in your life.
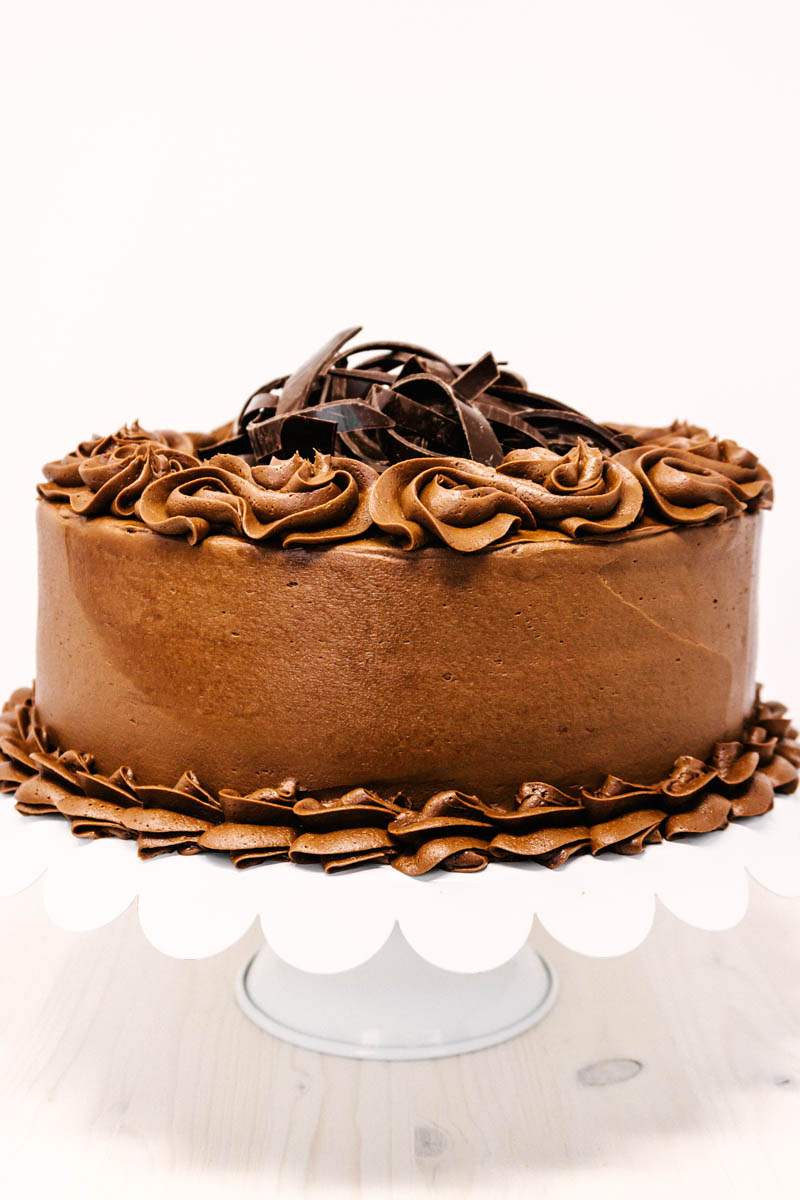
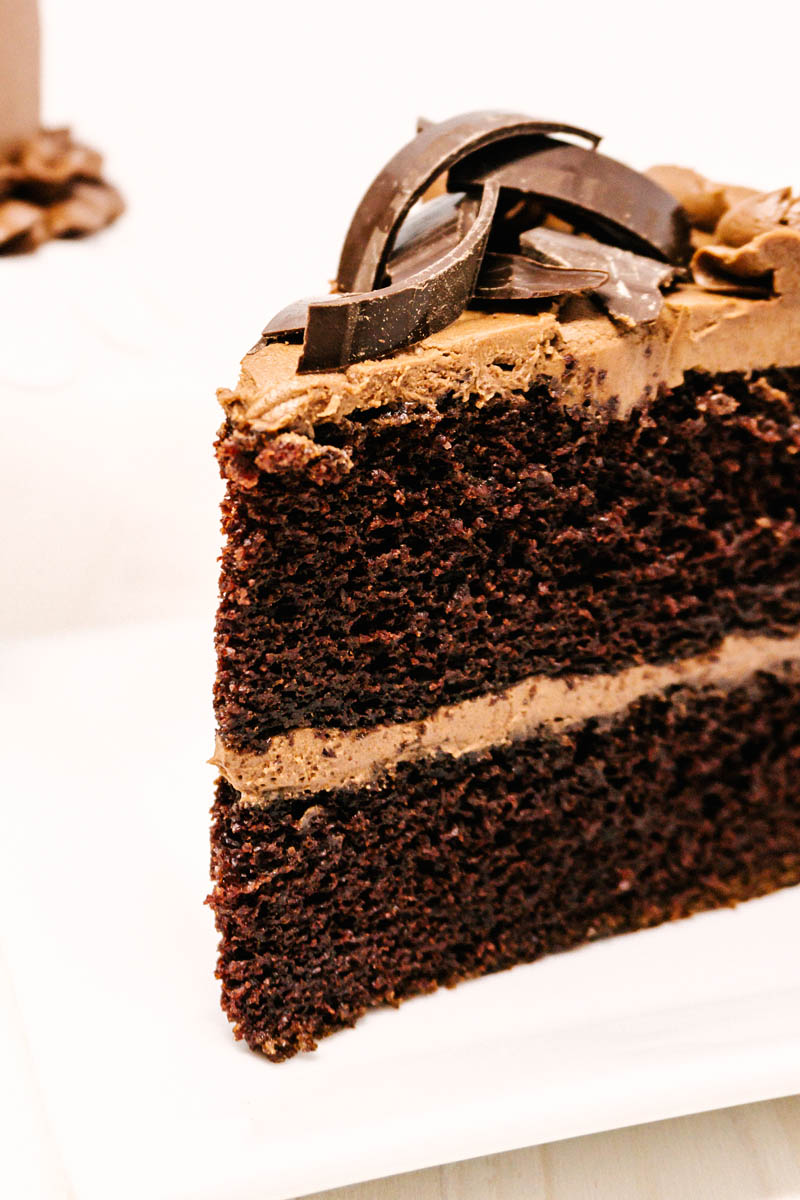
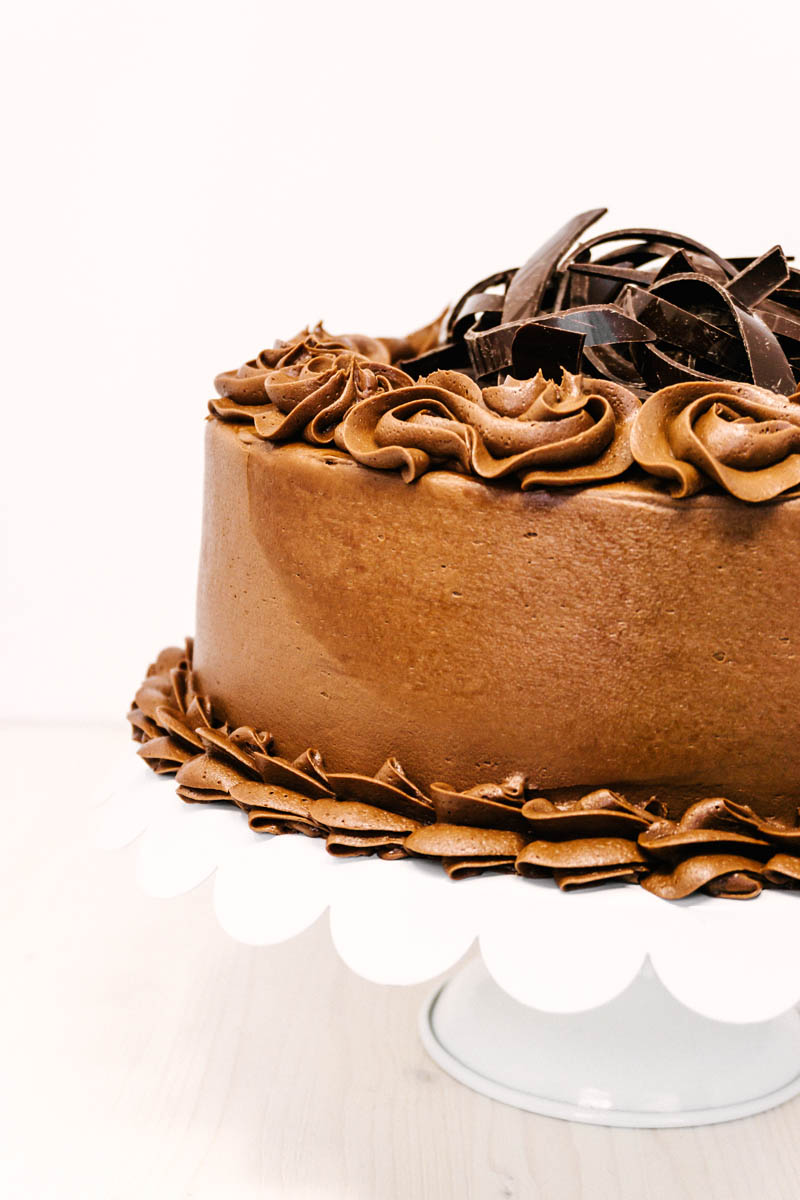
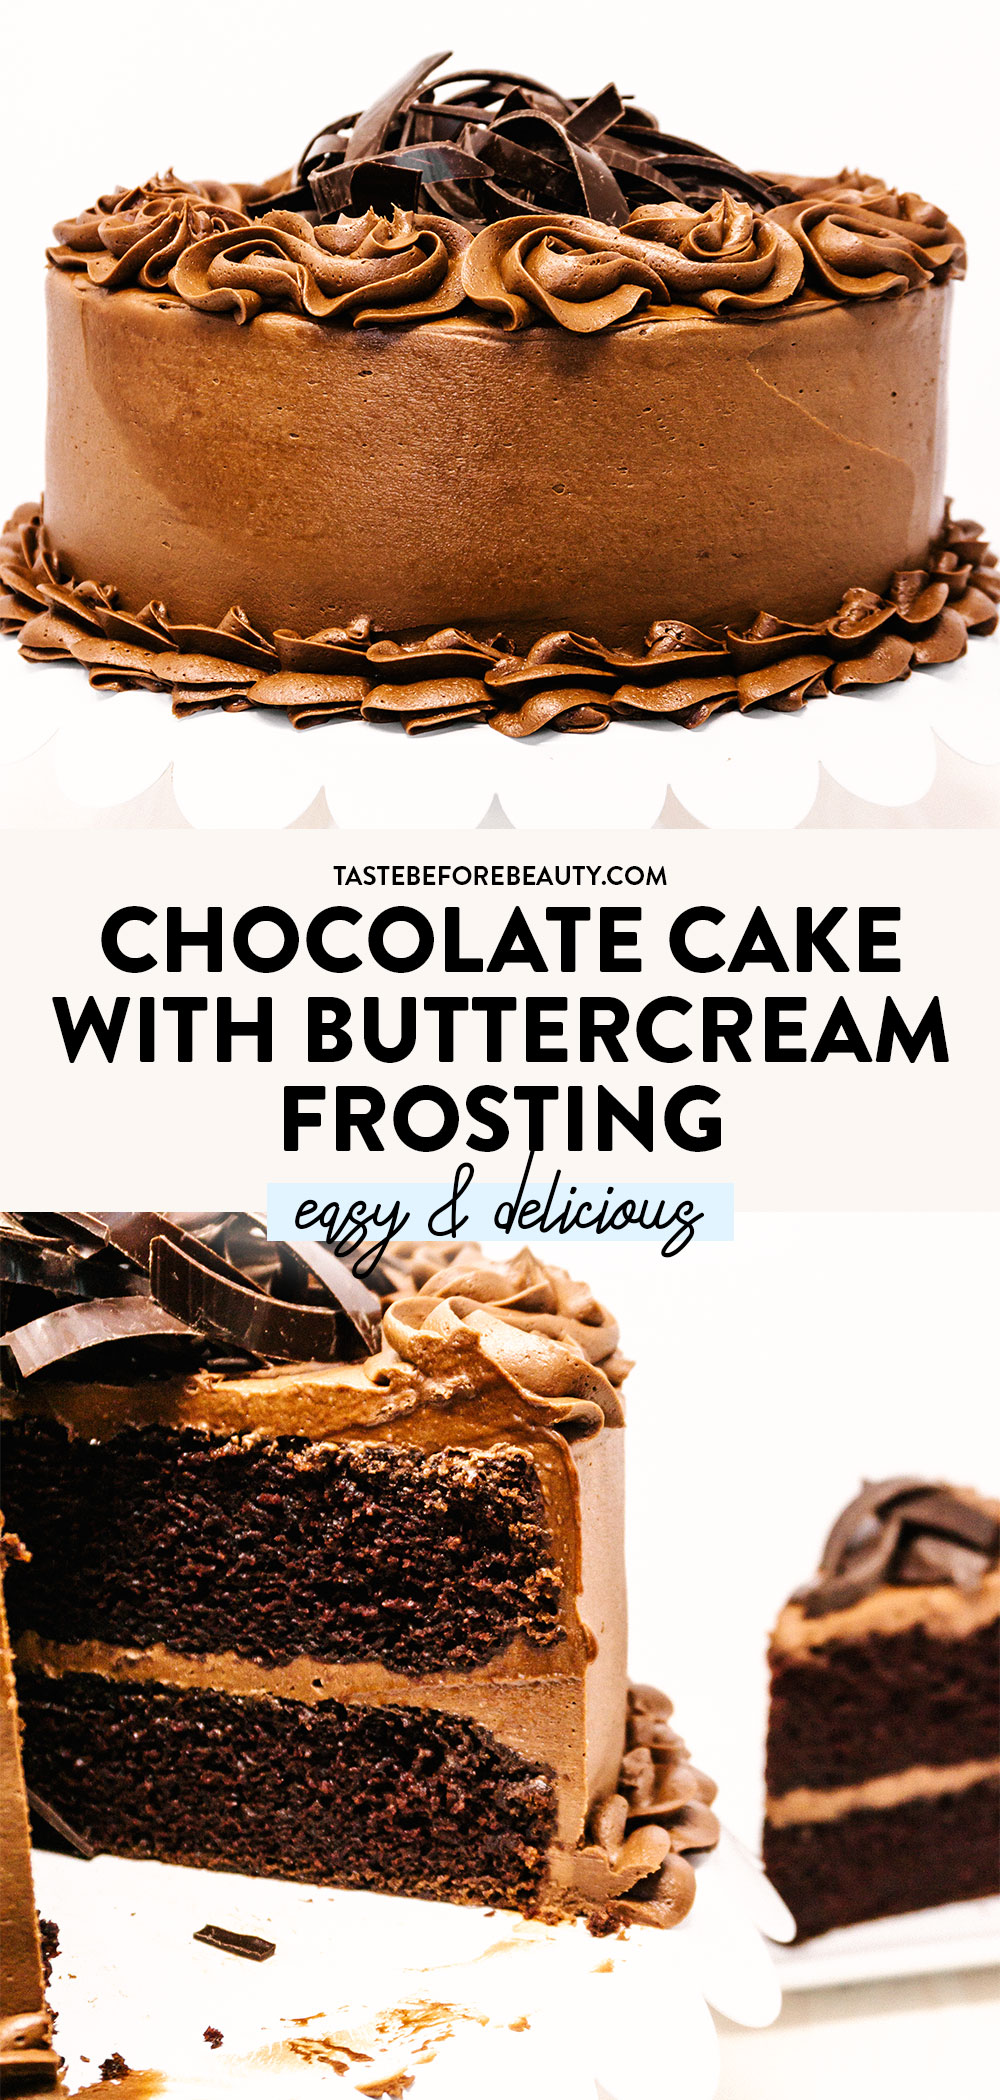
This Chocolate Cake is THE Chocolate Cake. It has rich chocolatey layers, a smooth chocolate buttercream, and checks every box on the list. It’s really the only cake you need.
The Chocolate Cake Origin
I used to love using boxed Devil’s Food cake mixes. I learned from my first cake decorating class back in 1998 to start with a basic cake mix and doctor it up a bit. It made a great cake with good flavor. I received lots of compliments over the years and no one ever knew it came from a box! However, over the years, cake mixes changed. The amount decreased over time and I noticed my cakes baked up thinner and the flavor changed for the worse. I was tired of subpar results, so I decided to create my own Chocolate Cake recipe from scratch.
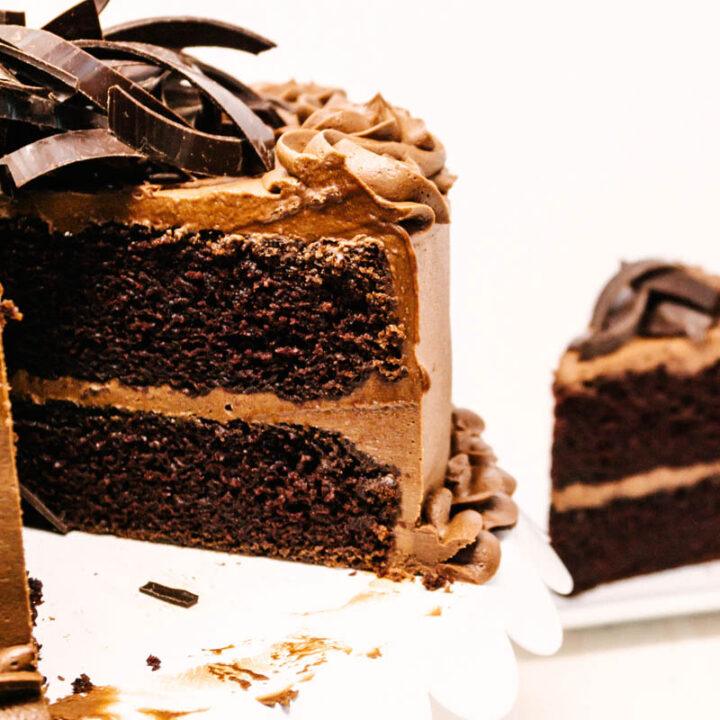
I spent time researching, testing, baking, and retesting chocolate cakes. I had chocolate cakes all over my counter. There were six cookbooks laid out across my table, comparing and researching. This cake needed to have the structure to stack four layers high, be moist and flavorful, but not have too dark of a chocolate flavor that it wouldn’t pair with my Chocolate Buttercream Frosting or Easy Chocolate Mousse. It needs to be endlessly versatile and a cake my children could also easily make.
One moment on the right day, I had a “eureka!” moment! Adding a touch of Dutch-process cocoa powder made this cake perfect. This Chocolate Cake has the perfect balance of moisture and texture I hoped for. My husband even calls this cake “The Only Cake.” I hope you enjoy this cake as much as we do!
Cocoa Powder – essential for a rich, chocolate flavor! I use Hershey’s 100% Natural Unsweetened Cocoa Powder.
Buttermilk – I make my own buttermilk. I add 1 T lemon juice to a cup and then enough milk to equal 1 C or 8 ounces.
Dutch-Process Cocoa – Yes, there are two types of cocoa in this cake! Dutch-preocess cocoa is processed with alkali and will specify that in the ingredient list. I use Hershey’s Special Dark 100% Cacao Dutched Cocoa.
Salted Butter – Using salted butter is necessary to make the Chocolate Buttercream lick-the-spoon delicious!
Chocolate Cake Components
Chocolate Cake: Make sure to sift together the dry ingredients first. Then add the liquids. You only need to mix long enough to combine all the ingredients together. If you will be layering these, bake them at 325*F so the tops stay flat.
Chocolate Buttercream Frosting: Start with salted butter and beat it until it’s smooth. I like to use my stand mixer for this. Once the butter is smooth, add the cocoa and powdered sugar. Cover the mixer bowl with a damp towel to avoid spraying powder all over the kitchen! Once they are combined into a powdery mixture, add the milk and vanilla. After mixing, if your frosting is still too dry add extra milk, one tablespoon at a time until it reaches the perfect consistency.
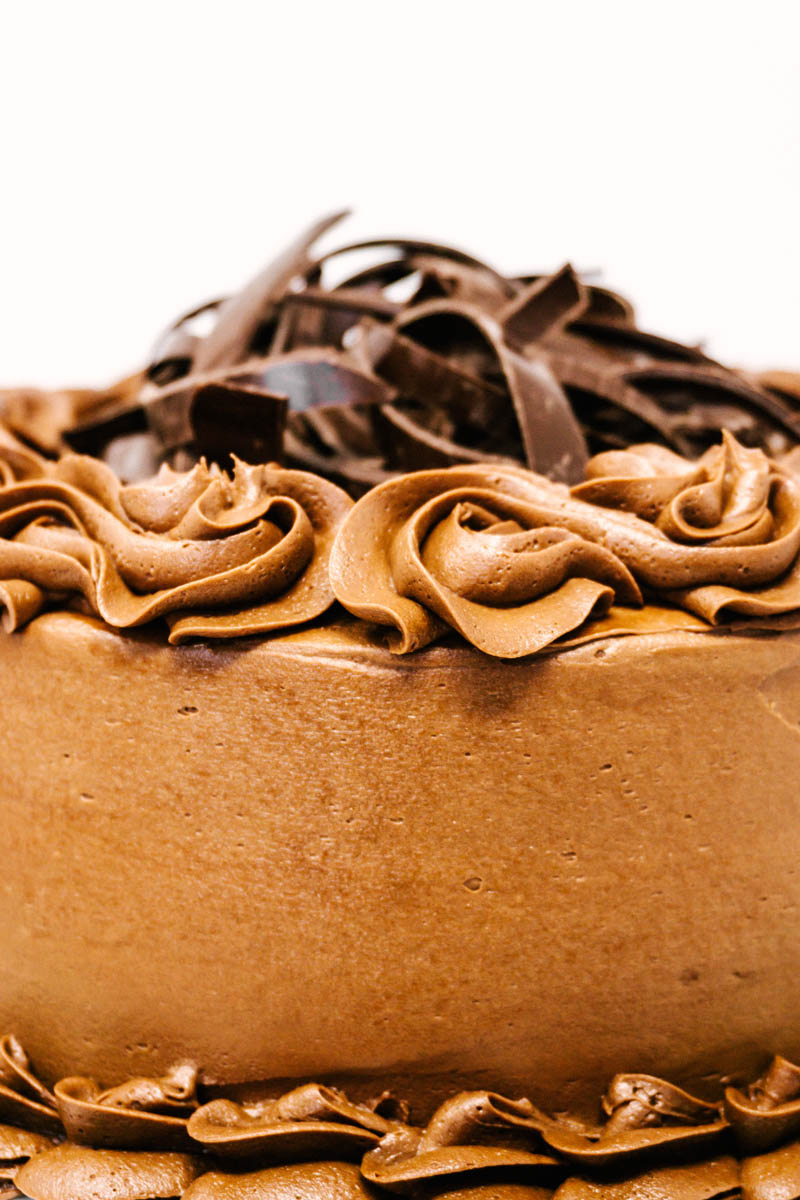
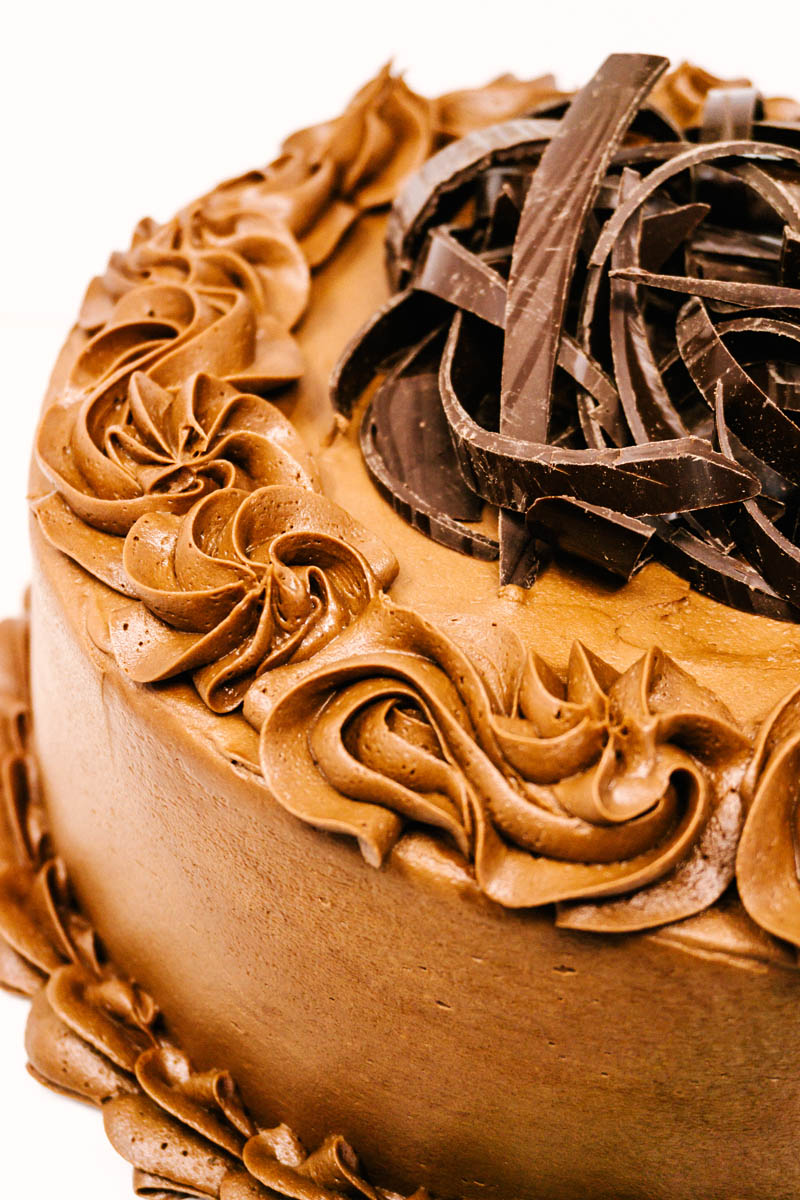
Decorating: You can decorate this cake however you want. I like to pipe extra Chocolate Buttercream Frosting on the top and base of the cake and then add shaved chocolate curls to the top.
Assembling the Chocolate Cake
Start by placing one layer of chocolate cake on your cake stand or plate. Layer frosting on top, then add the second layer. Coat the whole cake in Chocolate Buttercream.
I use a Wilton 2D or 1M star tip to decoratively pipe extra frosting onto the cake. You can create swirls or stars of buttercream to make it look pretty.
Add chocolate shavings. I use a potato peeler to shave long curls off of a bar of Hershey’s Milk Chocolate or Hershey’s Special Dark Chocolate.
This cake is divine and every bite is an experience. I hope you love making it and sharing it with your loved ones!
Looking for more delicious cake recipes? Try these:
This Chocolate Cake is THE Chocolate Cake. It has rich chocolatey layers, a smooth chocolate buttercream, and checks every box on the list. It’s really the only cake you need.
Ingredients
Chocolate Cake
2 ¼ C (10 oz) all-purpose flour
½ C + 1 T (2 oz) cocoa powder
2 C (14 oz) white sugar
1 tsp salt
1 tsp baking powder
2 tsp baking soda
2 tsp Dutch-processed cocoa powder
2 C (16 oz) buttermilk
2 large eggs
1 C minus 1 T (7 oz) vegetable oil
1 ½ tsp vanilla
Chocolate Buttercream Frosting
2 C (16 oz) salted butter, room temperature
1 C (3.6 oz) cocoa powder
7 C (32 oz) powdered sugar
2 tsp vanilla
7 T milk + 3 T milk, if necessary
Instructions
Make the Chocolate Cake.
Preheat oven to 325*F for a flat cake top or 350*F for a domed cake top.
Prepare two 9-inch round cake pans by spraying with non-stick spray, lining bottom with a circle of wax paper, then spray with non-stick spray again.
Sift together dry ingredients. Then add wet ingredients and mix to combine. Batter will be thin.
Divide batter equally between two pans (about 25-26 ounces per pan).
Bake for 30 minutes, until you can touch the center of the cake and it bounces back. Let cool in the pan for 5 minutes. Turn out onto wire cooling racks, peel the wax paper off the bottom and cool completely before spreading the frosting or decorating.
Make the Chocolate Buttercream Frosting.
Soften the butter, but do not melt.
Using a stand mixer, beat butter until it is smooth.
Add cocoa and powdered sugar. Beat butter, cocoa, and powdered sugar until combined and looks like a dry uniform mixture of cocoa dust. Scrape bowl.
Add vanilla and milk. Beat until frosting is light and creamy. If too thick add an additional 3 T of milk, one tablespoon at a time. Caution, overbeating will result in too many air pockets while frosting.
Assemble.
Place one cake on a cake stand or plate. Cover top with frosting.
Add second cake. Coat tops and sides with frosting.
Decorate, if desired. I like to pipe swirls of frosting on the top and around the bottom, then add shaved chocolate curls.
Notes
I make my own buttermilk. I add 1 T lemon juice to a cup and then enough milk to equal 1 C or 8 ounces.
If you want to use a 9x13 cake pan this cake mix makes enough for one 9x13 and 6 cupcakes - perfect if you want a treat before serving your cake!
High Altitude - This cake is new to my repertoire. I have not sufficiently tested it at high altitudes. Please adjust according to the altitude in which you live according to your usual pattern.
Hi, I’m Missy. Welcome to Taste Before Beauty. For 28 years I’ve been developing recipes that taste delicious, before they look delicious.