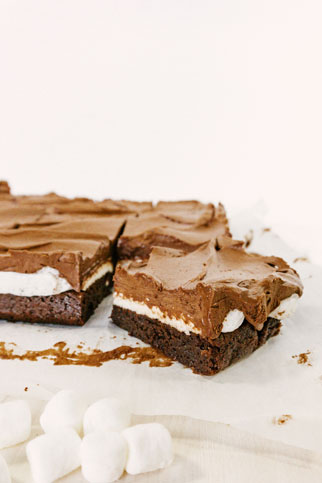
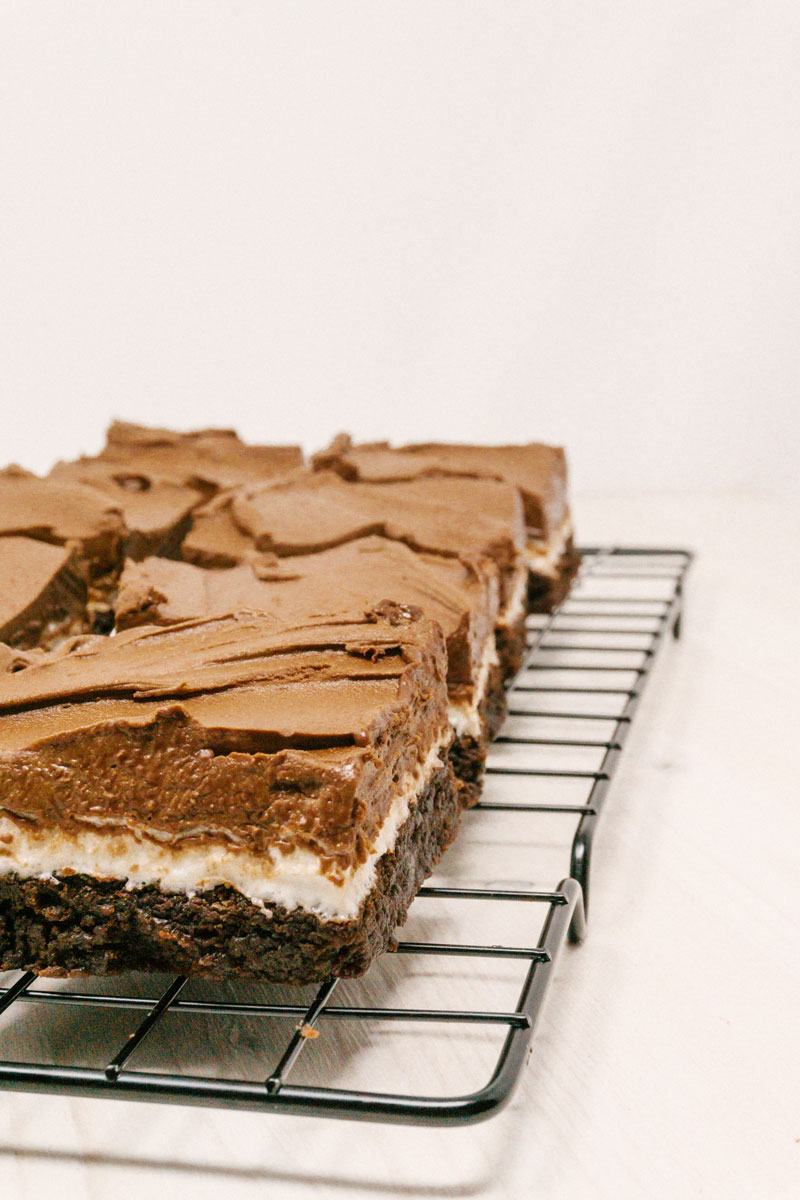
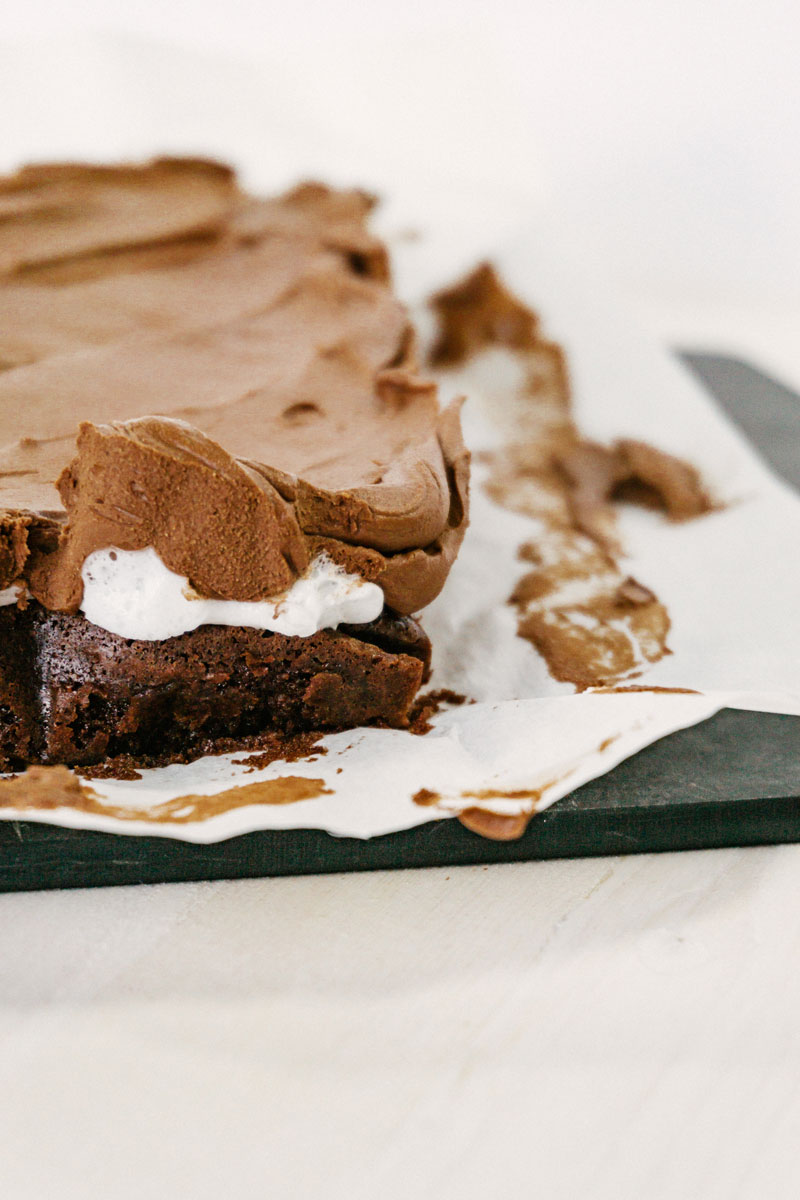
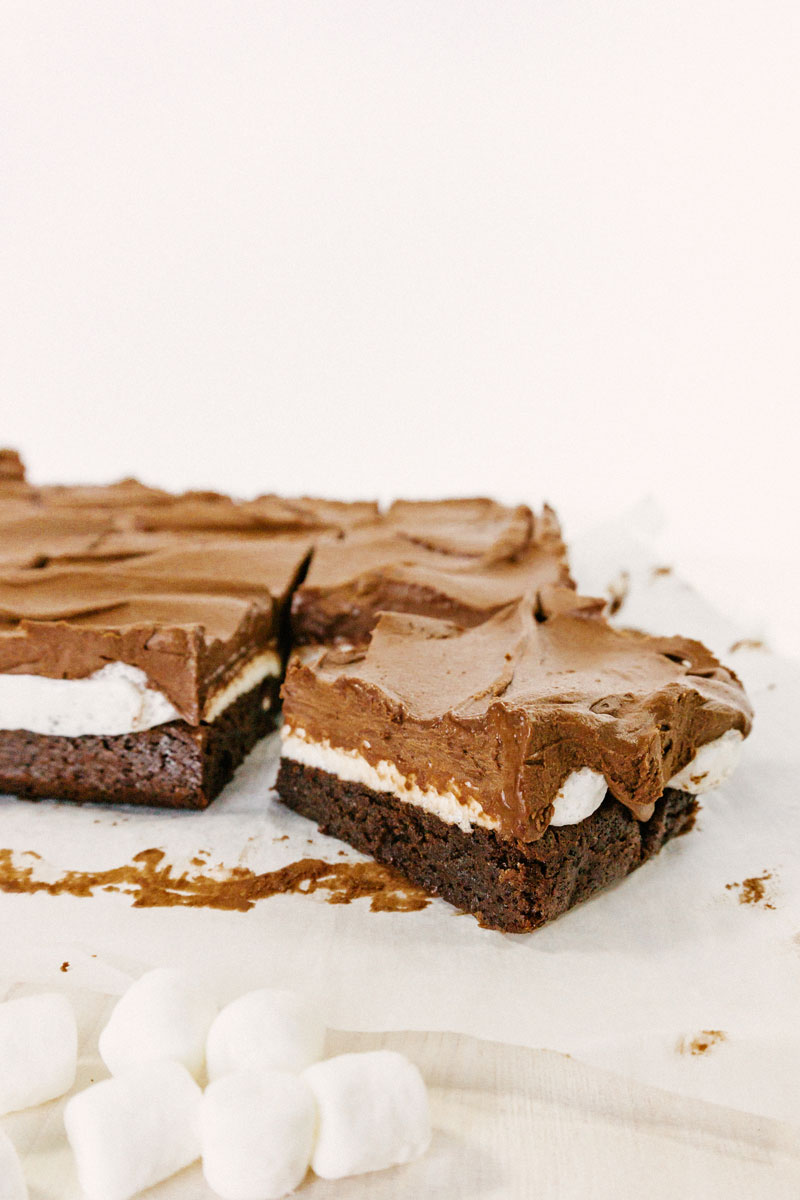
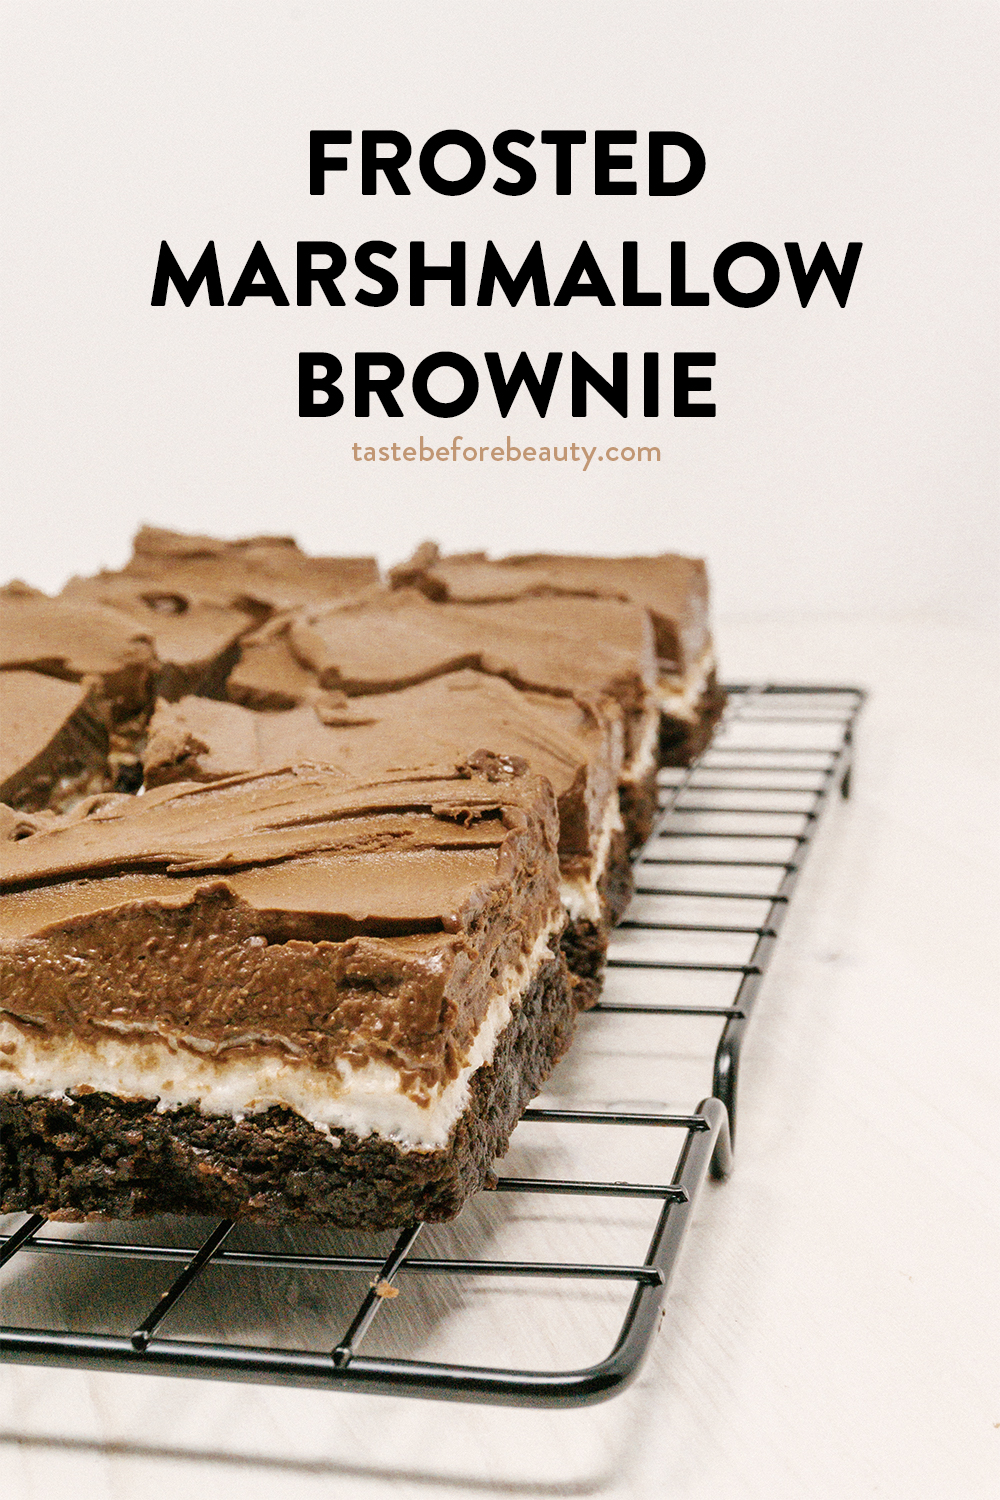
This is not your average, made-from-the-box brownie. Dense and moist, with a pillowy marshmallow layer, and topped with homemade chocolate buttercream, this is what brownie dreams are made of.
This brownie is in my personal baked goods hall of fame. Dense and moist and a dreamy creation, it is not your average frosted brownie. The chocolate buttercream frosting is so creamy and the marshmallow layer is so fluffy. I hope they serve these in heaven.
I grew up eating brownies with toasted marshmallows on top. I know you think this is going to be one of those “Missy goes on a baking journey to recreate another childhood memory” stories, but wait. This one has a plot twist! I was looking for a good brownie that would pair well with a layer of marshmallow on top. I didn’t want it to be super chewy or cakelike. I knew I needed a fudgy, truly chocolate brownie. I tested this recipe and that recipe, tweaking amounts of ingredients until my kids practically begged me to stop making them taste-test brownies (just kidding!). After many trials, I arrived upon the mouthfeel and chocolate flavor I wanted.
Then, it was on to finding the right consistency for the marshmallows. My family always let the marshmallows get toasty and browned, and while there is nothing wrong with a toasted marshmallow in s’mores, it didn’t work here. As soon as the marshmallows cooled, they set up into a pseudo-cement texture that could probably work as road paving in a pinch. After some more trial and error (and more brownie testing by my wonderful kids but not my favorite Kenzie because she hadn’t married into the family yet) I discovered that a quick minute in the oven just to soften the marshmallows was the key. It helped bind everything together without drying the marshmallows out.
During the whole process, I had made a chocolate cake with chocolate buttercream frosting, when ALL OF A SUDDEN (that’s what you say when a plot twist is coming, right?) I realized that chocolate frosting was the obvious finishing touch to my marshmallow brownie. The missing piece. The third element to the perfect trio. So, there you have it. A frosted marshmallow brownie.
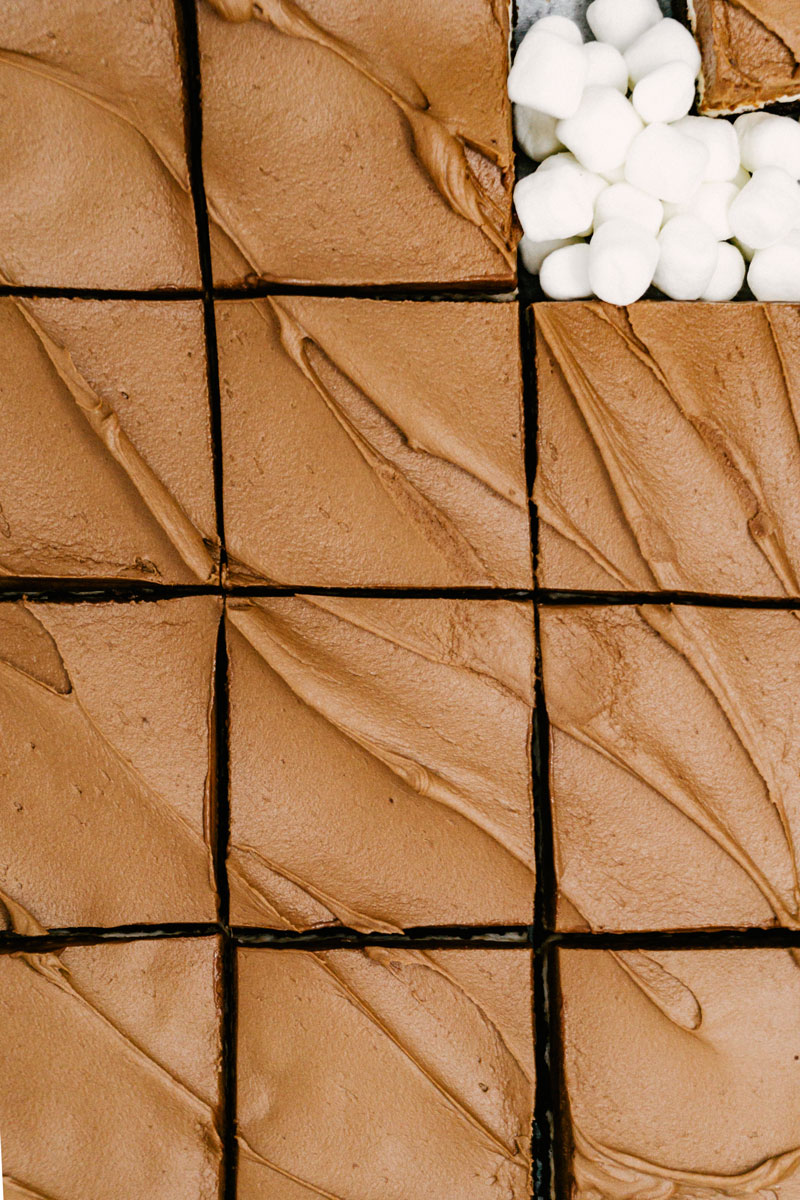
Sounds simple enough, and it can be. I’ll let you in on all of my tried and tested tricks. First, as I mentioned, don’t let the marshmallows get too melty. They dry out, harden, and the whole thing falls apart. The second is to get a nice, clean cut. Start by cooling the brownies with marshmallows until they are room temperature and then frost, otherwise the butter in the frosting melts, and then you’ll have to start all over again (while you eat this batch because it’s hideous). Once frosted, stick the whole pan in the fridge until the frosting hardens. This usually takes about an hour. Using a large knife, I run it under hot water, dry it, then cut the brownies, re-heating the knife as necessary.
When it’s time to serve the brownies, I place each brownie on a white cupcake liner and then put on a platter or tray. I like to individually wrap these and store them in the refrigerator if I’m not serving them right away. It helps me not to eat them all in one sitting. I wish you luck in not eating them all immediately. If you come up with a better method of self-control, let me know!
Frosted Marshmallow Brownie
Yield: 16 brownies
Cook Time: 25 minutes
Total Time: 25 minutes
This is not your average, made-from-the-box brownie. Dense and moist, with a pillowy marshmallow layer, and topped with homemade chocolate buttercream, this is what brownie dreams are made of.
Ingredients
Brownies
½ C (4 oz) salted butter, melted
½ C (3.8 oz) vegetable oil
1 ¾ C (7 oz) powdered sugar
1 C minus 2 T (7 oz) light brown sugar
½ C (1.8 oz) cocoa
4 large eggs
1 tsp vanilla
1 tsp salt
1 C minus 2 T (4 oz) all-purpose flour
Marshmallow Layer
3 C (5 oz) mini marshmallows
Chocolate Buttercream Frosting
1 C (8 oz) salted butter, softened
½ C (1.8 oz) cocoa
3 ½ C (16 oz) powdered sugar
1 tsp vanilla
4 T milk
Instructions
Make the brownies.
Preheat oven to 350*F. Line the bottom and sides of 10x10 or 9x13 cake pan with parchment paper.
Mix fats, sugars, and cocoa. Add eggs, vanilla, salt, and flour and mix until combined. Pour into prepared pan.
Bake for 25 minutes. Pull brownies from the oven and immediately top with marshmallows. Put back in the oven for one more minute to slightly melt marshmallows. Remove from the oven and let cool completely.
Make the chocolate buttercream frosting.
Let butter come to room temperature before beating. Beat until smooth. Add cocoa and powdered sugar. Beat until very dry and uniform in texture. Scrape bowl, then add vanilla and 4 T milk. Beat until light and creamy. If frosting is still too thick, add up to 2 additional tablespoons of milk.
Once brownies have cooled completely, top with frosting.
Notes
While it may be tempting to leave the marshmallows in the oven longer so they start to brown, this will result in a tough, overly chewy topping when they cool. One minute allows them to melt and become soft, without drying them out.
Be careful not to overbeat the chocolate buttercream frosting. It should be light and creamy, but not have lots of big air pockets.
Brownies, once topped with marshmallows, can be chilled in the fridge for 30-60 minutes, then frosted, and cut immediately.
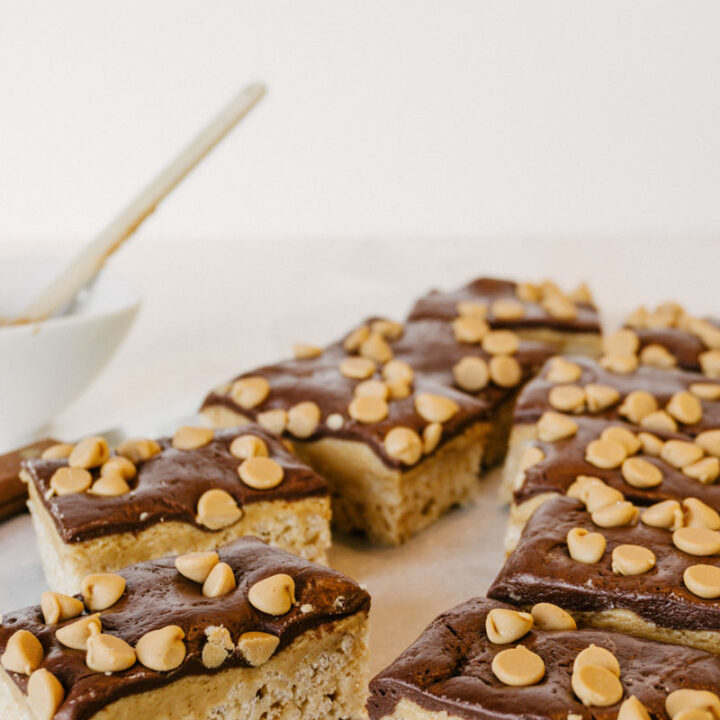
I’m not trying to be dramatic, but if you like peanut butter, chocolate, and crispy chewiness, this may be one of the best things you’ve ever eaten.
I live in Central Pennsylvania and have for 24 years. Pennsylvania is home to multiple chocolate companies. The famous Reese’s Peanut Butter Cup was created in 1928 in Pennsylvania. As I mentioned in my Pennsylvania Tango cookie recipe to this day, the locals love peanut butter and chocolate treats. This particular recipe was created in our home kitchen in central Pennsylvania, with that love of chocolate and peanut butter in mind. In fact, this recipe was somewhat of an accident. I had an idea to combine peanut butter and chocolate, plus a lonely pan of crispy rice bars, and the next thing you know, greatness was born.
Do you remember that old, vintage ‘80s commercial for Reese’s Peanut Butter Cups? There is a guy with the chocolate bar and a girl with an open jar of peanut butter, just randomly walking down the street (‘cause we all do that right?). They bump into each other and he says “Hey! You got peanut butter on my chocolate!” Then she says, “Hey! You got chocolate in my peanut butter!” Together they say “Delicious!” This Peanut Butter Chocolate Crispy Bar is a combination of chocolate and a lot of peanut butter and it is DEFINITELY delicious!
I haven’t had a single person try these and not instantly love them. In the cookie shop, people pre-ordered a dozen at a time and we could never keep the basket on the shelf stocked. My husband’s coworkers request these, our friends beg for them, and my family members fight over who gets the last one. It is a best seller and crowd favorite. It also has a great shelf-life and ships beautifully to loved ones far away who are in need of some home-baked love.
If I had to tell you one thing about this recipe, it would be that it is absolutely worth the effort and you should go make these right now. Let us know what you think of them in the comments!
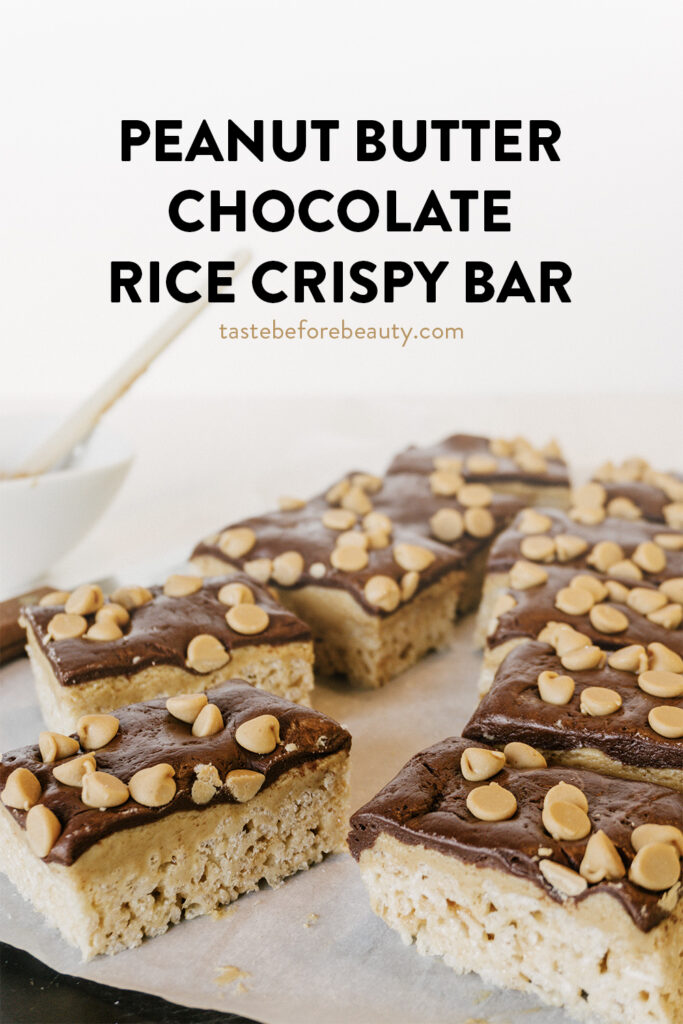
Peanut Butter Chocolate Crispy Rice Treats
Yield: 70 2x2 Inch bars
Cook Time: 30 minutes
Total Time: 30 minutes
Chocolate and peanut butter make everything better, and crispy rice bars are no exception! With a salty smooth peanut butter layer and a semi-sweet chocolate top, these are a mouthful of heaven.
Ingredients
Crispy Rice Bars
1 C (8 oz) salted butter
2 C (16 oz) light brown sugar
1 scant C (11 oz) light corn syrup
5 C (10 oz) mini marshmallows
15 C (18 oz) crisp rice cereal
Peanut Butter Layer
¾ C (6 oz) margarine (not butter)
4 C + 2 T (18.6 oz) powdered sugar
3 ½ C (33 oz) peanut butter
Chocolate Layer
3 C (18 oz) semi-sweet chocolate chips
3 T heavy cream
6 ½ C (12 oz) mini marshmallows
10 oz bag of peanut butter baking chips
Instructions
Make the Crispy Rice Bars.
Prepare two pans (see note) by lining with parchment paper. Pour cereal into two big bowls or one 16 quart stockpot for mixing later.
In a large saucepan, melt butter, brown sugar, and corn syrup together and bring to a boil. Stir constantly. Remove from heat and add mini marshmallows. Stir until melted and combined. Pour over cereal and stir to coat. Press into pans using plastic gloved hands or a rubber spatula until they are equal thickness in each pan.
Make the Peanut Butter Layer.
Make the peanut butter layer by mixing the margarine, powdered sugar, and peanut butter with a mixer until smooth. Press over both pans equally. Lay a piece of wax paper over the peanut butter mixture and run hands over the top to create a smooth finish to the layer.
Make the Chocolate Layer.
Make the chocolate layer by melting the chocolate, marshmallows, and cream together in the microwave (watch carefully) and then mixing until combined. Do not overheat. Melt just enough to combine ingredients. The texture will be similar to play-dough. Drop balls of chocolate onto the peanut butter layer and spread to the edges with plastic gloved hands.
Immediately sprinkle peanut butter chips over the chocolate layer and press in lightly.
Let cool and cut to serve. Wrap in plastic wrap and place in an air-tight container to store. These last up to two weeks if stored in the refrigerator.
Notes
We recommend using one 11x15 pan and one 10x10 or 9x13 pan to press the bars into.
Do not substitute butter for the margarine. Be sure to use stick margarine, not the kind that comes in a tub. Margarine has a different moisture content than butter that works best with peanut butter and amplifies the peanut buttery flavor. I prefer Blue Bonnet Brand.
Use plastic gloves while spreading the chocolate and peanut butter layers to help keep it from sticking to your hands.
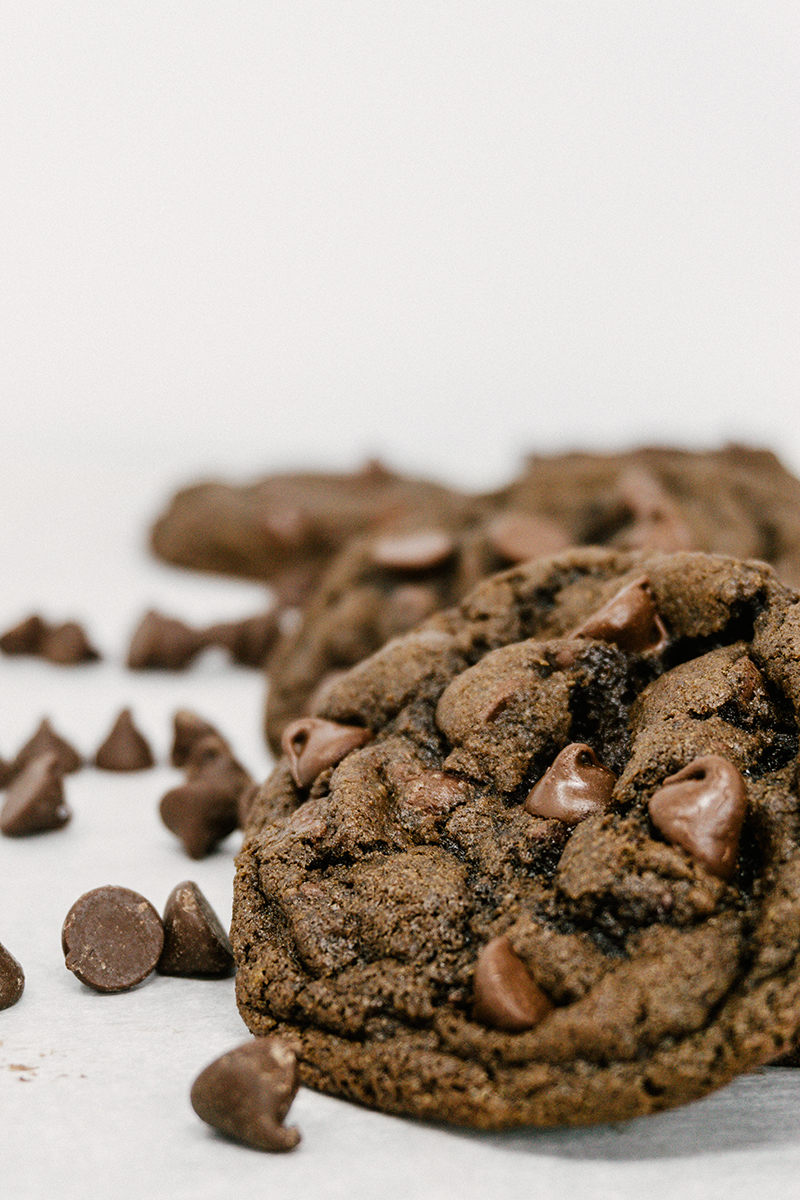
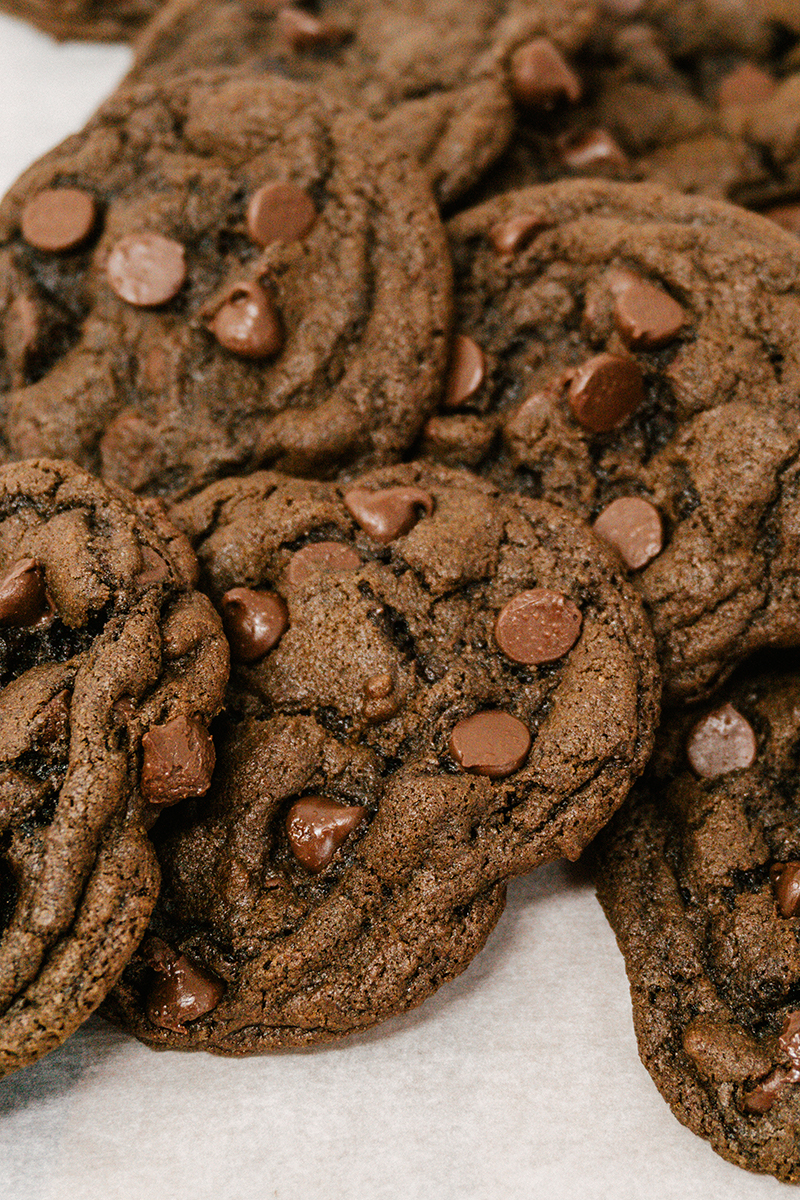
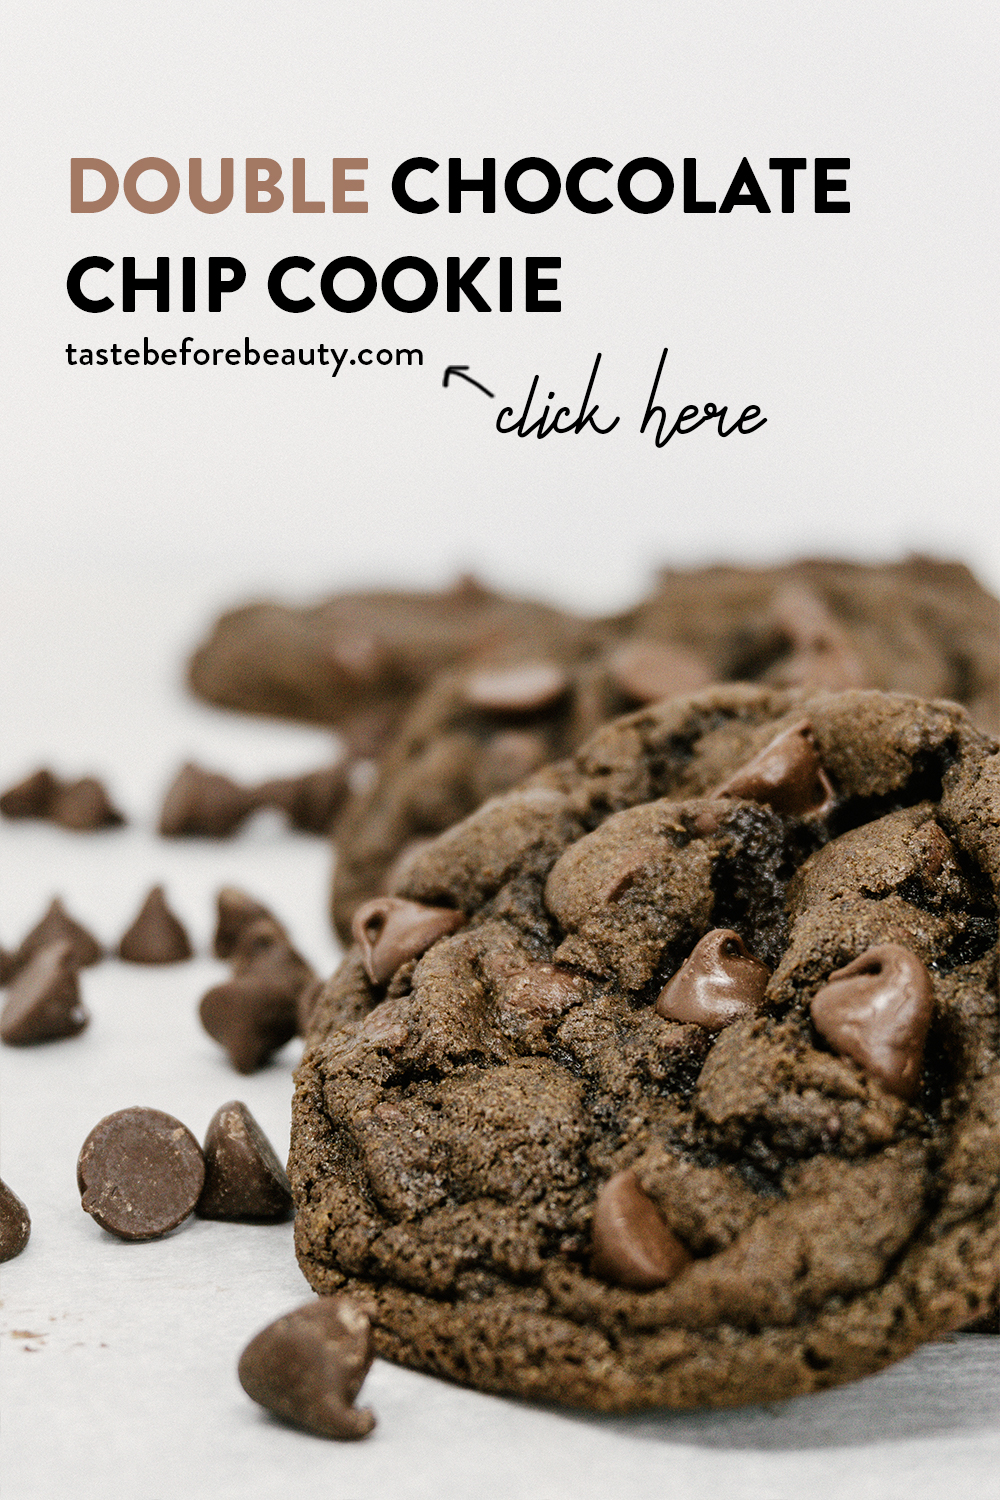
Do you have a brownie in cookie form? You do now! The brown sugar, chocolate chips, and cocoa in this Double Chocolate Chip Cookie snuggle up to your taste buds with the pleasing chew of a brownie.
The Start of the Double Chocolate Chip Cookie
A chocolate chocolate chip cookie – I wanted one. In fact, I needed one. Not the fudgy, super chocolatey Chocolate Crackle Cookie, I already had that. No, this needed to be a chocolate chip cookie, but with a chocolate dough. It needed enough chocolate to give it the right flavor without overwhelming the taste buds once the chocolate chips were added. With this idea in mind, I poured over endless recipes, searching for the secret formula.
As I read recipes and compiled information, I realized I was looking for a chewy brownie in cookie form. If you look up the definition of brownie online, it says, “A small square of a rich chocolate cookie.” I’m not sure who wrote that because who can eat just “one small square” of brownie! Anyway, I digress. I wondered how I could get the flavor of a brownie without the spread of a brownie. As I thought about it, I realized I didn’t need to reinvent the wheel, I just needed to make it turn. My baking chemistry skills lit up and I was like a mad scientist in the kitchen.
The Best Taste
Brownies traditionally use oil, which wouldn’t work here. I knew a different type of fat would help with the consistency. I decided to use a mix of butter, for richness and flavor, and shortening, for softness and moisture. Brownies also contain a high proportion of egg, which helps with the chewiness and gives it lasting moisture. I added an extra egg to my dough and voila! A masterpiece was well underway.
For a long time, I also added two teaspoons of light corn syrup for even more chew. I found that in the humidity here in Pennsylvania, I haven’t needed it. If you live in a dry climate, you may consider adding it to these cookies. It certainly won’t hurt them. For sweetness, I used brown sugar, which adds a depth of flavor not found in white sugar and, as an added bonus, adds some extra moisture and desirable brownie texture. Finally, I chose imitation vanilla. It helps round out the chocolate and butter flavors without taking over.
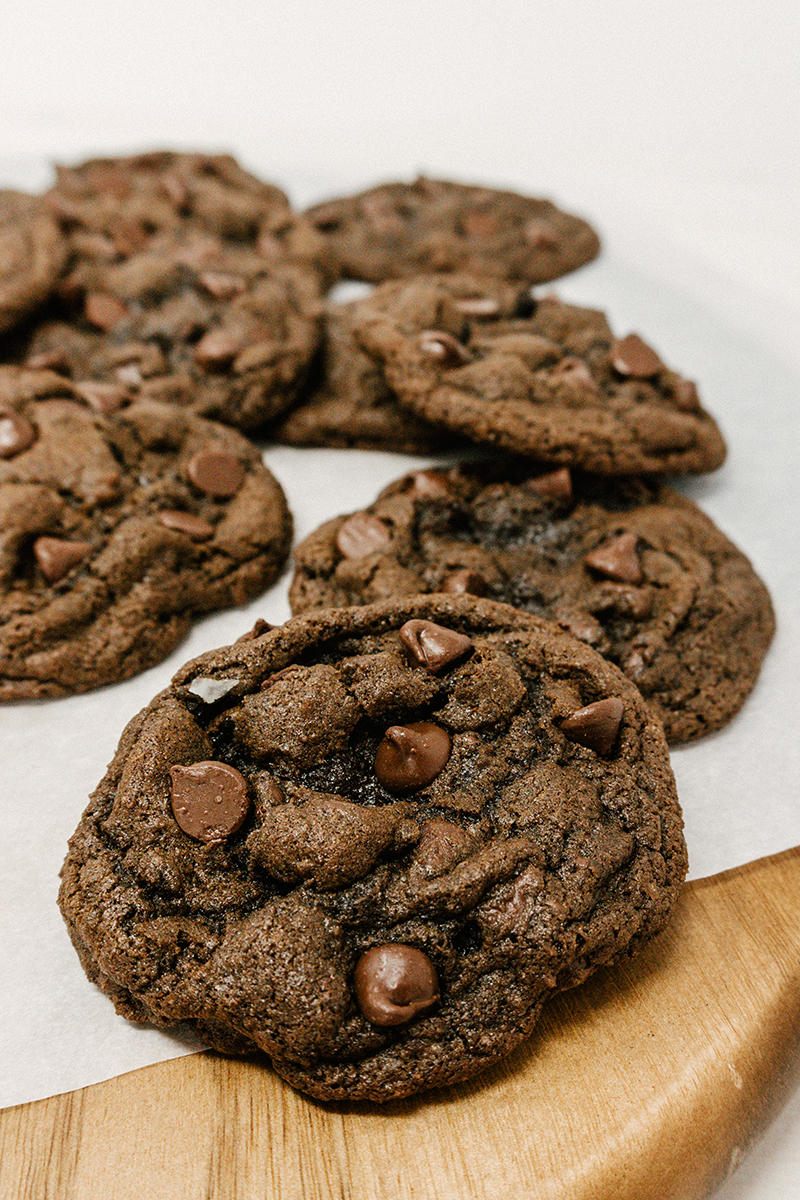
I remember watching this recipe bake for the first time. When it came out of the oven, I was giddy, like a teenage girl talking to her crush! I couldn’t wait to try one. I burnt half of my fingers trying to sneak a taste before they cooled. They were incredible. I tried another once they had cooled. Quite excited, I couldn’t wait to share them with my husband when he got home from work. I saved a couple and stored them on the counter overnight. They stayed chewy and moist. I tried freezing them and then thawing them and it only increased their greatness! They became even more soft and chewy. This really is a wonderful cookie.
So, I hope you get “brownie” feels from this cookie, and that you enjoy it’s creation as much as I did. Bake some up when you’ve got some time then freeze the leftovers for later. Throw one in your lunch bag, or put on the counter to thaw on a Saturday afternoon when you need a quick chocolate treat after the yard work. Let us know what you think of the Double Chocolate Chip Cookie in the comments. Enjoy!
Double Chocolate Chip Cookie
Yield: 36
Cook Time: 8 minutes
Total Time: 8 minutes
Do you have a brownie in cookie form? You do now! The brown sugar, chocolate chips, and cocoa in this recipe snuggle up to your taste buds with the pleasing chew of a brownie.
Ingredients
½ C (4 oz) salted butter
½ C (3.4 oz) shortening
1 C (8 oz) light brown sugar
1 C (7 oz) white sugar
½ C (1.8 oz) cocoa
3 large eggs
2 tsp vanilla
2 tsp light corn syrup
1 tsp salt
2 tsp baking soda
2 ½ C (11.3 oz) all-purpose flour
2 C (12 oz) semi-sweet chocolate chips, divided
Instructions
Preheat oven to 350*F.
Cream fats, sugar, and cocoa. Add eggs, vanilla, and corn syrup. Mix well. Add the dry ingredients plus 1 ½ C (9 oz) chocolate chips, setting aside the other ½ C (3 oz) for topping. Mix until all is combined.
Using a #30 (2 ½ T) cookie dough scoop, place portioned dough a few inches apart on a parchment-lined cookie sheet. Top with 4-5 chocolate chips. Bake for 7-8 minutes or until the edges look set and the top no longer looks wet. The cookie will set up as it cools. If the cookie looks a bit red toned or is dry, it is overbaked.
Cool completely before storing. These cookies store well in the fridge for a week in a plastic zip-top bag/container or freeze up to 3 months.
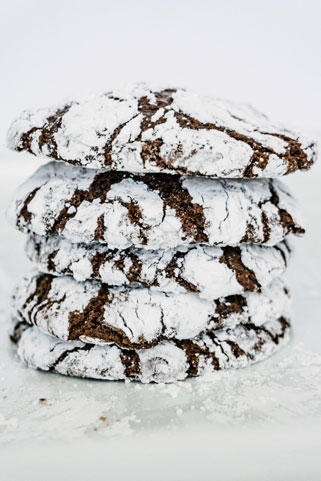
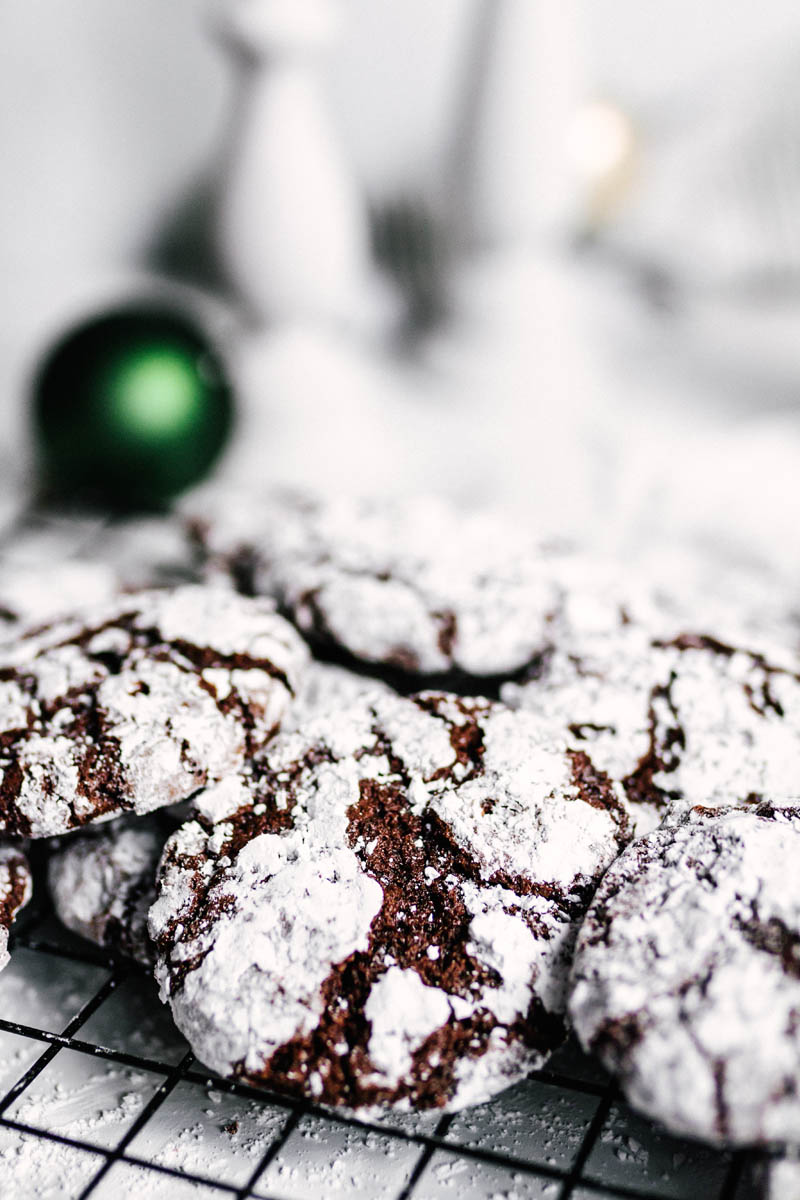
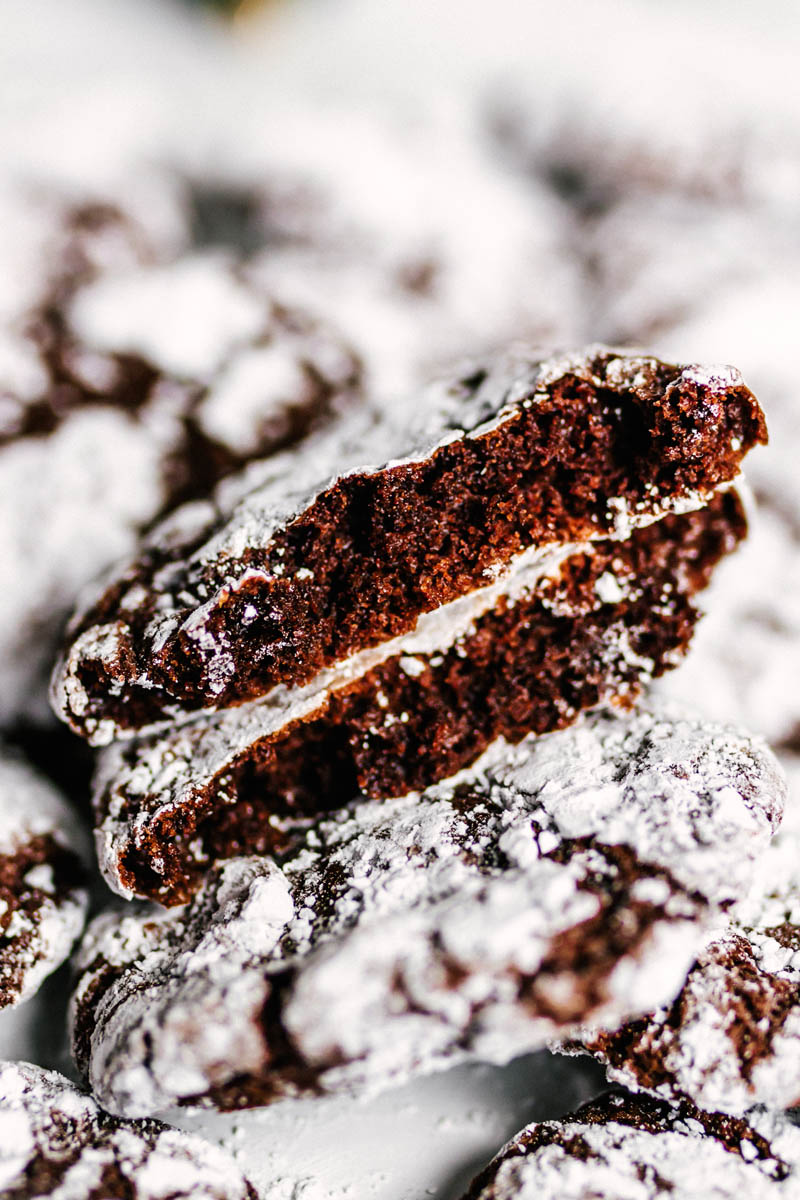
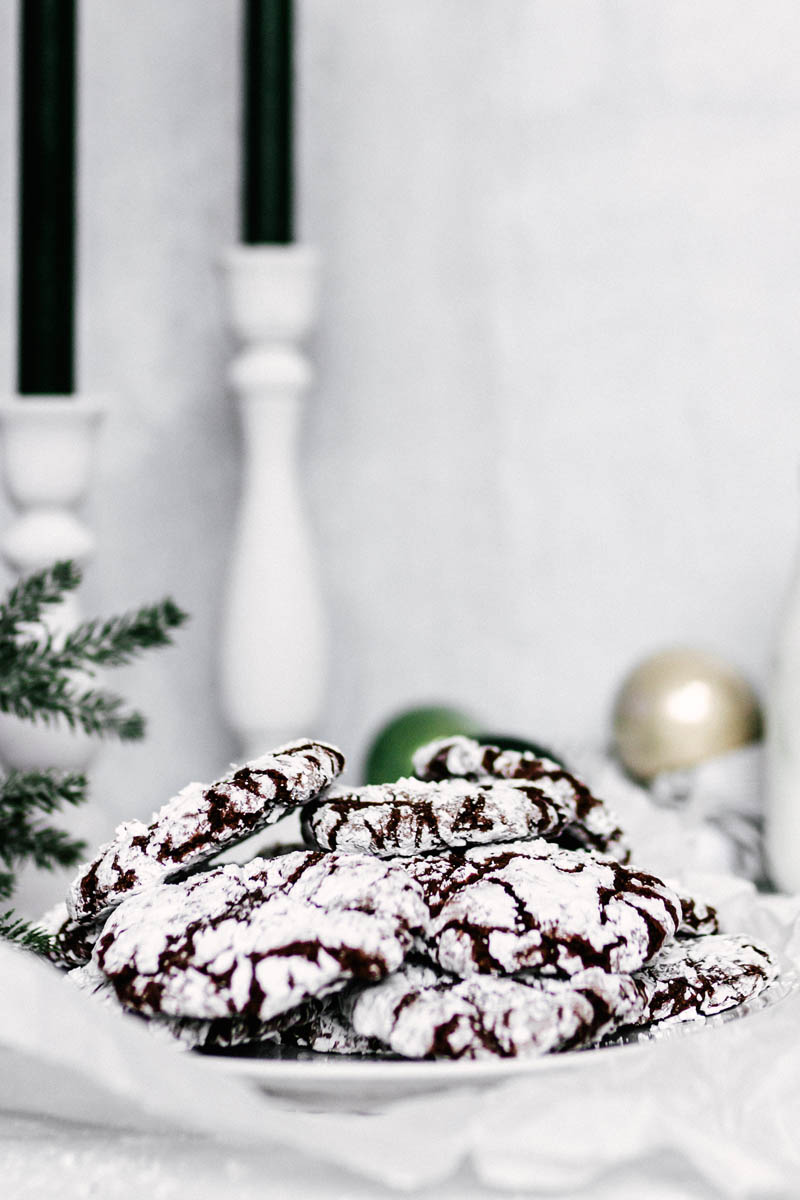
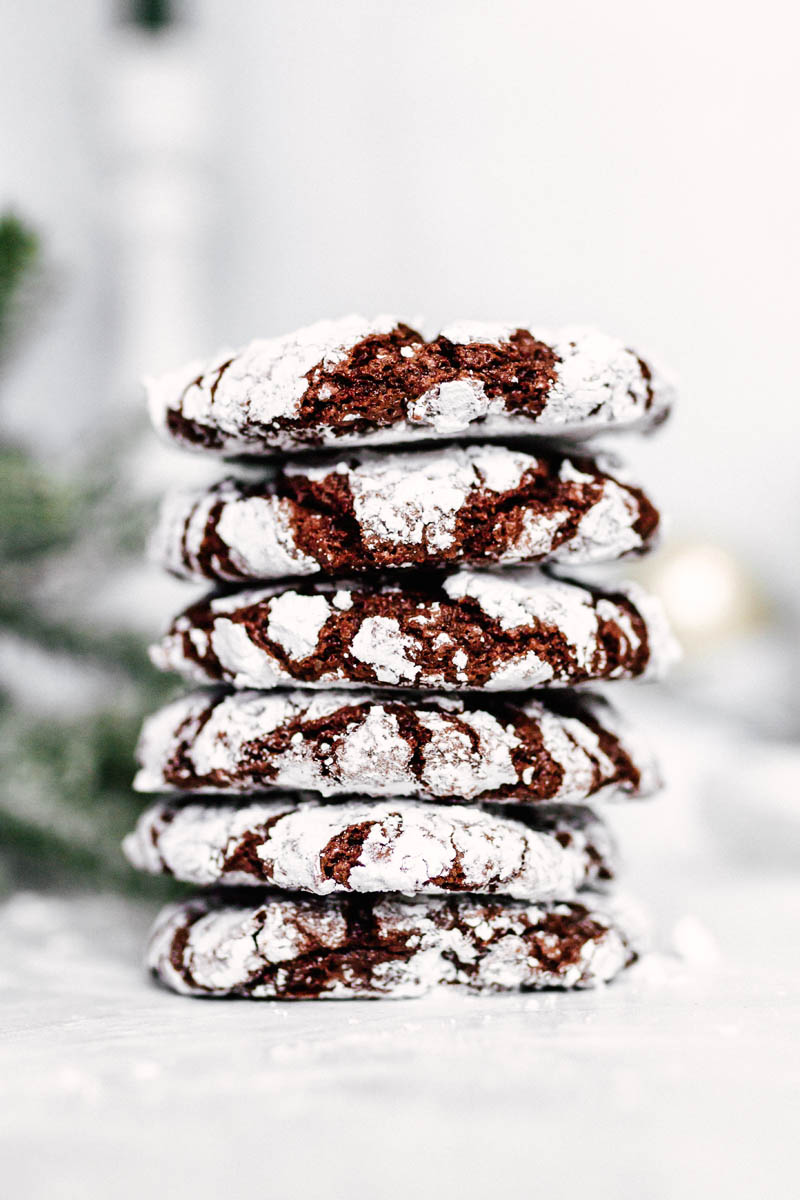
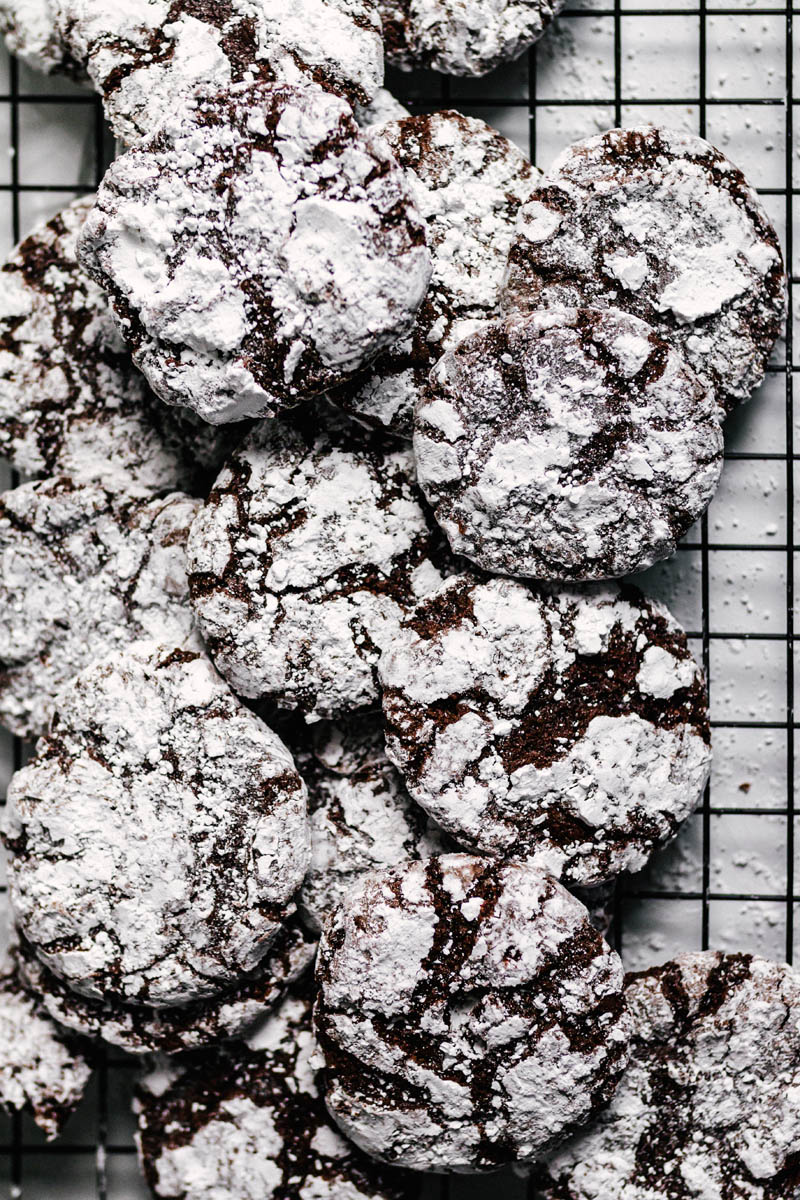
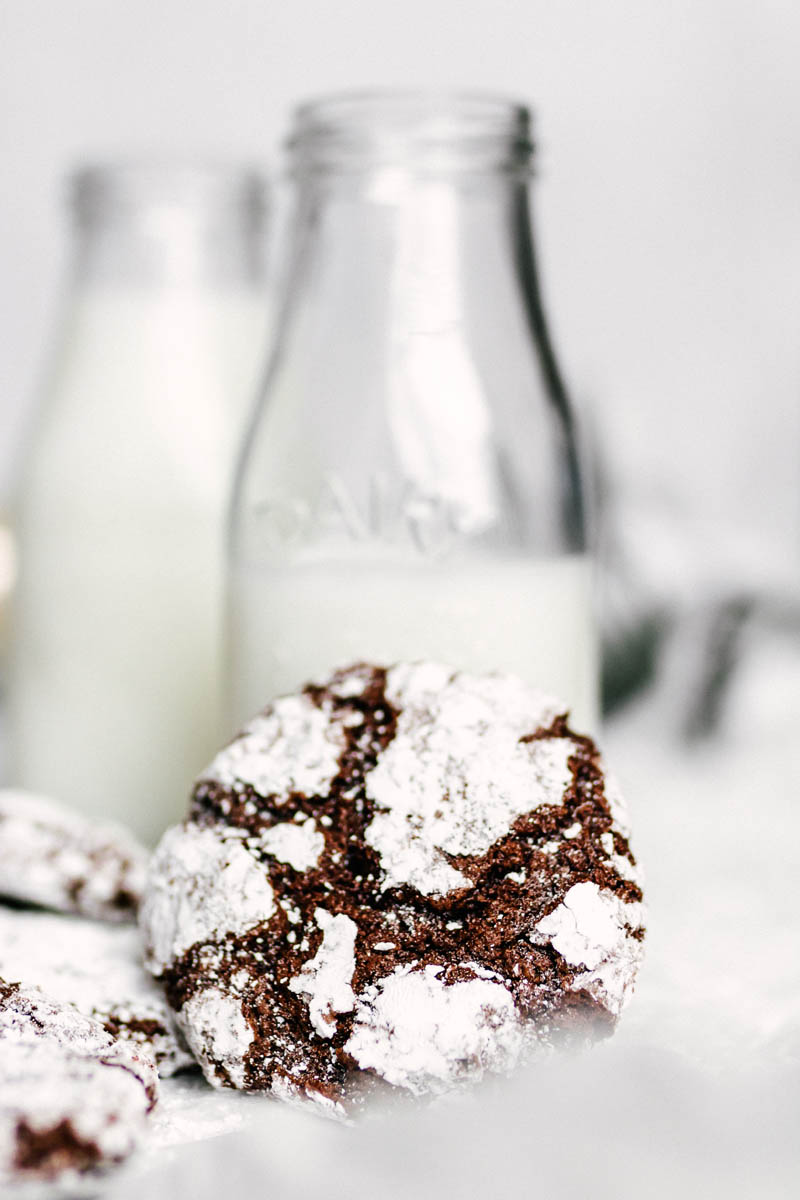
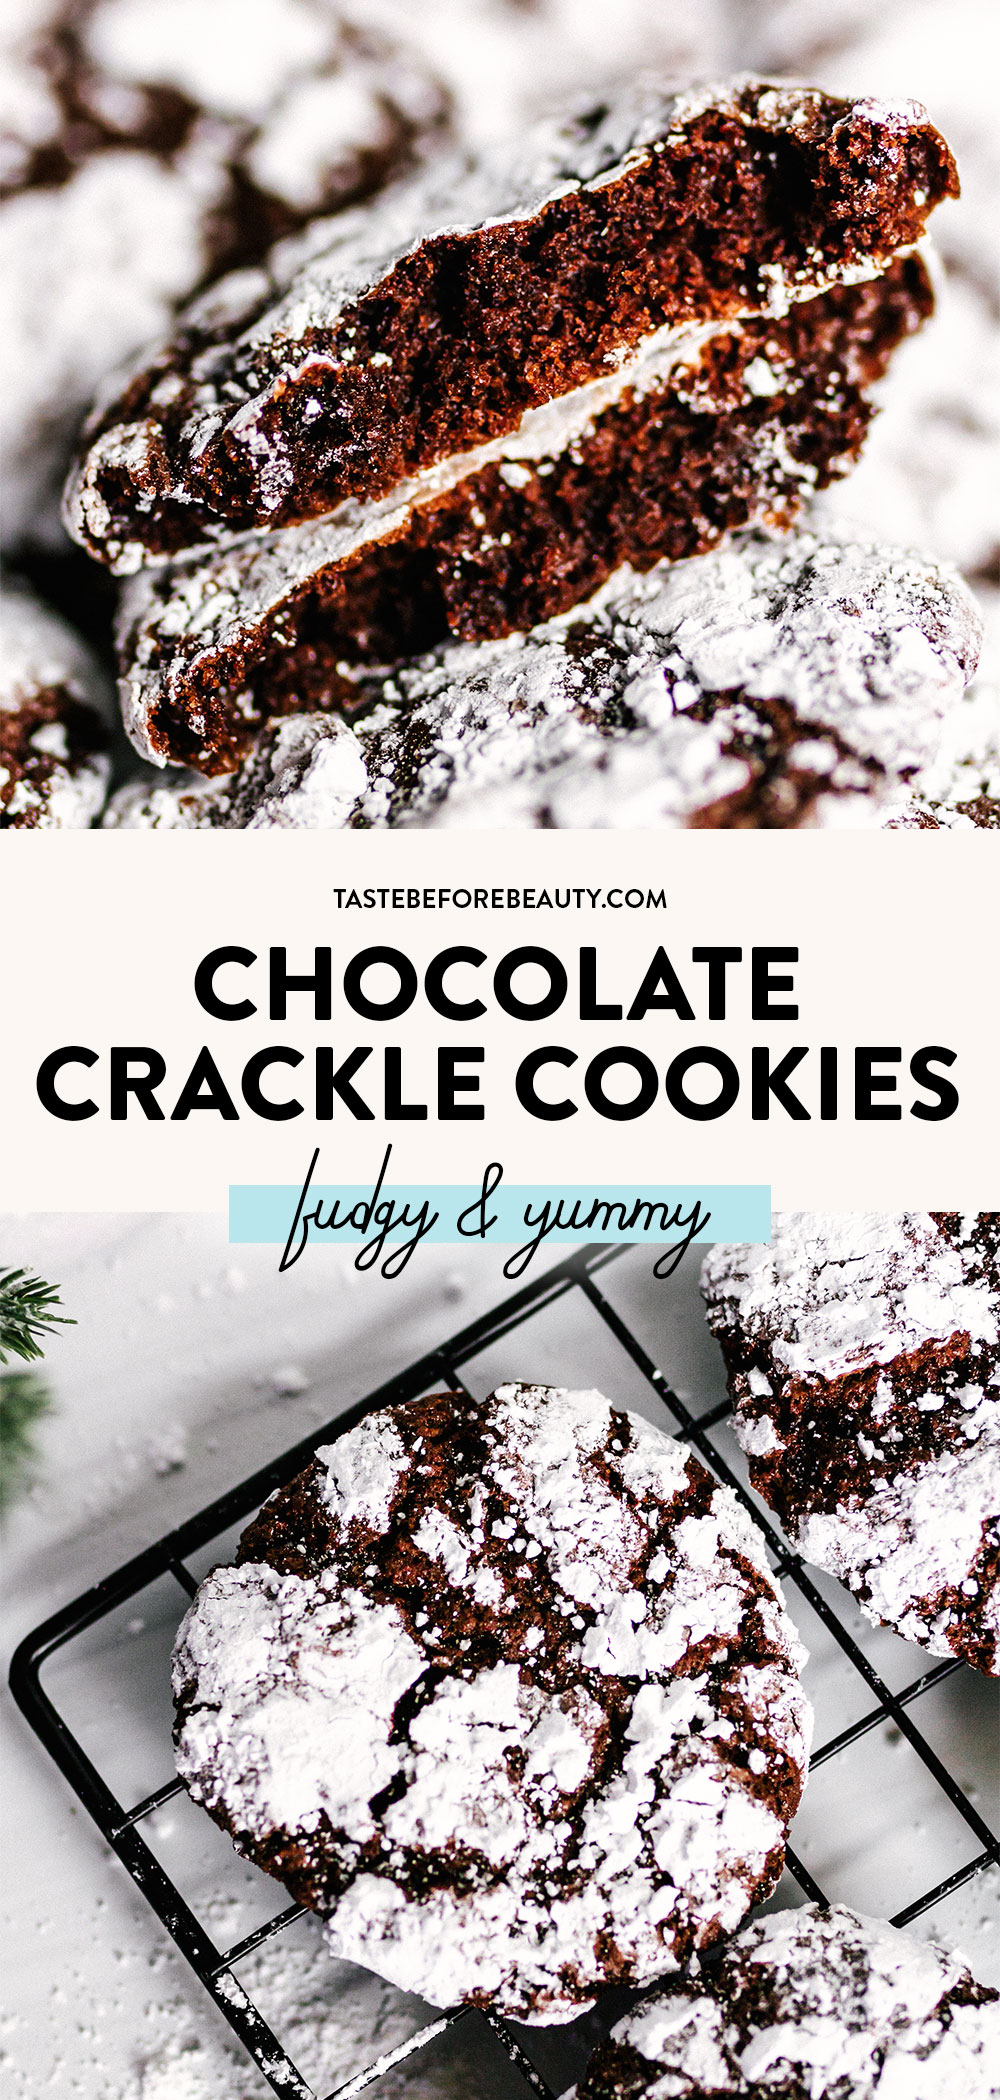
Chocolate crackle cookies, crinkle cookies, brownie cookies, wagon wheel. Whatever you call it, this cookie is a chocolate dream come true, with its fudgy chocolate center and powdered sugar that melts on the tongue.
About the Chocolate Crinkle Cookies
In my childhood memories, I remember the chocolate crackle cookie fondly. In eastern Idaho, they call the cookie, “The Wagon Wheel”. Years later as an adult, I made the recipe from the family recipe box. It was NOTHING like I remembered. It wasn’t fudgy enough, it wasn’t chocolatey enough, and it wasn’t sweet enough. So what’s a gal to do with a memory? Recreate the recipe until it matched my recollections, of course. Memories can be so sweet, can’t they!
The Hidden Problem
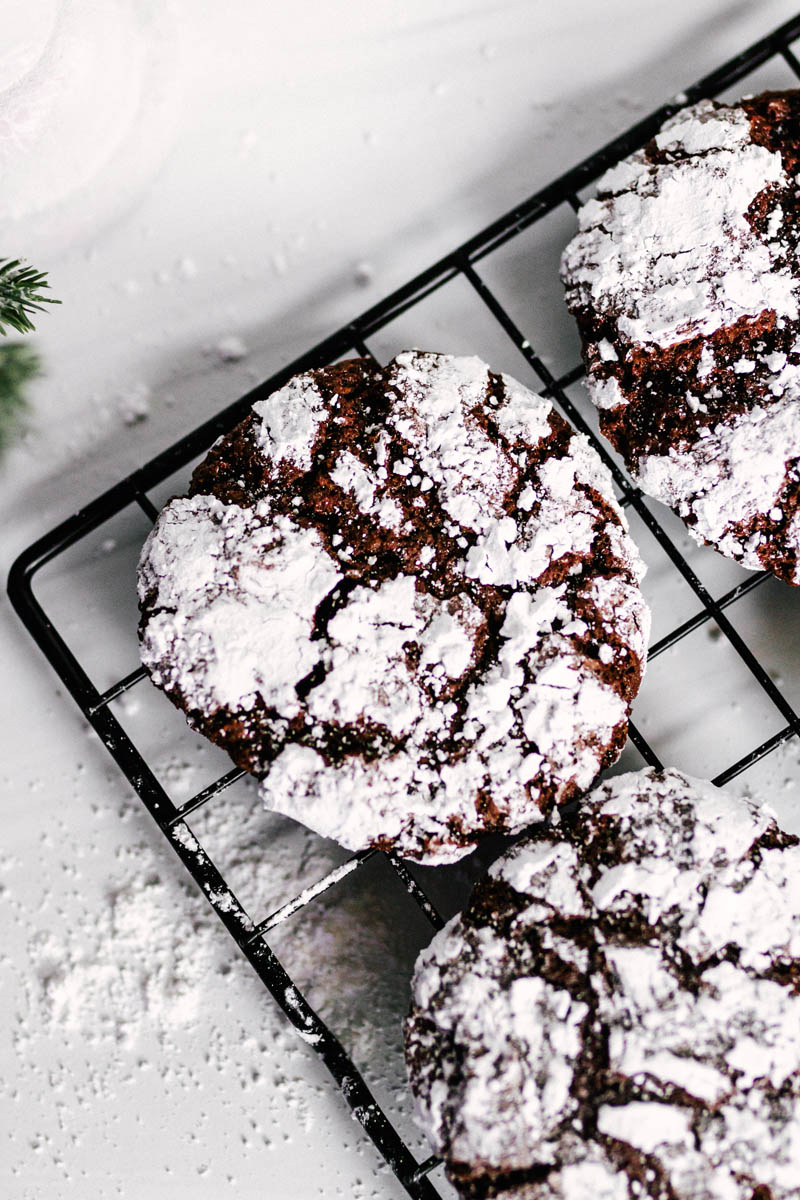
The problem with this variety of cookie is that the powdered sugar hides what the chocolate crackle cookie dough looks like when baked. This cookie recreation needed some serious effort so you know when you bite into it that the cookie tastes just as good as it looks, all pretty and powdered sugar-coated. I have tasted far too many on refreshment tables that looked good and tasted lackluster. Remember the name of this website – Taste Before Beauty. There’s a reason for that name.
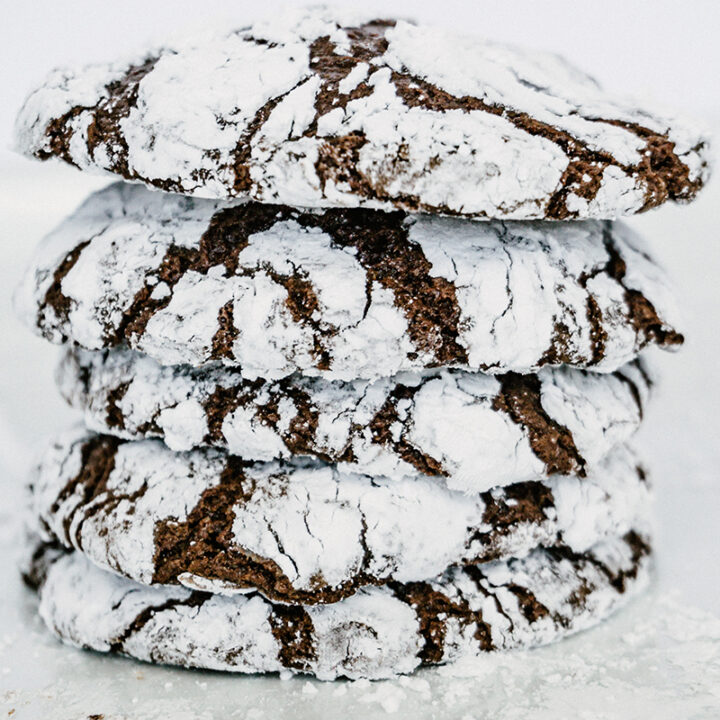
As I fired up my creative baking skills, I knew I wanted to bring the moisture, fudginess, and chocolate flavor of a really good brownie to this cookie. Without those qualities, it just isn’t worth getting powdered sugar all over your black shirt with every bite. It took a few tries, but once I found the right match for my childhood memories, I haven’t touched the recipe to tweak it since.
I think one of the most important things I have learned over the years as I have baked with cocoa is to never underestimate its ability to thicken or set up a baked good. You can overbake chocolate goods very quickly. This chocolate crackle cookie should be pulled out of the oven shortly after it “cracks”, and then the cocoa will help to set up the cookie as it cools.
I heard once that you should pull a brownie out of the oven as soon as you smell it. I’m not sure if that’s entirely true, but I usually pull brownies out of the oven within a few minutes of that irresistible brownie smell, and miraculously the brownies set up and become chewy and fudgy. This recipe for our chocolate crackle cookie will do the same. You’re welcome.
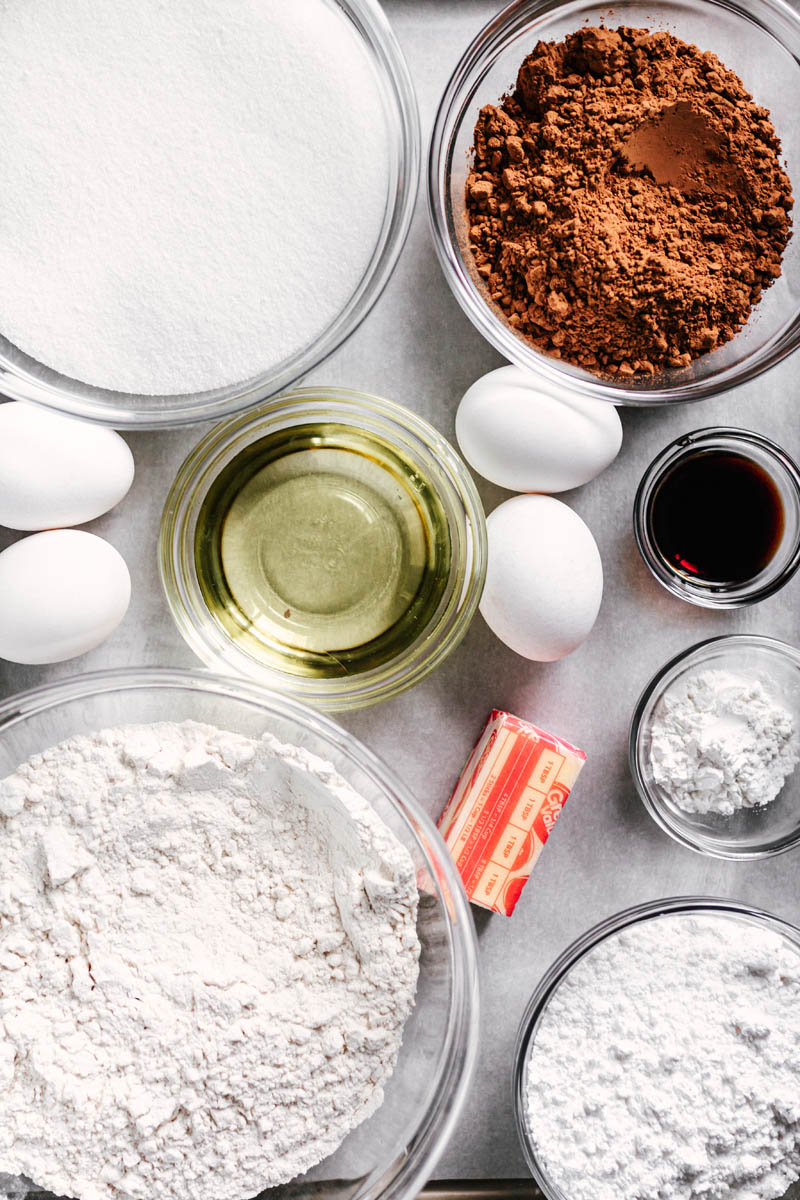
Chocolate Crackle Cookie Ingredients
Salted Butter
Vegetable Oil
White Sugar
Cocoa
Eggs
Vanilla
Salt
Baking Powder
All Purpose Flour
Powdered Sugar
How to Make Chocolate Crinkle Cookies
Preheat your oven to 375˚F. Line a baking sheet with parchment paper.
Add the powdered sugar into a bowl.
Cream together the butter and granulated sugar. Add oil, cocoa, eggs, and vanilla. Mix until combined.
Add in the dry ingredients. The dough will be wet and sticky.
Using a #30 cookie dough scoop, or 2 tablespoon fulls, drop balls of dough into the powdered sugar. Roll around the dough balls until completely coated.
Place the chocolate crackle cookie dough balls onto the baking sheet.
Bake for 6-8 minutes, then cool. The cookies will start to set up once pulled out of the oven.
Looking for more delicious cookie recipes? Try these:
Chocolate crackle cookie, crinkle cookie, brownie cookie, wagon wheel. Whatever you call it, this cookie is a chocolate dream come true, with its fudgy chocolate center and powdered sugar that melts on the tongue.
Ingredients
¼ C (2 oz) salted butter
¼ C (2.2 oz) vegetable oil
2 ⅛ C (15 oz) white sugar
¾ C (3 oz) cocoa
4 large eggs
2 tsp vanilla
1 tsp salt
2 tsp baking powder
2 C (9 oz) all-purpose flour
1 C (4.5 oz) powdered sugar for rolling
Instructions
Preheat oven to 375*F.
Cream butter and sugar. Add oil and cocoa, then eggs and vanilla.
Mix in the dry ingredients. Dough will be wet and sticky.
Using a #30 cookie dough scoop, drop balls of dough into powdered sugar. Place completely powdered cookie dough balls on parchment-lined cookie sheet.
Bake 6-8 minutes, then cool.
Notes
The dough will be very sticky and wet looking, almost like a brownie batter. As long as you have measured the ingredients correctly, it will bake up properly.
Do not overbake these. Pull them out after they crack and the cracks only appear partially shiny and no longer totally raw. The ingredient cocoa will help the cookie to continue setting up as it cools. If they are dry inside, they have been overbaked.
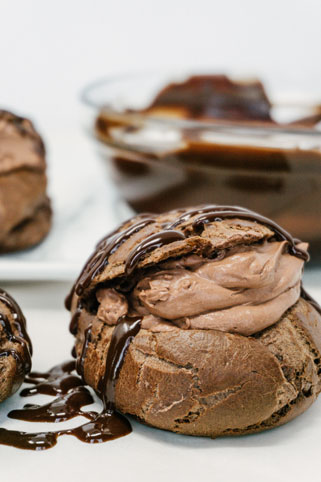
One day, I was making cream puffs, filling them with chocolate mousse and dipping the tops in chocolate glaze, which IS yummy, but I thought, “Why haven’t I made a chocolate Pâte à Choux before?!”
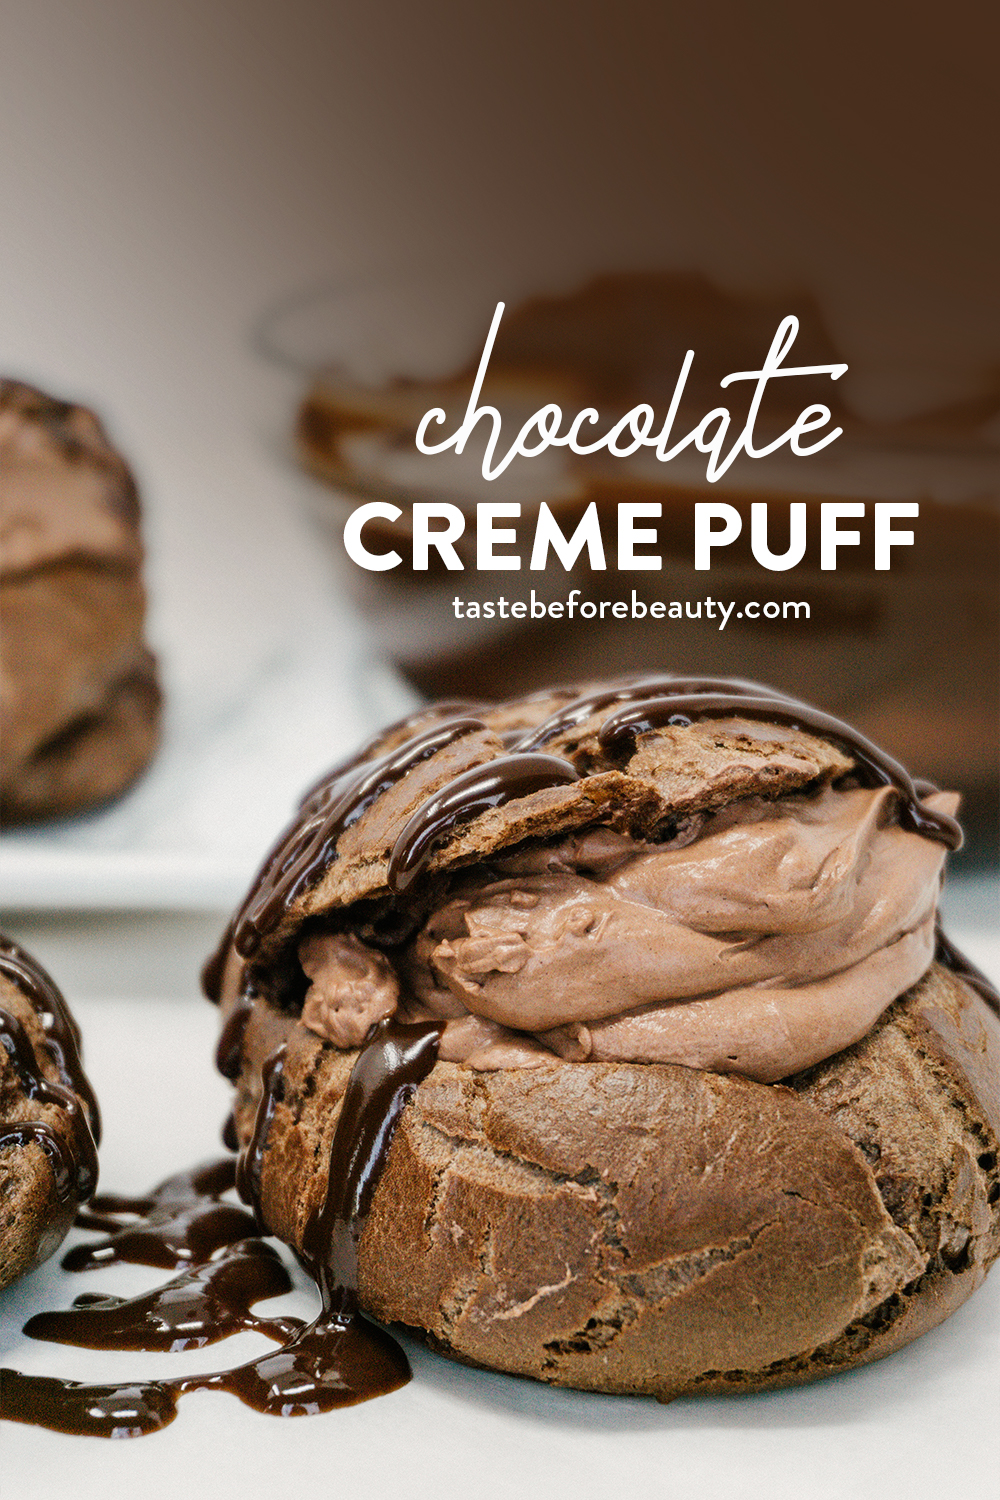
I started testing and I found recipes that made a very mild chocolate puff in both flavor and color. I wanted a dessert that spoke for itself – that said, “Hey, chocolate cream puff over here, want one?” After some trial and error, I found that Dutch-processed cocoa, or cocoa processed with alkali, gave the rich chocolate flavor and color I desired. I like Hershey’s Special Dark Cocoa because it is easy to find in most local grocery stores.
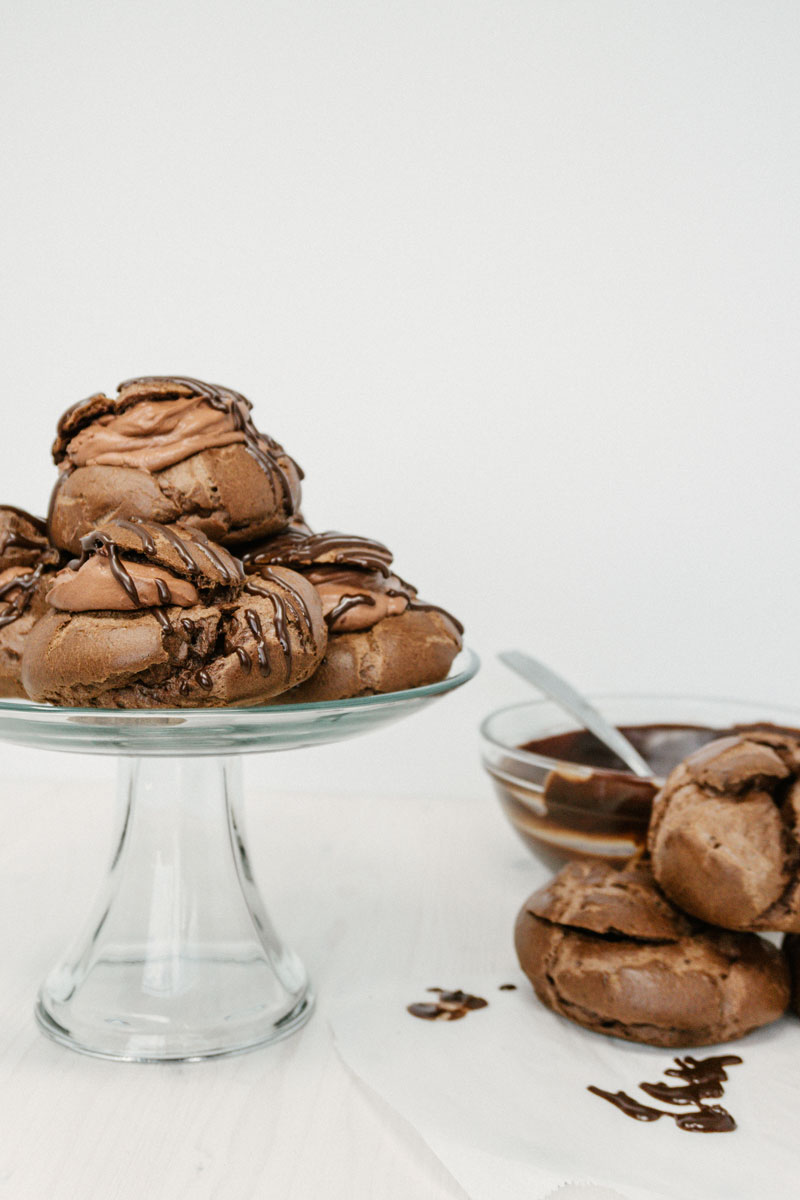
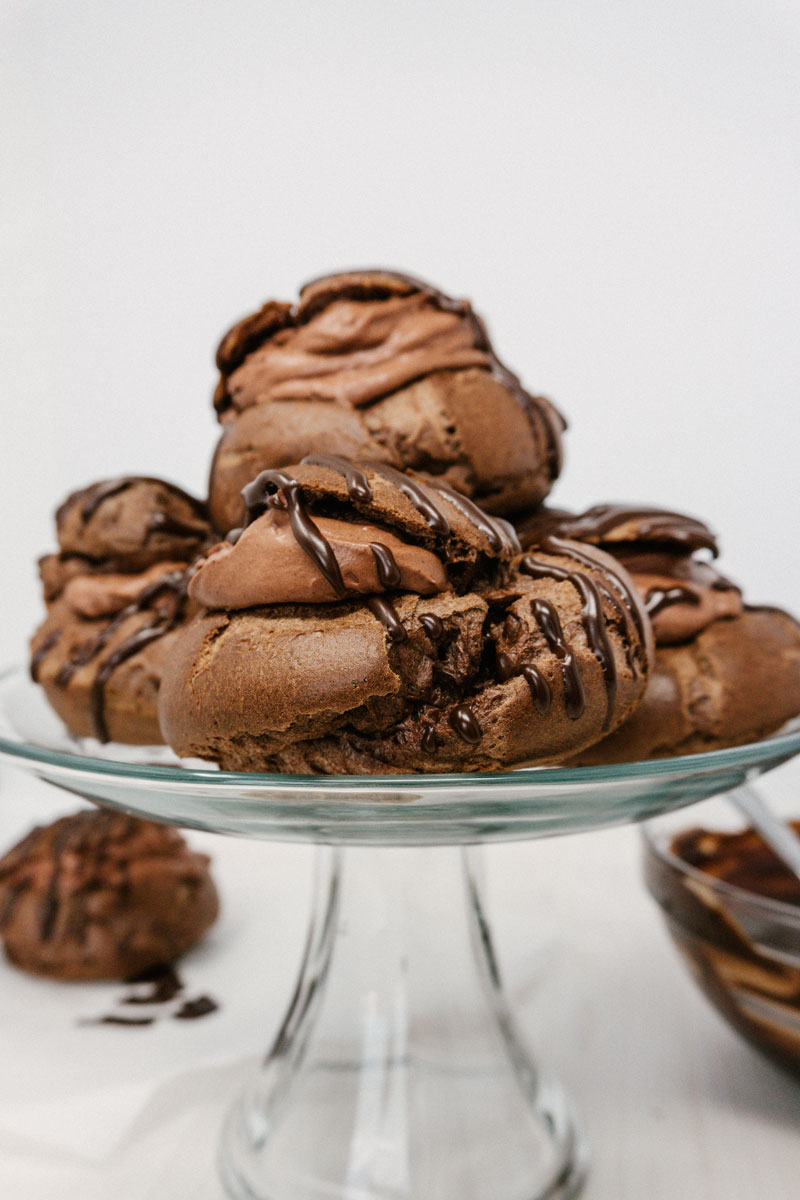
After the cocoa amount and flavor were refined and baking was complete, the taste testing and optional fillings were explored. The finished product is beautiful and looks great on a serving tray. Sometimes, I pair it with its vanilla puff counterpart for a dramatic contrasting effect. It is a showstopper for guests who are accustomed to the little round cream puffs from the freezer section and experienced bakers alike.
Cream puffs are so much easier than you might think. With little effort comes an incredible, professional-looking result. The great thing about a cream puff is if you accidentally underbake it and it collapses, it’s an easy fix. Simply split it in half and load it with cream. Suddenly the height returns and it tastes just as delicious. Don’t be afraid if this is your first time trying to make cream puffs. It is gratifying and easier than it looks.Let us know how your experience went in the comments!
Ingredients Needed for the Chocolate Cream Puffs
Salted Butter
White Sugar
All-Purpose Flour
Dutch-processed Cocoa
Salt
Vanilla
4 Large Eggs + 1 Egg White
Heavy Cream
Powdered Sugar
Chocolate Cream Puffs with Best Easy Chocolate Mousse
Linked above in the description and in the instructions..
Instructions
Make the Chocolate Pastry
Preheat oven to 400*F.
In a medium saucepan, bring water, butter, and sugar to a boil. Add flour, cocoa, and salt to boiling mixture and stir until it forms a thick paste. Remove from heat. Let stand for five minutes. Add vanilla, then eggs, one at a time, mixing with a hand mixer between each egg until combined.
Using a #20 cookie dough scoop (about ¼ C), drop scoops of dough onto parchment paper-lined cookie sheet. Bake for 35 minutes or until puffs sound hollow when the bottom is tapped on. Let cool completely.
To serve: split puffs open and fill with desired filling, or the Chocolate Mousse. Drizzle with Chocolate Glaze or dust with powdered sugar, if desired, before serving.