
No need to peek inside a volcano when you can make these rich, gooey, chocolate lava cake bars. A unique twist on a decadent dessert that will have you saying “I lava these!”
Who Needs To Be Rich When You Can Eat Rich?
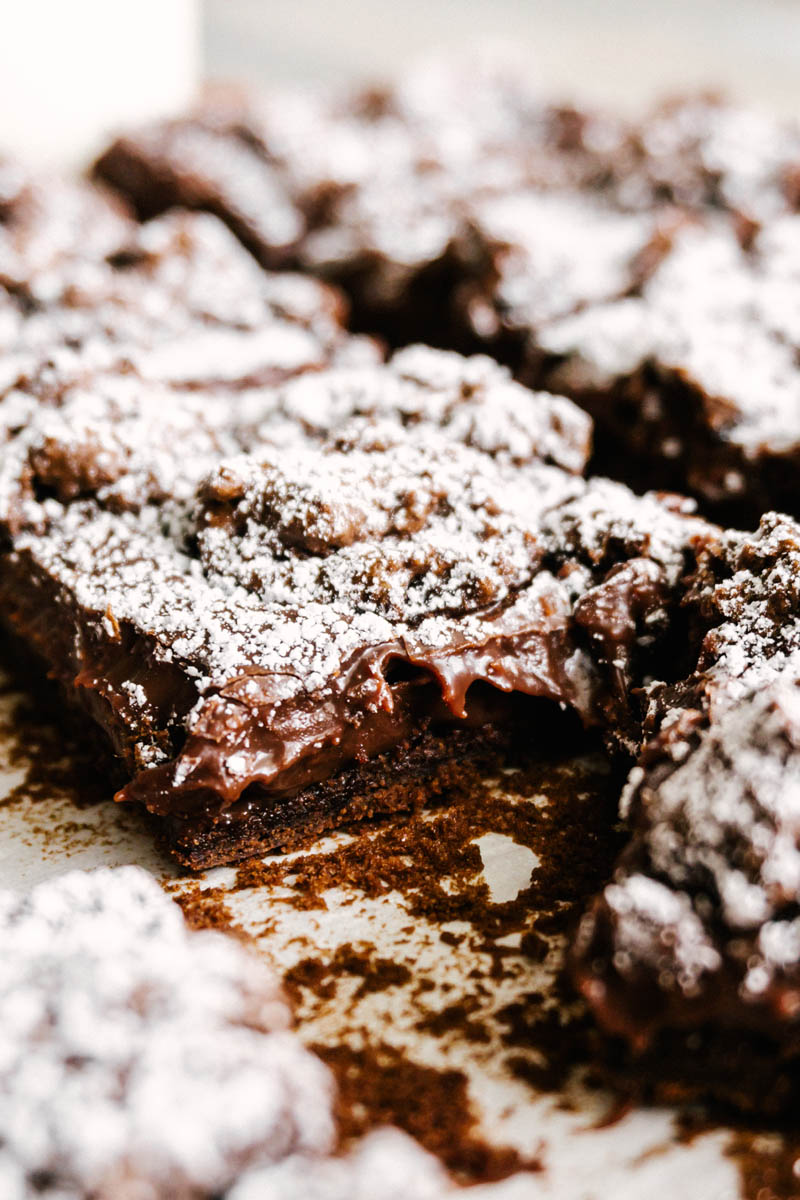
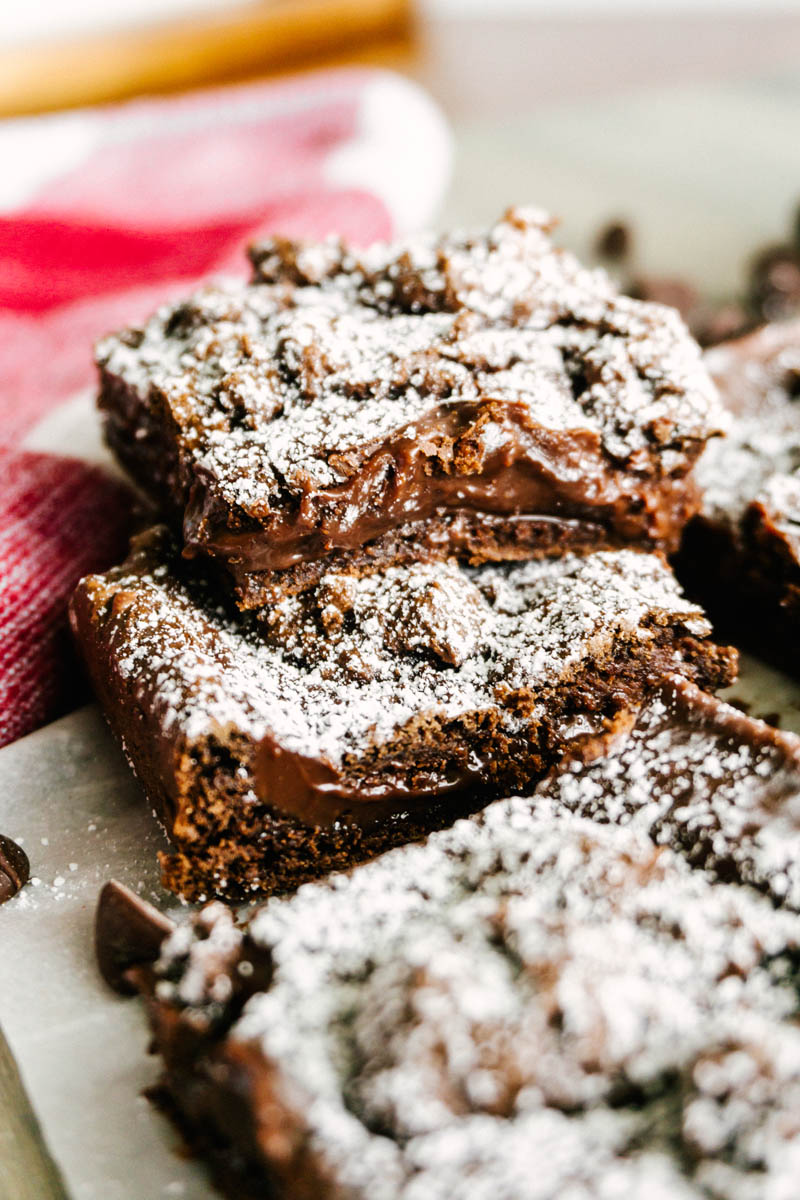
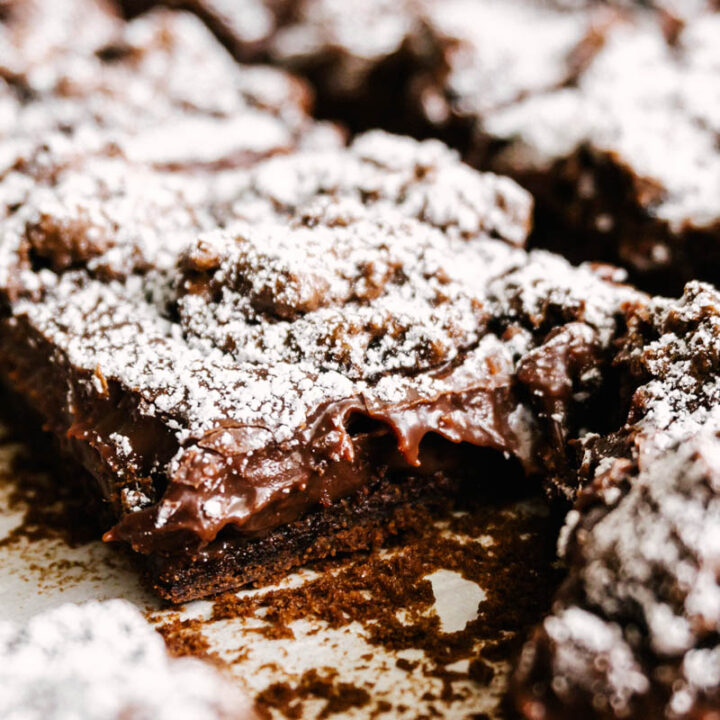
These chocolate lava cake bars are worth their weight in gold! With a silky chocolate layer in between soft cake dough, these are tremendously rich. Do you have a wallet… I mean a stomach big enough to hold all the richness?
To make this dessert even better, replace the semi-sweet chocolate chips with dark chocolate chips.
Margarine Versus Butter
This recipe calls for margarine, but if you do not have that on hand you can use butter interchangeably. Margarine is preferred in this recipe because of its high water content. Commercial butter has 15% water content compared to margarine’s 26%. A lower water content means the baked good will fry a bit more, like how a cookie gets its slightly crunchy texture.
Margarine will help make these Chocolate Lava Cake Bars deliciously soft. It also helps add height, so even if the bottom cake dough layer is thin, it will puff up in the oven.
Cool Down!
Hold your horses partner! These Chocolate Lava Cake Bars need time to cool after coming out of the oven. If you dig straight in you will be in a lava of a mess! If that’s how you like it, go ahead and dish yourself up some with a scoop of ice cream. Yum! But if you want to have clean-cut bars, wait at least 1-2 hours before cutting. Chilling in the fridge or freezer will help decrease cooling time.
Recipe Ingredients
- Dutch Processed Cocoa: The Dutch cocoa added in this recipe is not only to fancify this decadent dessert, but to liven up the color and add a slightly different flavor than a typical chocolate cake bar. I like to use Ghirardelli 100% Cocoa, Dutch-Processed.
- Margarine: Margarine is the preferred fat to use in this recipe because of its higher water content, but butter can also be substituted interchangeably.
How to Assemble the Chocolate Lava Cake Bars
Sifting the Dry Ingredients:
Be sure to sift all the dry ingredients for the cake dough. This helps everything combine evenly with the wet ingredients.
Wet Ingredients:
The margarine needs to be melted first, and then you can add the vanilla. Be sure to wait a few minutes to add the egg or it may cook and turn into a chunky scrambled egg mess. Work on the chocolate lava portion of this recipe while you wait for the margarine to cool before adding the egg.
Pressing the dough into the pan:
The cake dough is not a runny, spreadable batter. It is thick and soft, so spreading it can be tricky. Here are a few tips to help.
- Crumble one cup of cake dough into the bottom of the 10×10 pan.
- Hold the parchment paper lining the 10×10 with one hand to prevent it from ripping while spreading the dough.
- Using the end of the spatula, apply pressure to distribute the dough underneath. Applying pressure will help spread out the dough instead of breaking it into smaller bits, which is what would happen if you tried to spread it with a back and forth motion.
- Use your hands to press out areas the spatula didn’t get or to squeeze into the corners.
- The dough layer may look thin but it will puff up in the oven.
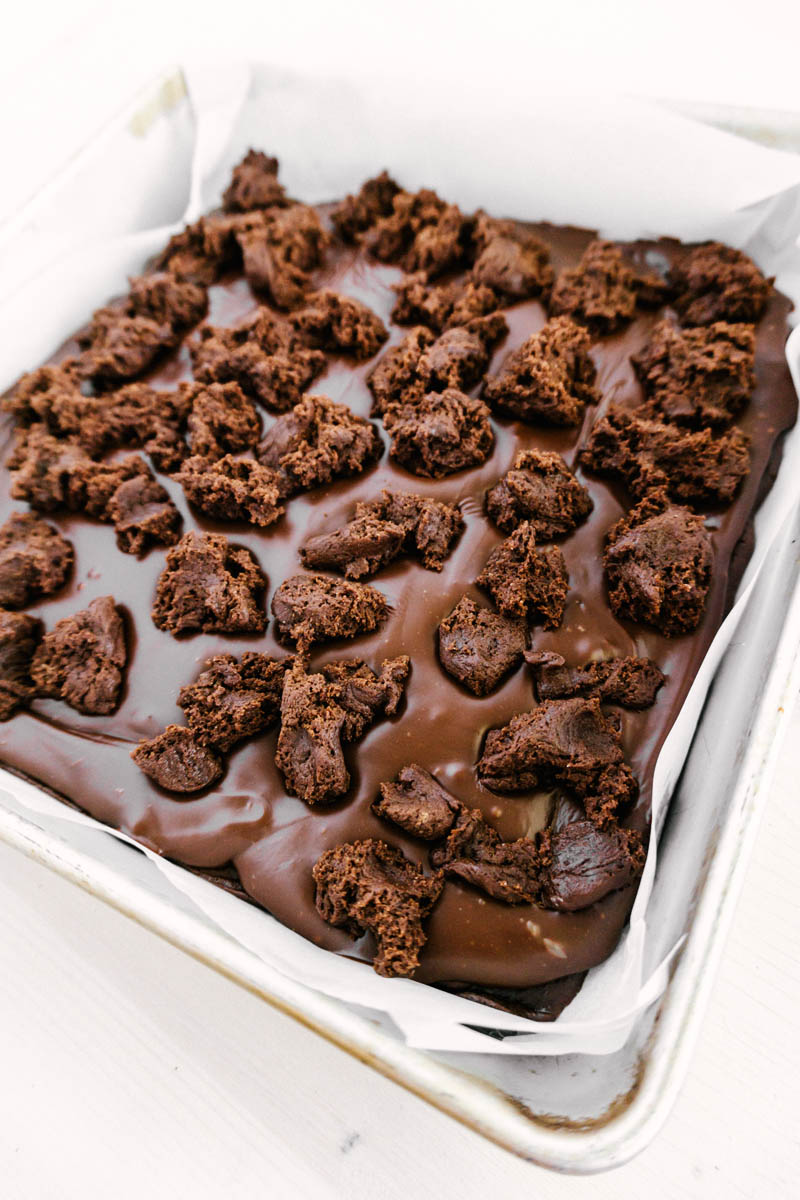
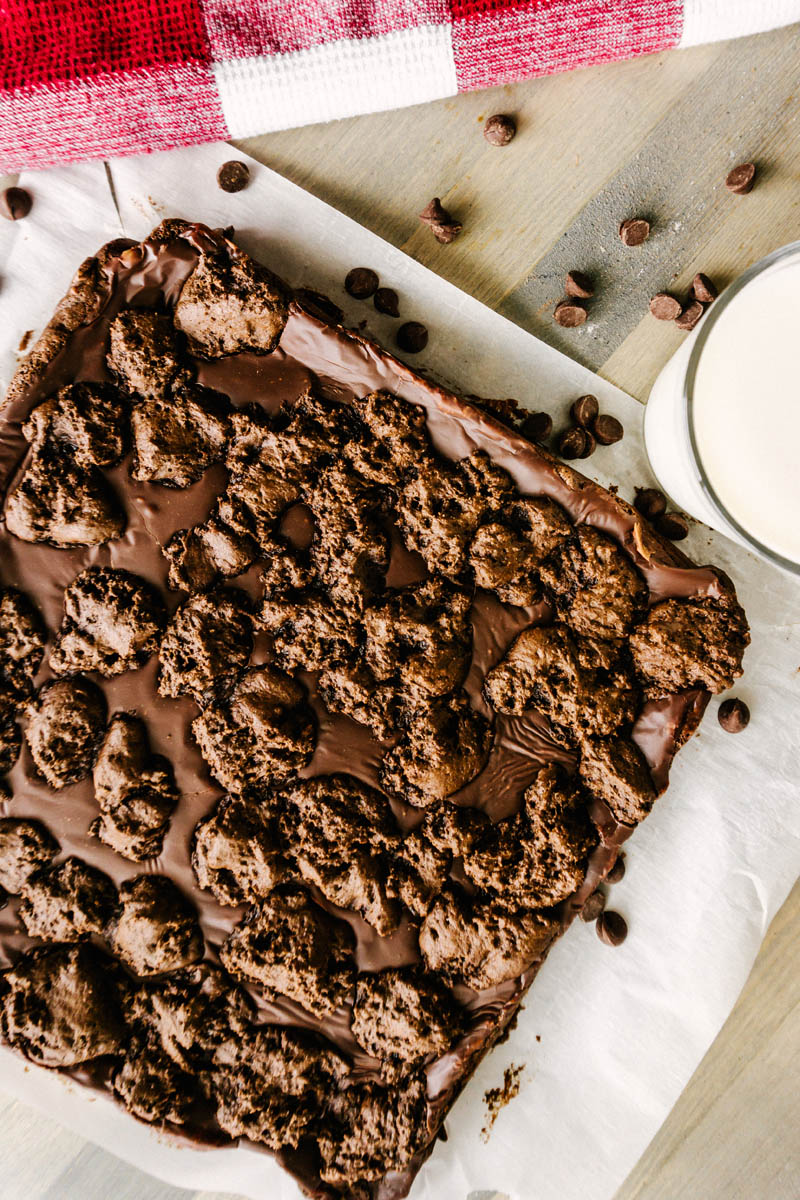
Crumble the dough on top:
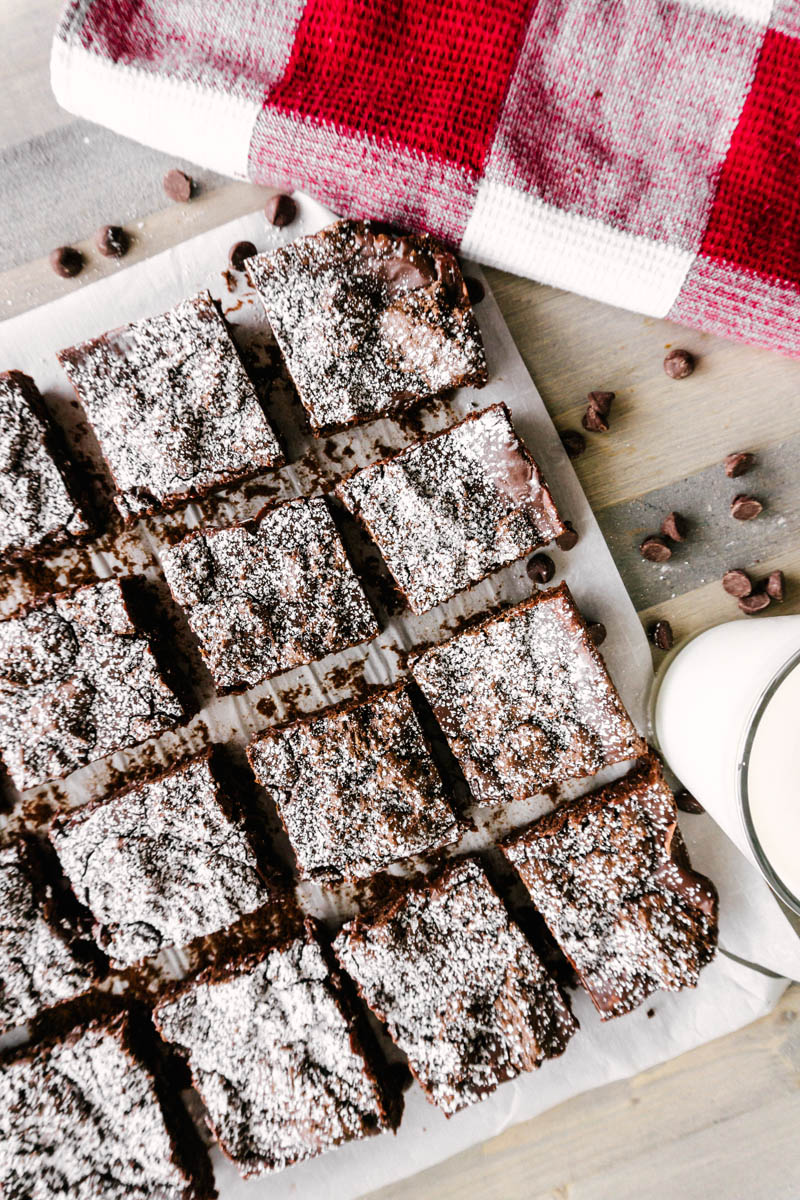
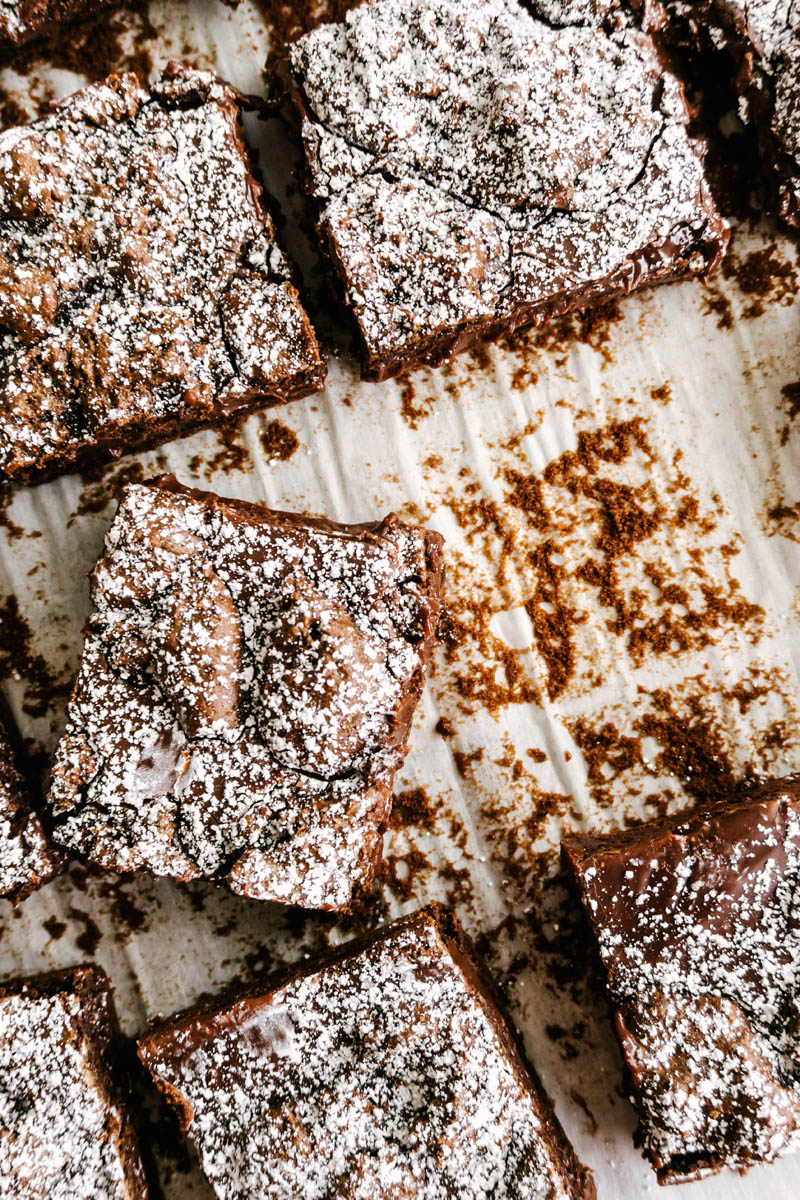
After adding the Lava Layer, crumble the remaining half of the cake dough on top using your fingers. It can get pretty sticky, so I make the chunks a bit bigger to eliminate any extra work. It doesn’t have to be pretty because we are trying to make this look like a rocky volcano, right? And you have the option of dusting the final product with powdered sugar, which will hide the clumps of dough on top anyway.
This dessert is a decadent, rich, chocolatey creation, made to satisfy your craving for a fancy lava cake, with half the work! Let us know how you like it!
Looking for more delicious bar recipes? Try these:
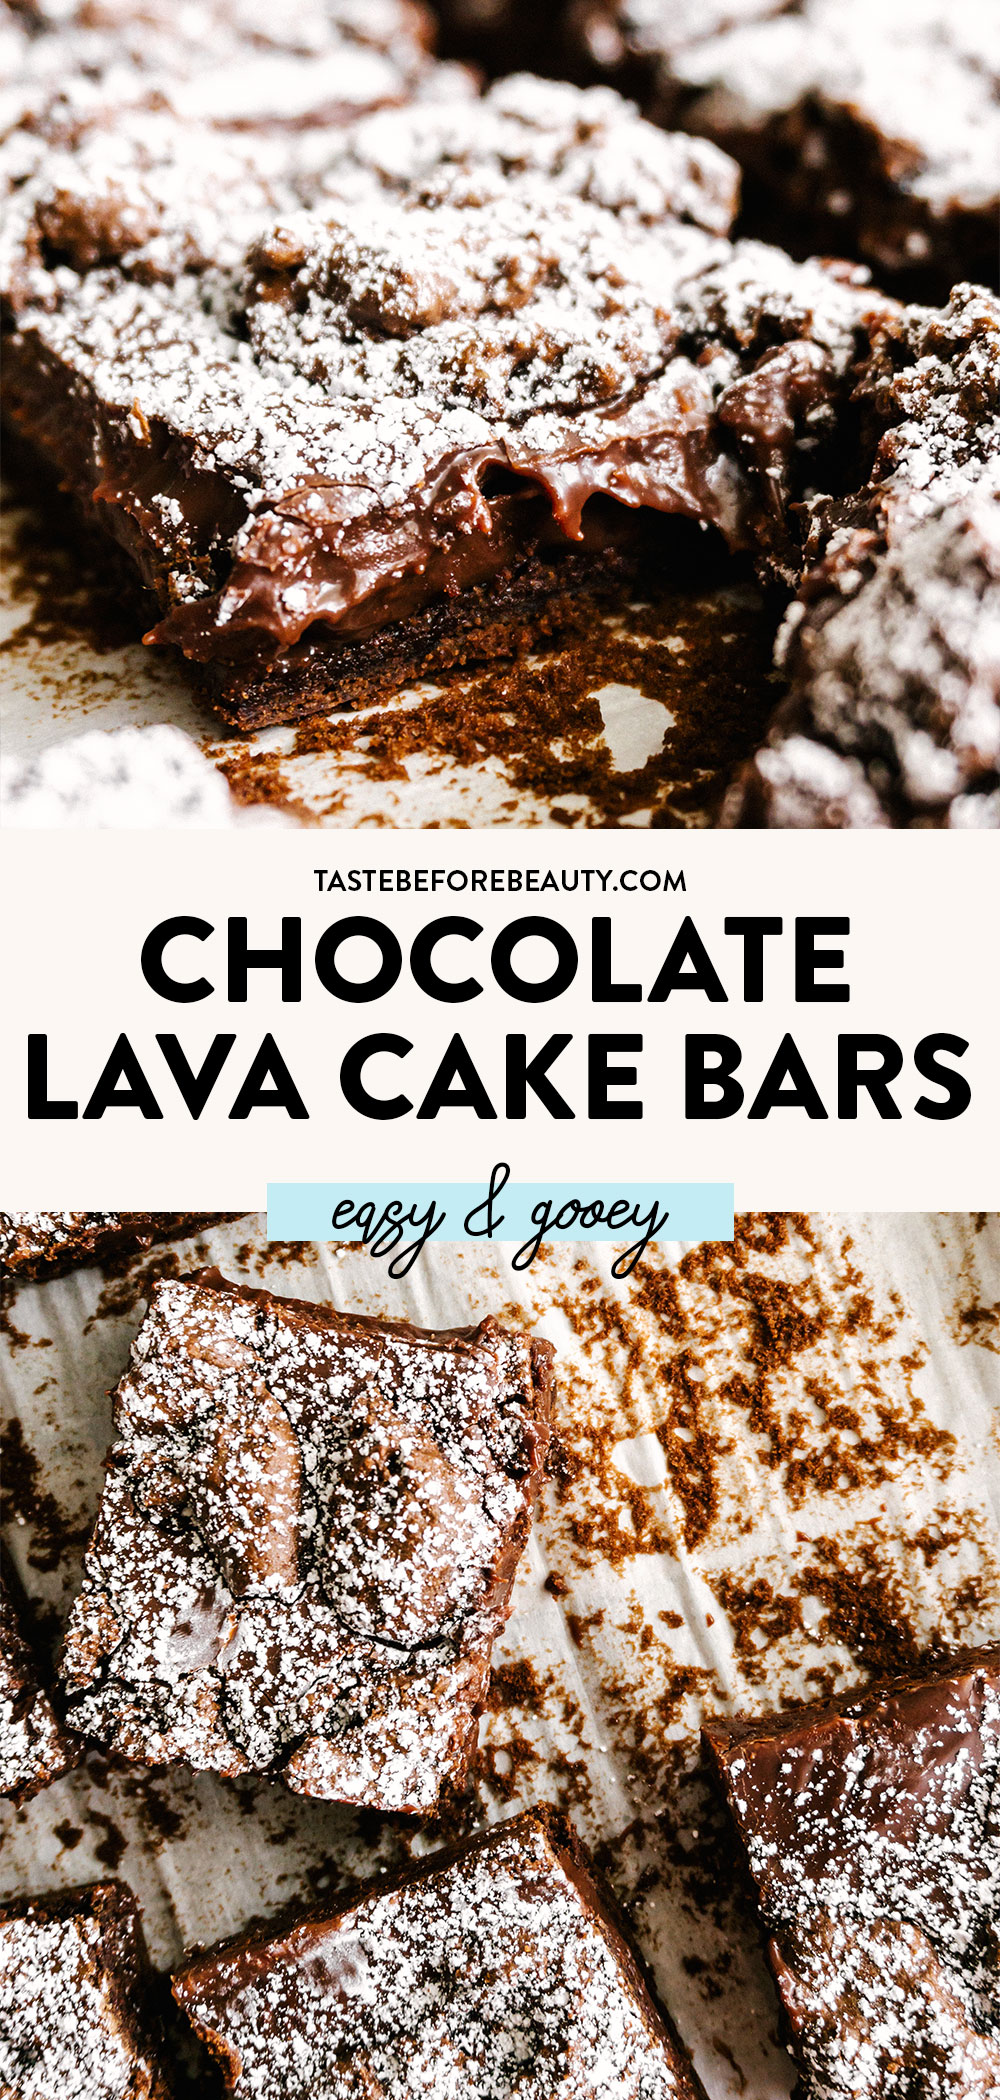
Chocolate Lava Cake Bars
No need to peek inside a volcano when you can make these rich, gooey, chocolate lava cake bars. A unique twist on a decadent dessert that will have you saying “I lava these!”
Ingredients
Cake Dough
- 1 ¾ C (8 oz) all-purpose flour
- ¼ C (1 oz) natural cocoa powder
- 1 T dutch processed cocoa powder
- ¼ C (2 oz) light brown sugar
- 1 C (4 oz) powdered sugar
- ⅜ tsp salt
- 1 tsp baking soda
- ½ C (4 oz) margarine, melted
- 1 tsp vanilla
- 1 egg
Chocolate Lava Layer
- 2 T margarine
- 1 can (14 oz) sweetened condensed milk
- 1 ½ C (9 oz) semi-sweet chocolate chips
Instructions
Make Cake Dough.
- Sift together flour, cocoas, sugars, salt, and soda into a bowl.
- In a separate bowl, melt margarine, then add vanilla. Let cool and then add egg and mix. If egg is added while mixture is hot the egg will scramble.
- Add wet ingredients to dry ingredients and mix until combined. Set aside.
Make Chocolate Lava.
- In a microwaveable container, heat margarine, sweetened condensed milk, and chocolate chips for one minute. Stir and continue to microwave in bursts until chocolate chips are melted and mixture becomes smooth.
Assemble Chocolate Lava Cake Bars
- Preheat oven to 350*F.
- Line a 10x10 pan with parchment paper.
- Press half of cake dough (about 1 cup (10.5oz)) into the bottom of the pan.
- Pour chocolate lava layer onto dough and spread.
- Crumble remaining cake dough (about 1 cup (10.5 oz)) onto top of chocolate lava layer.
- Bake for 12 minutes. Let cool completely before cutting.
Notes
- Use stick margarine. Tub margarine has a different moisture content and will not work.
- This dough is not very spreadable, so I use a sturdy spatula to spread the dough as much as possible. I then use my hands to spread any parts the spatula couldn’t get.

0 Comments